Assemble the Vessel
IMPORTANT: Check your surroundings
Before using the PeerShark, please ensure that the weather and water conditions are appropriate. You can find more info in the specifications section.
Please also check the area for any weed/organic growth. If there is significant organic growth present we recommend using the weed guards.
1. Assemble base
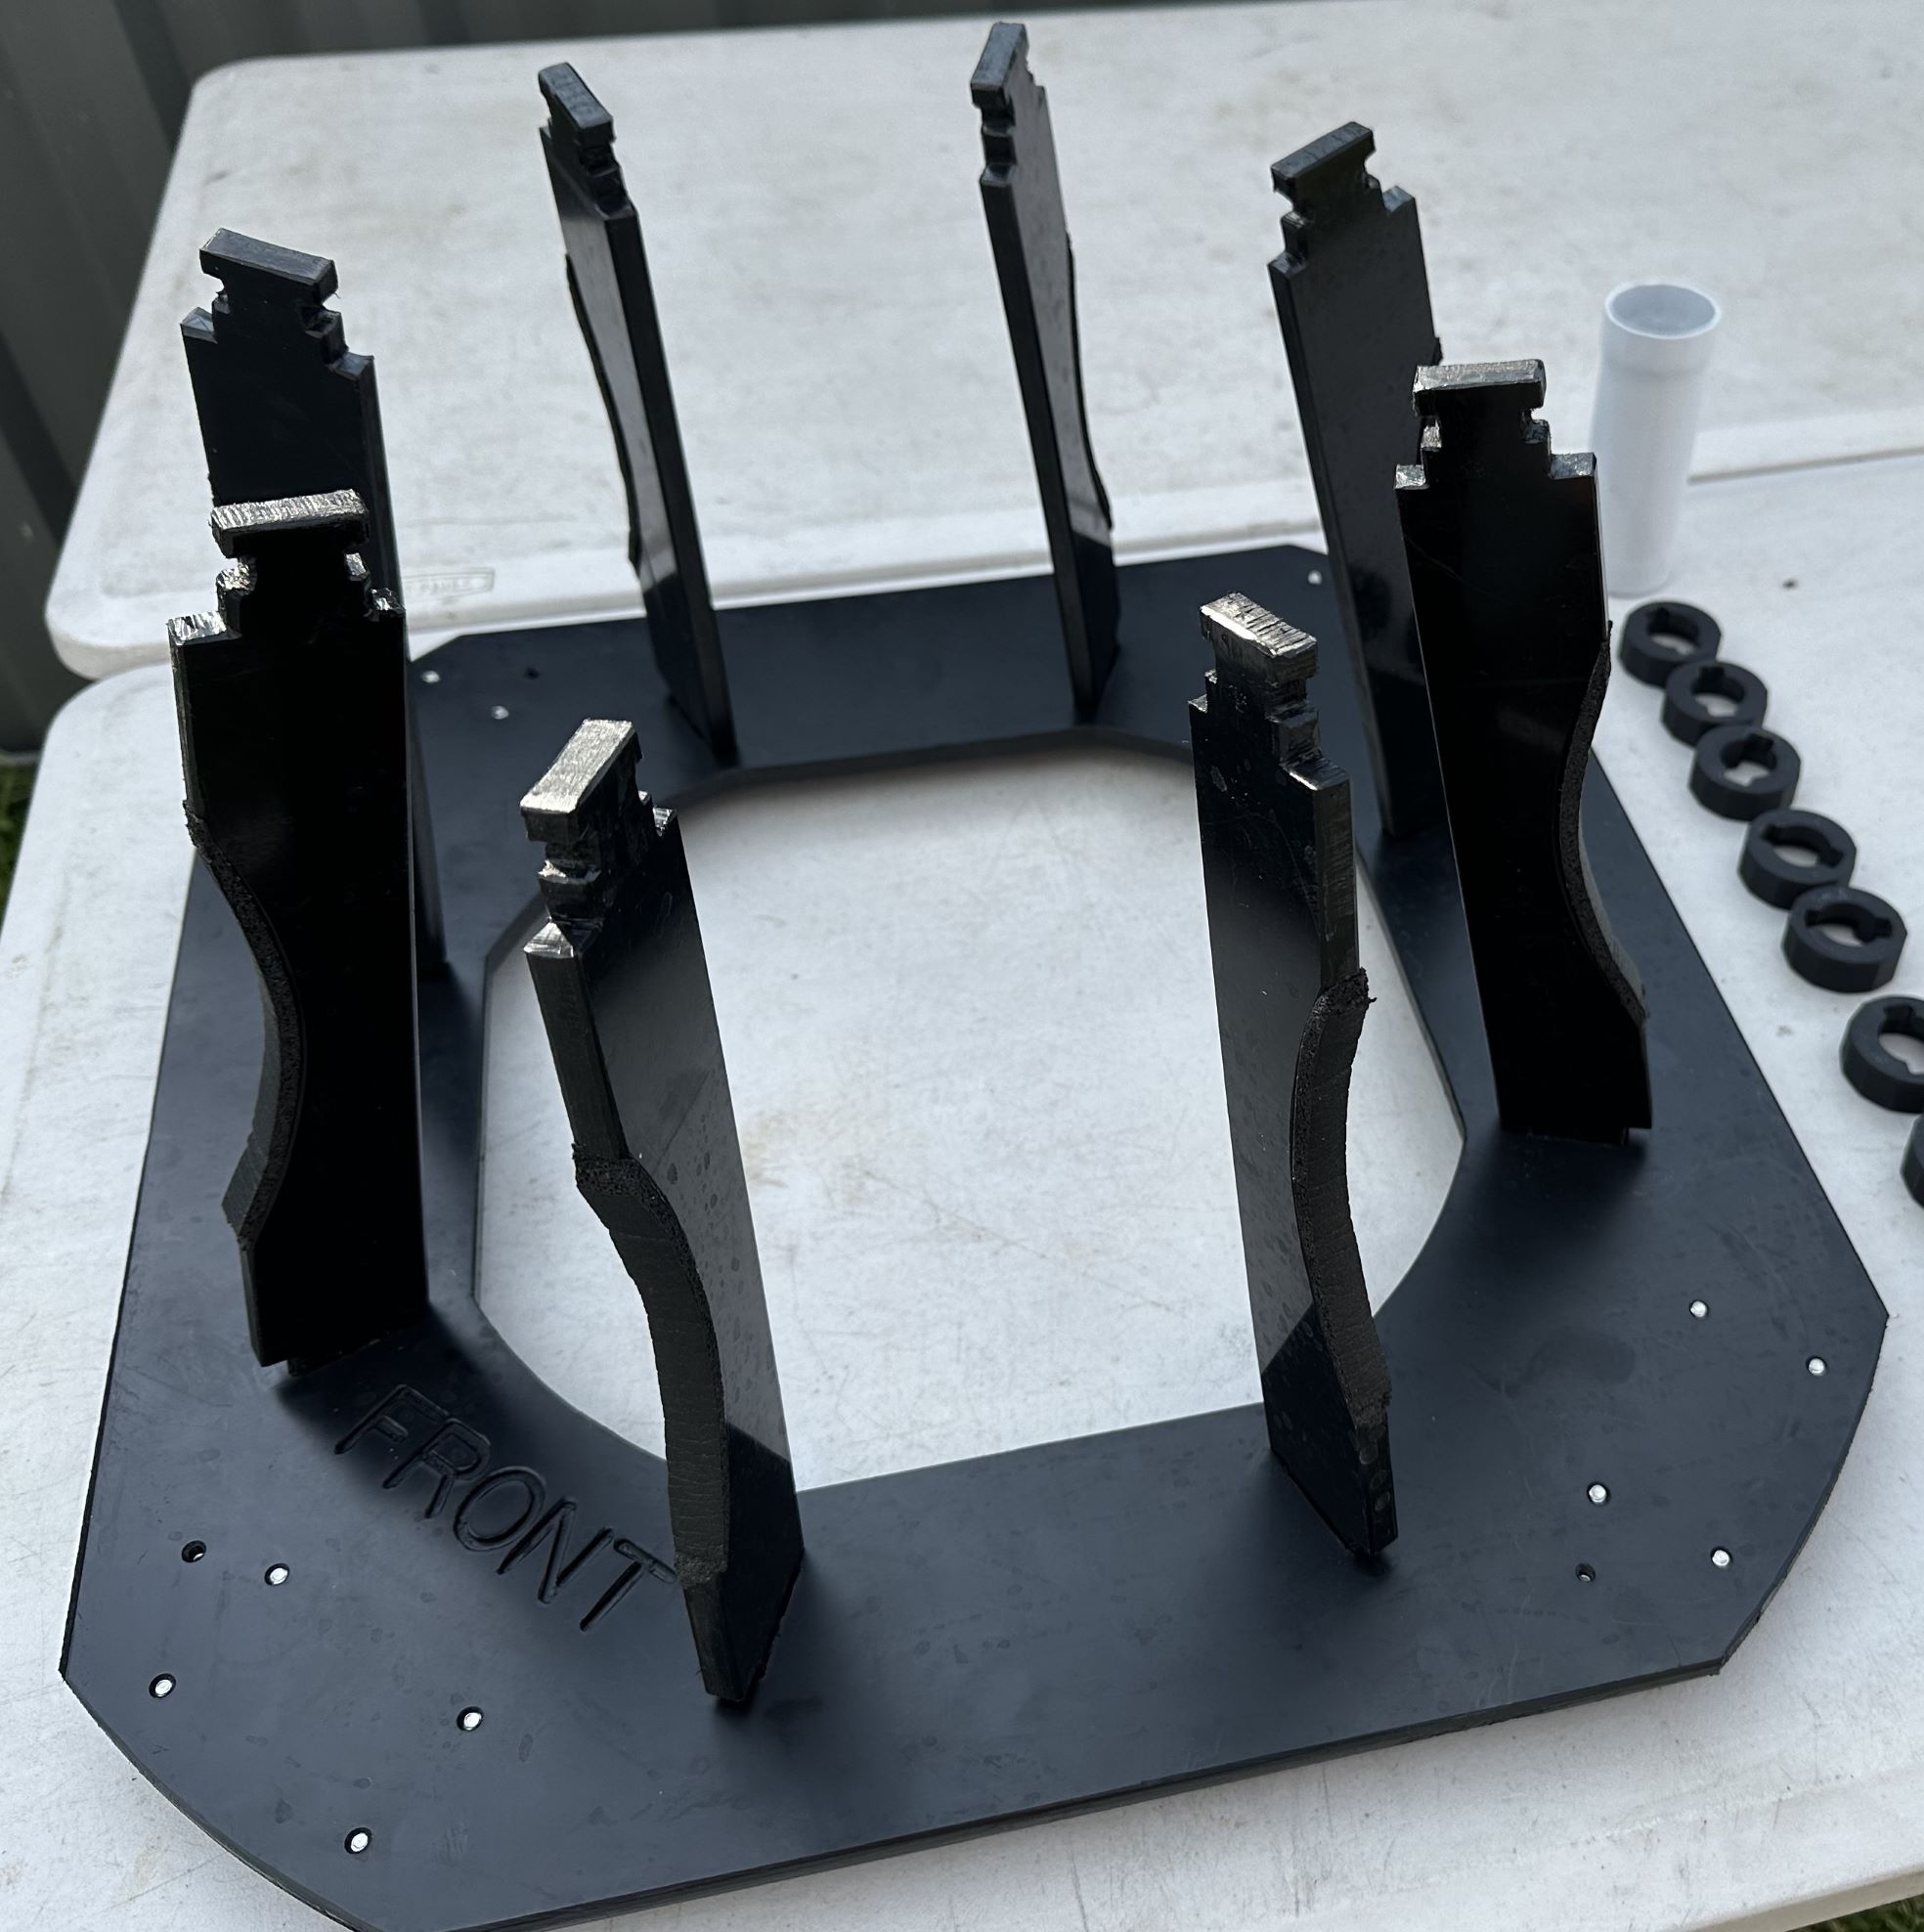
First insert the spokes into the slots on the baseplate. You will need to insert all 8 spokes & ensure the curve on each spoke is facing toward the outside of the baseplate as the tube will slide over the top.
Inspect the foam on the spokes.
During this step we recommend you check each of the foam strips that prevent the spokes from damaging the tube. Please ensure they are in good condition and unlikely to peel off when sliding the tube over.
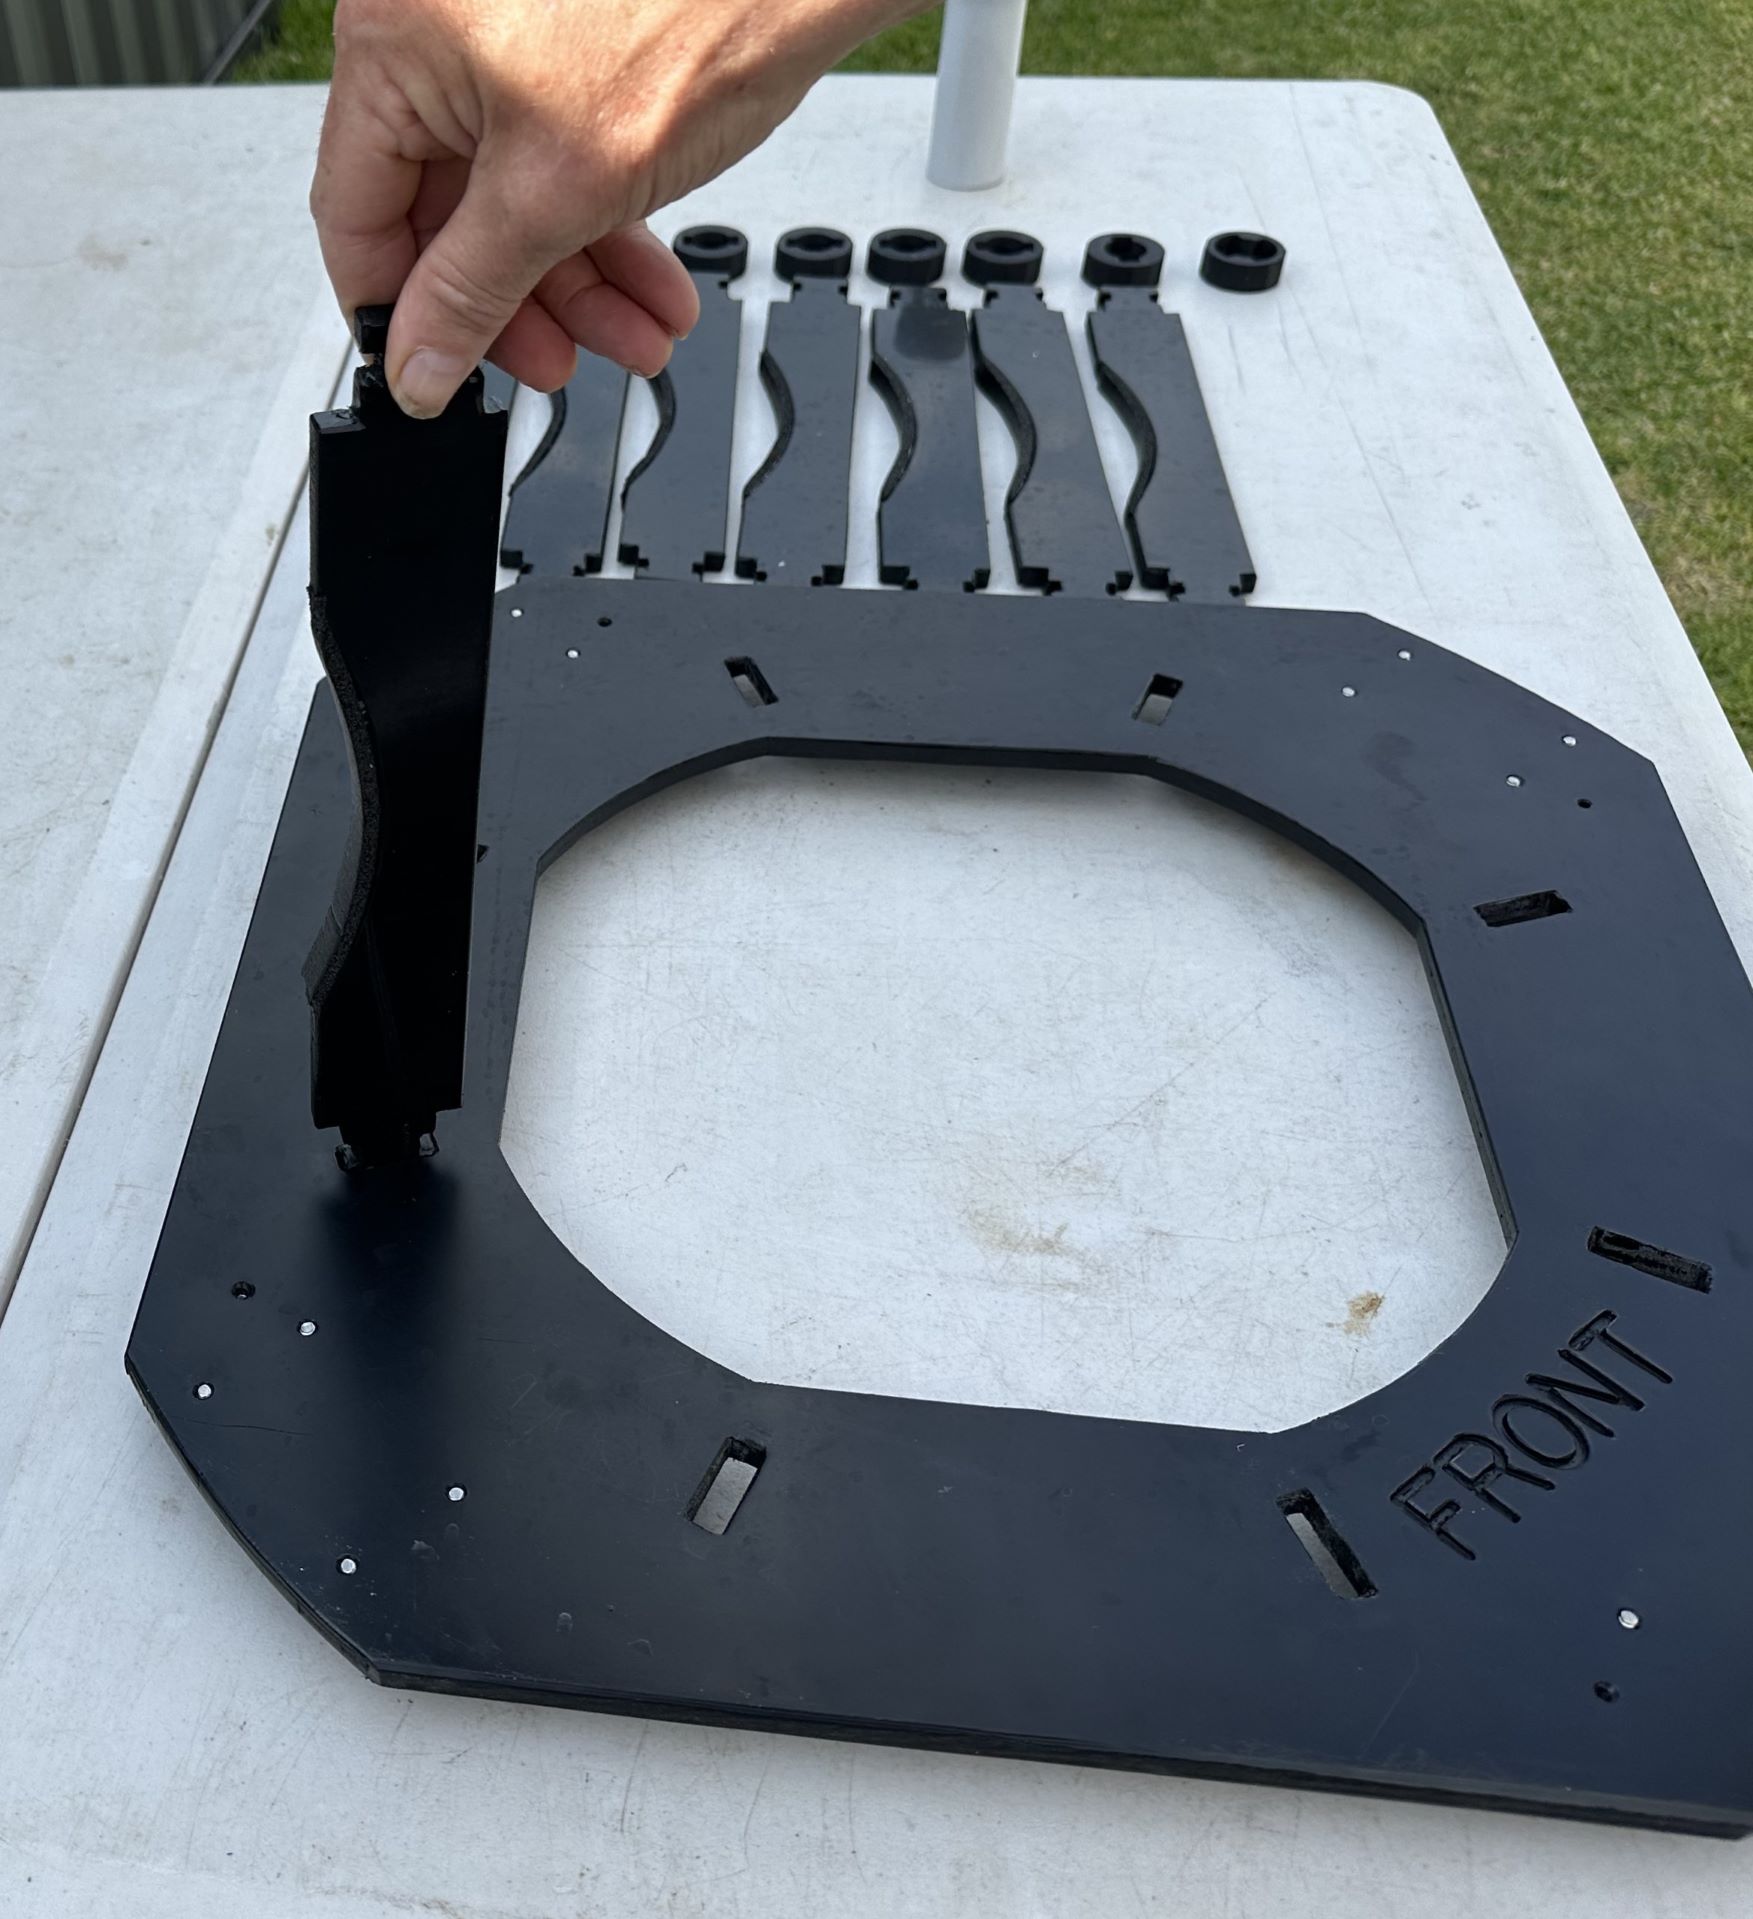
Next angle the spokes slightly inward so the tube can slide over.
2. Prepare tube and cover
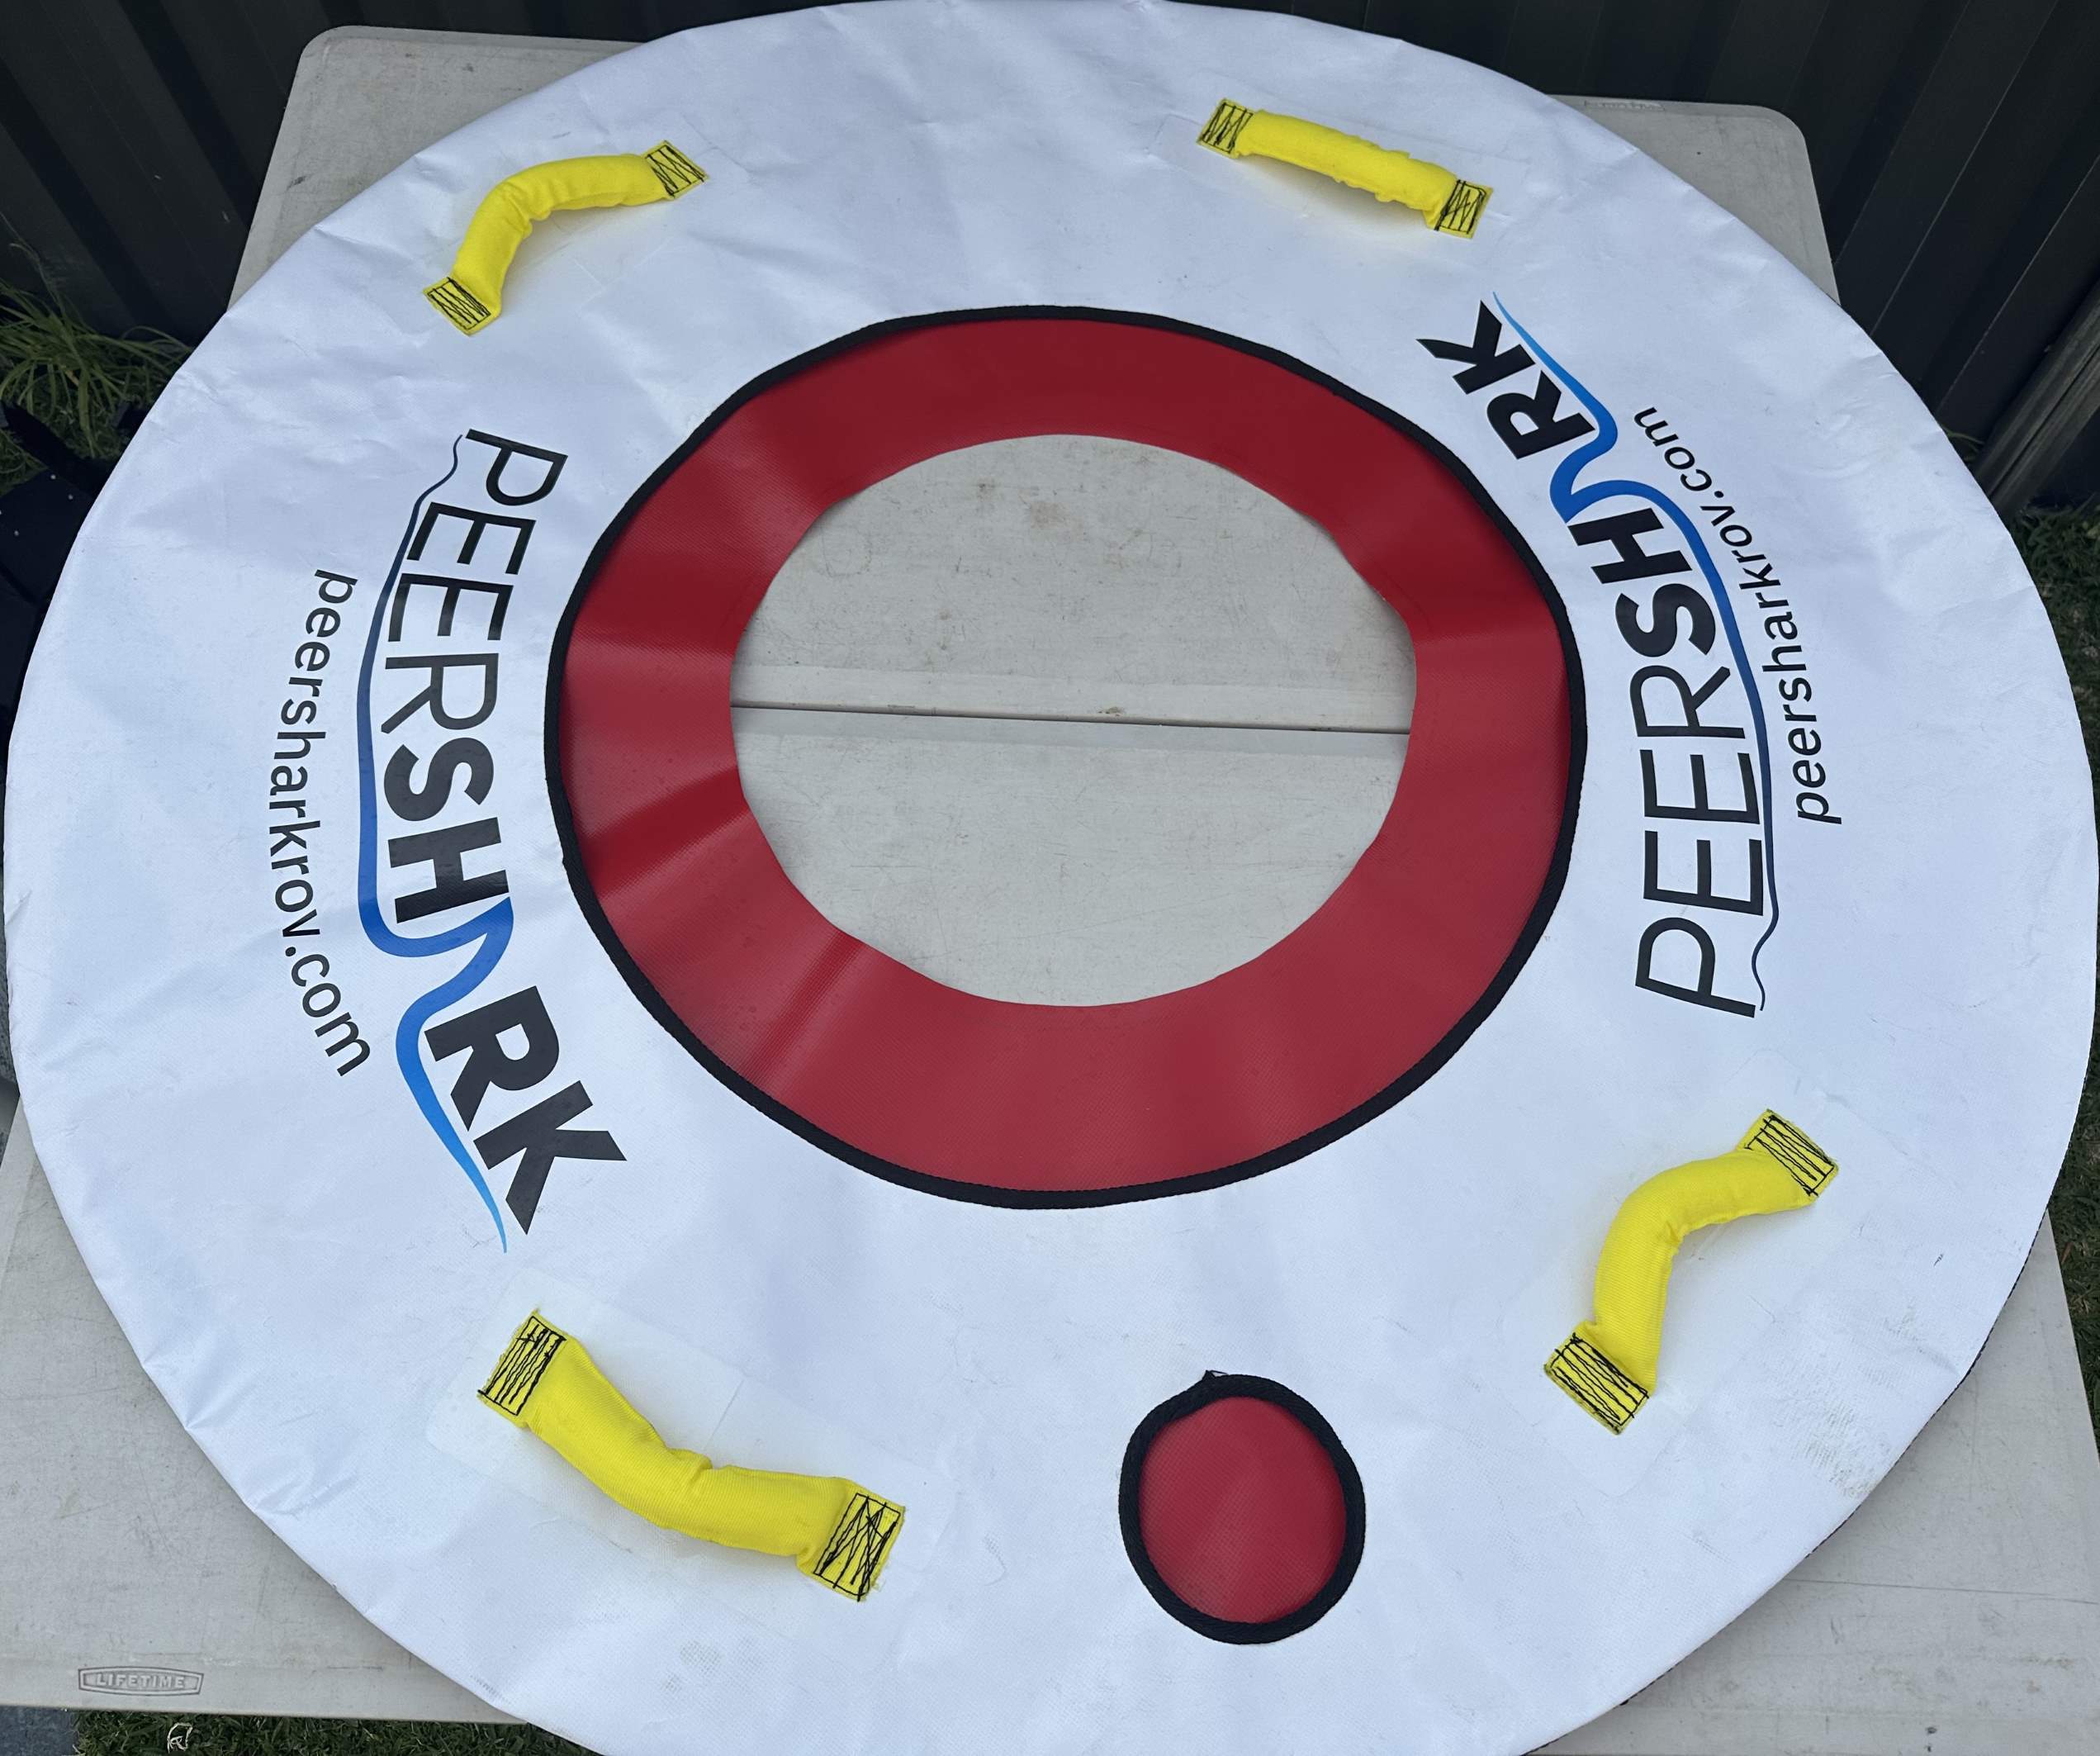
Lay the cover on a flat surface and ensure there are no creases around the edges. Check for damage & repair if any is found.
Fold the outer thirds of the tube into the center, ensuring that the filling port is facing you according to the following image
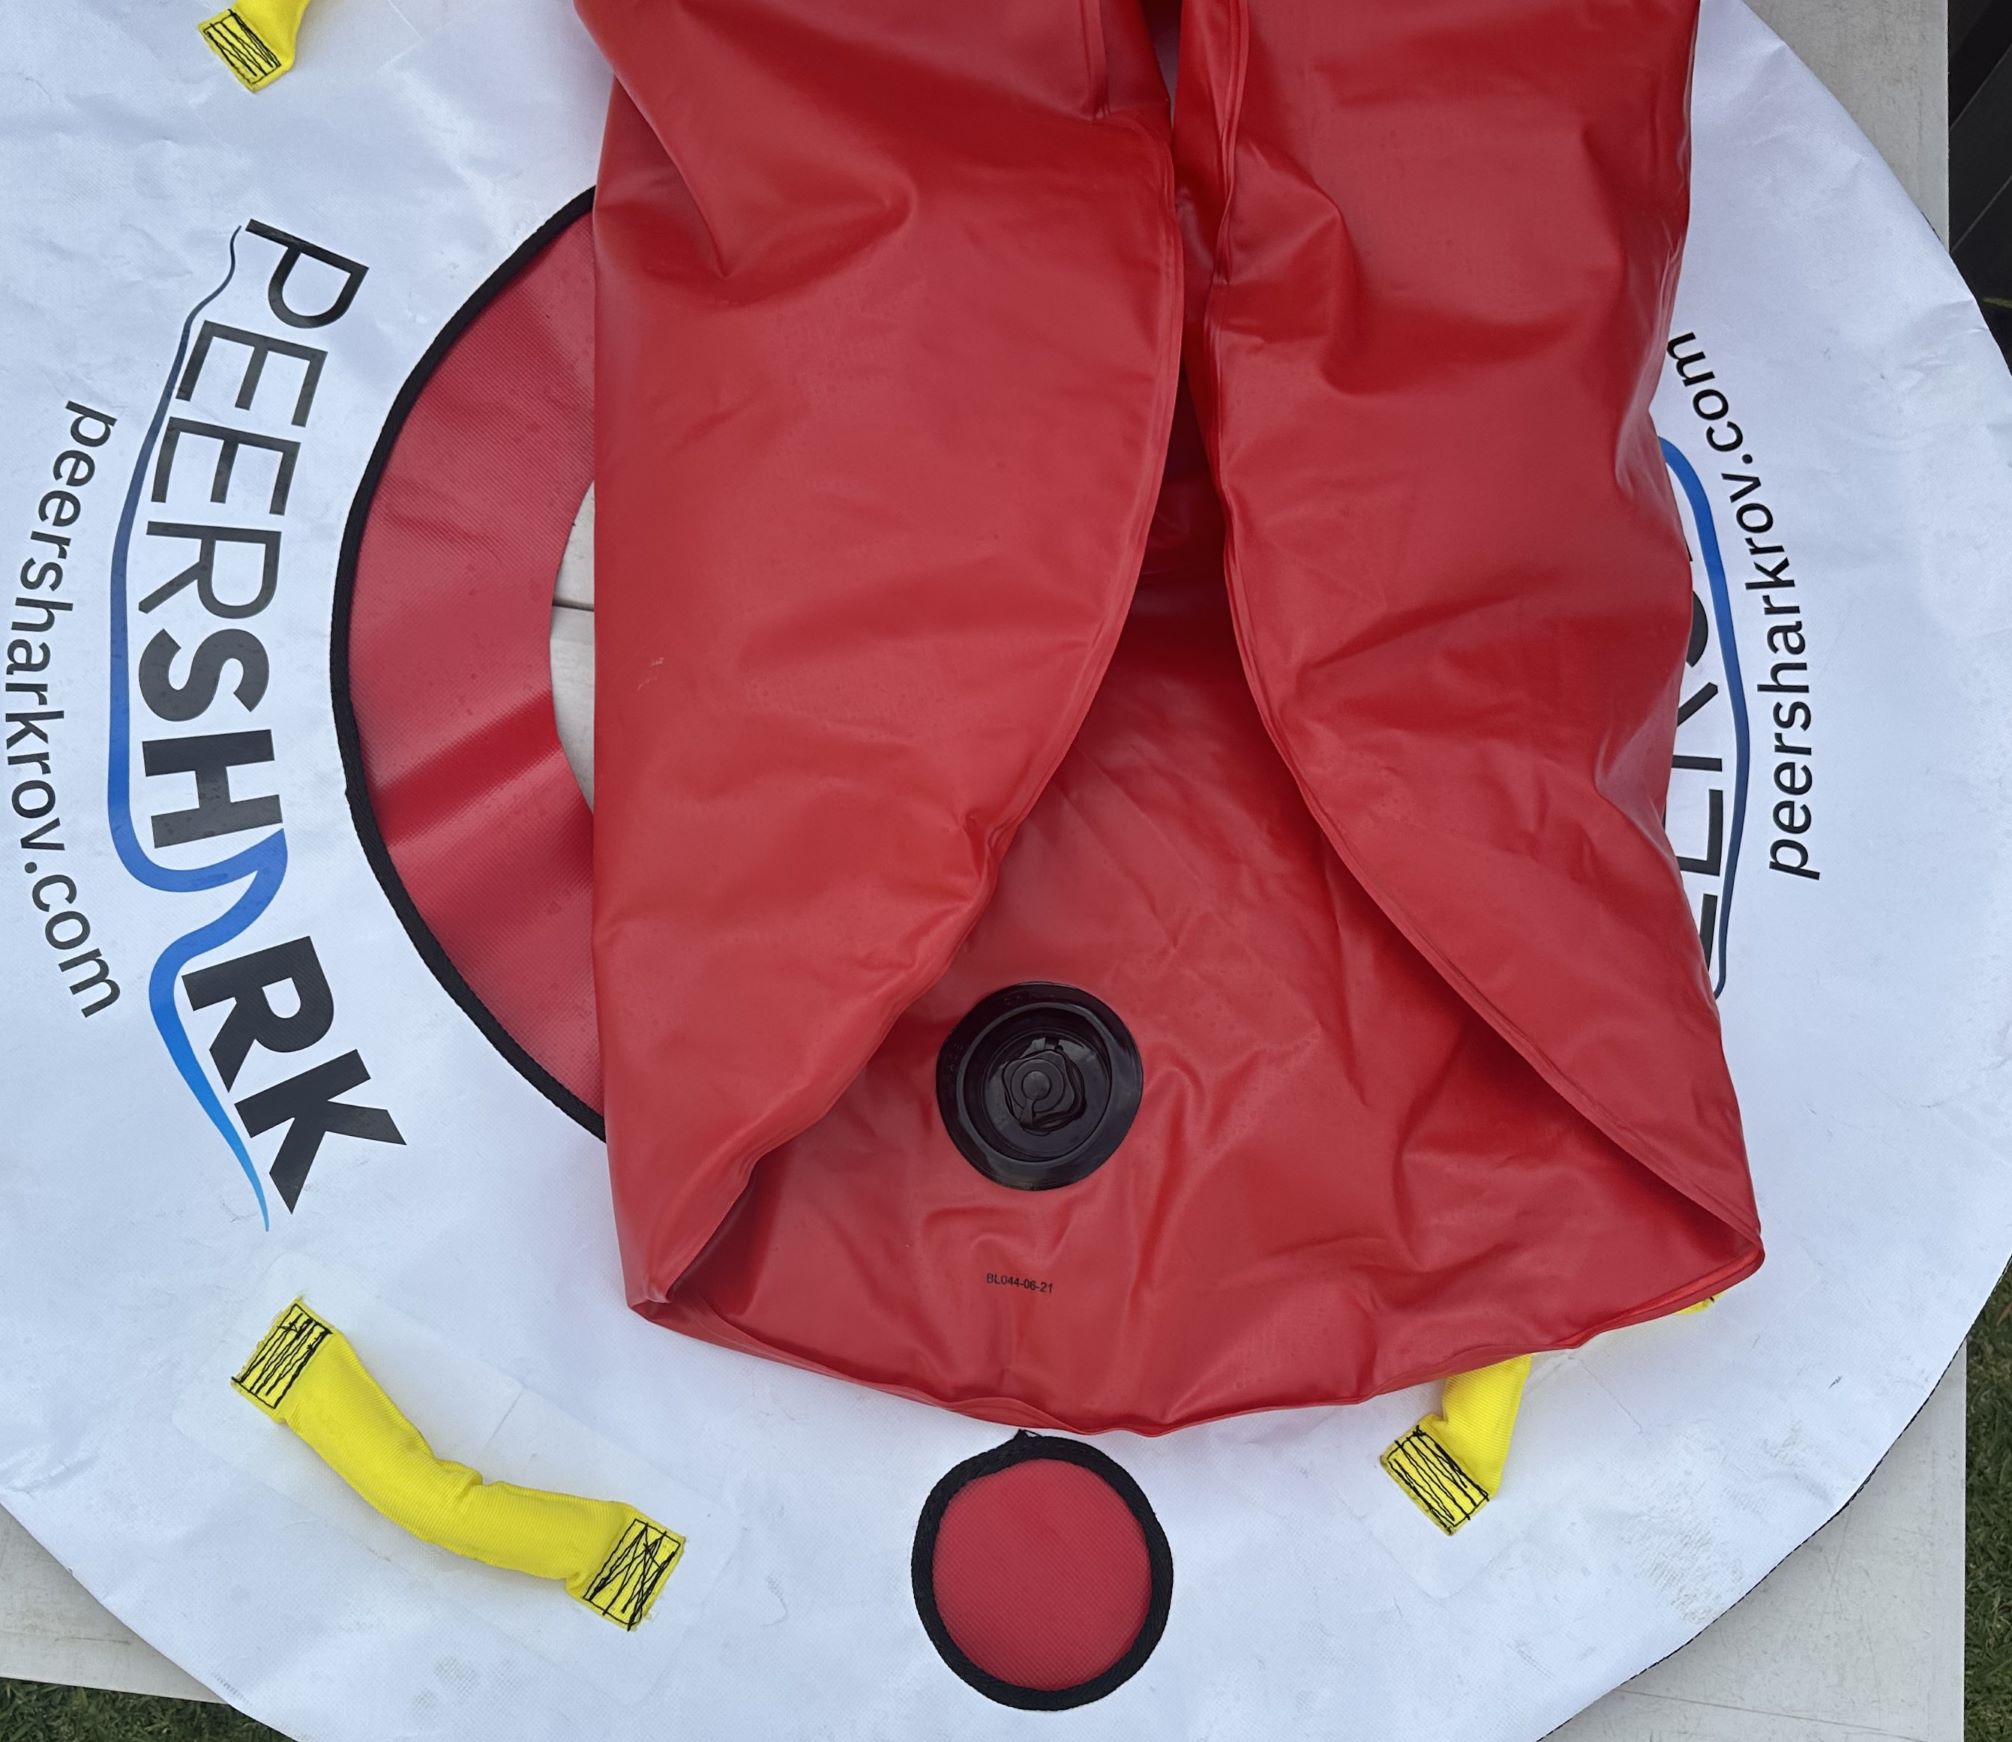
Line up the filler port on the tube with the corresponding filler cutout in the cover and tuck the back of the tube under the cover.
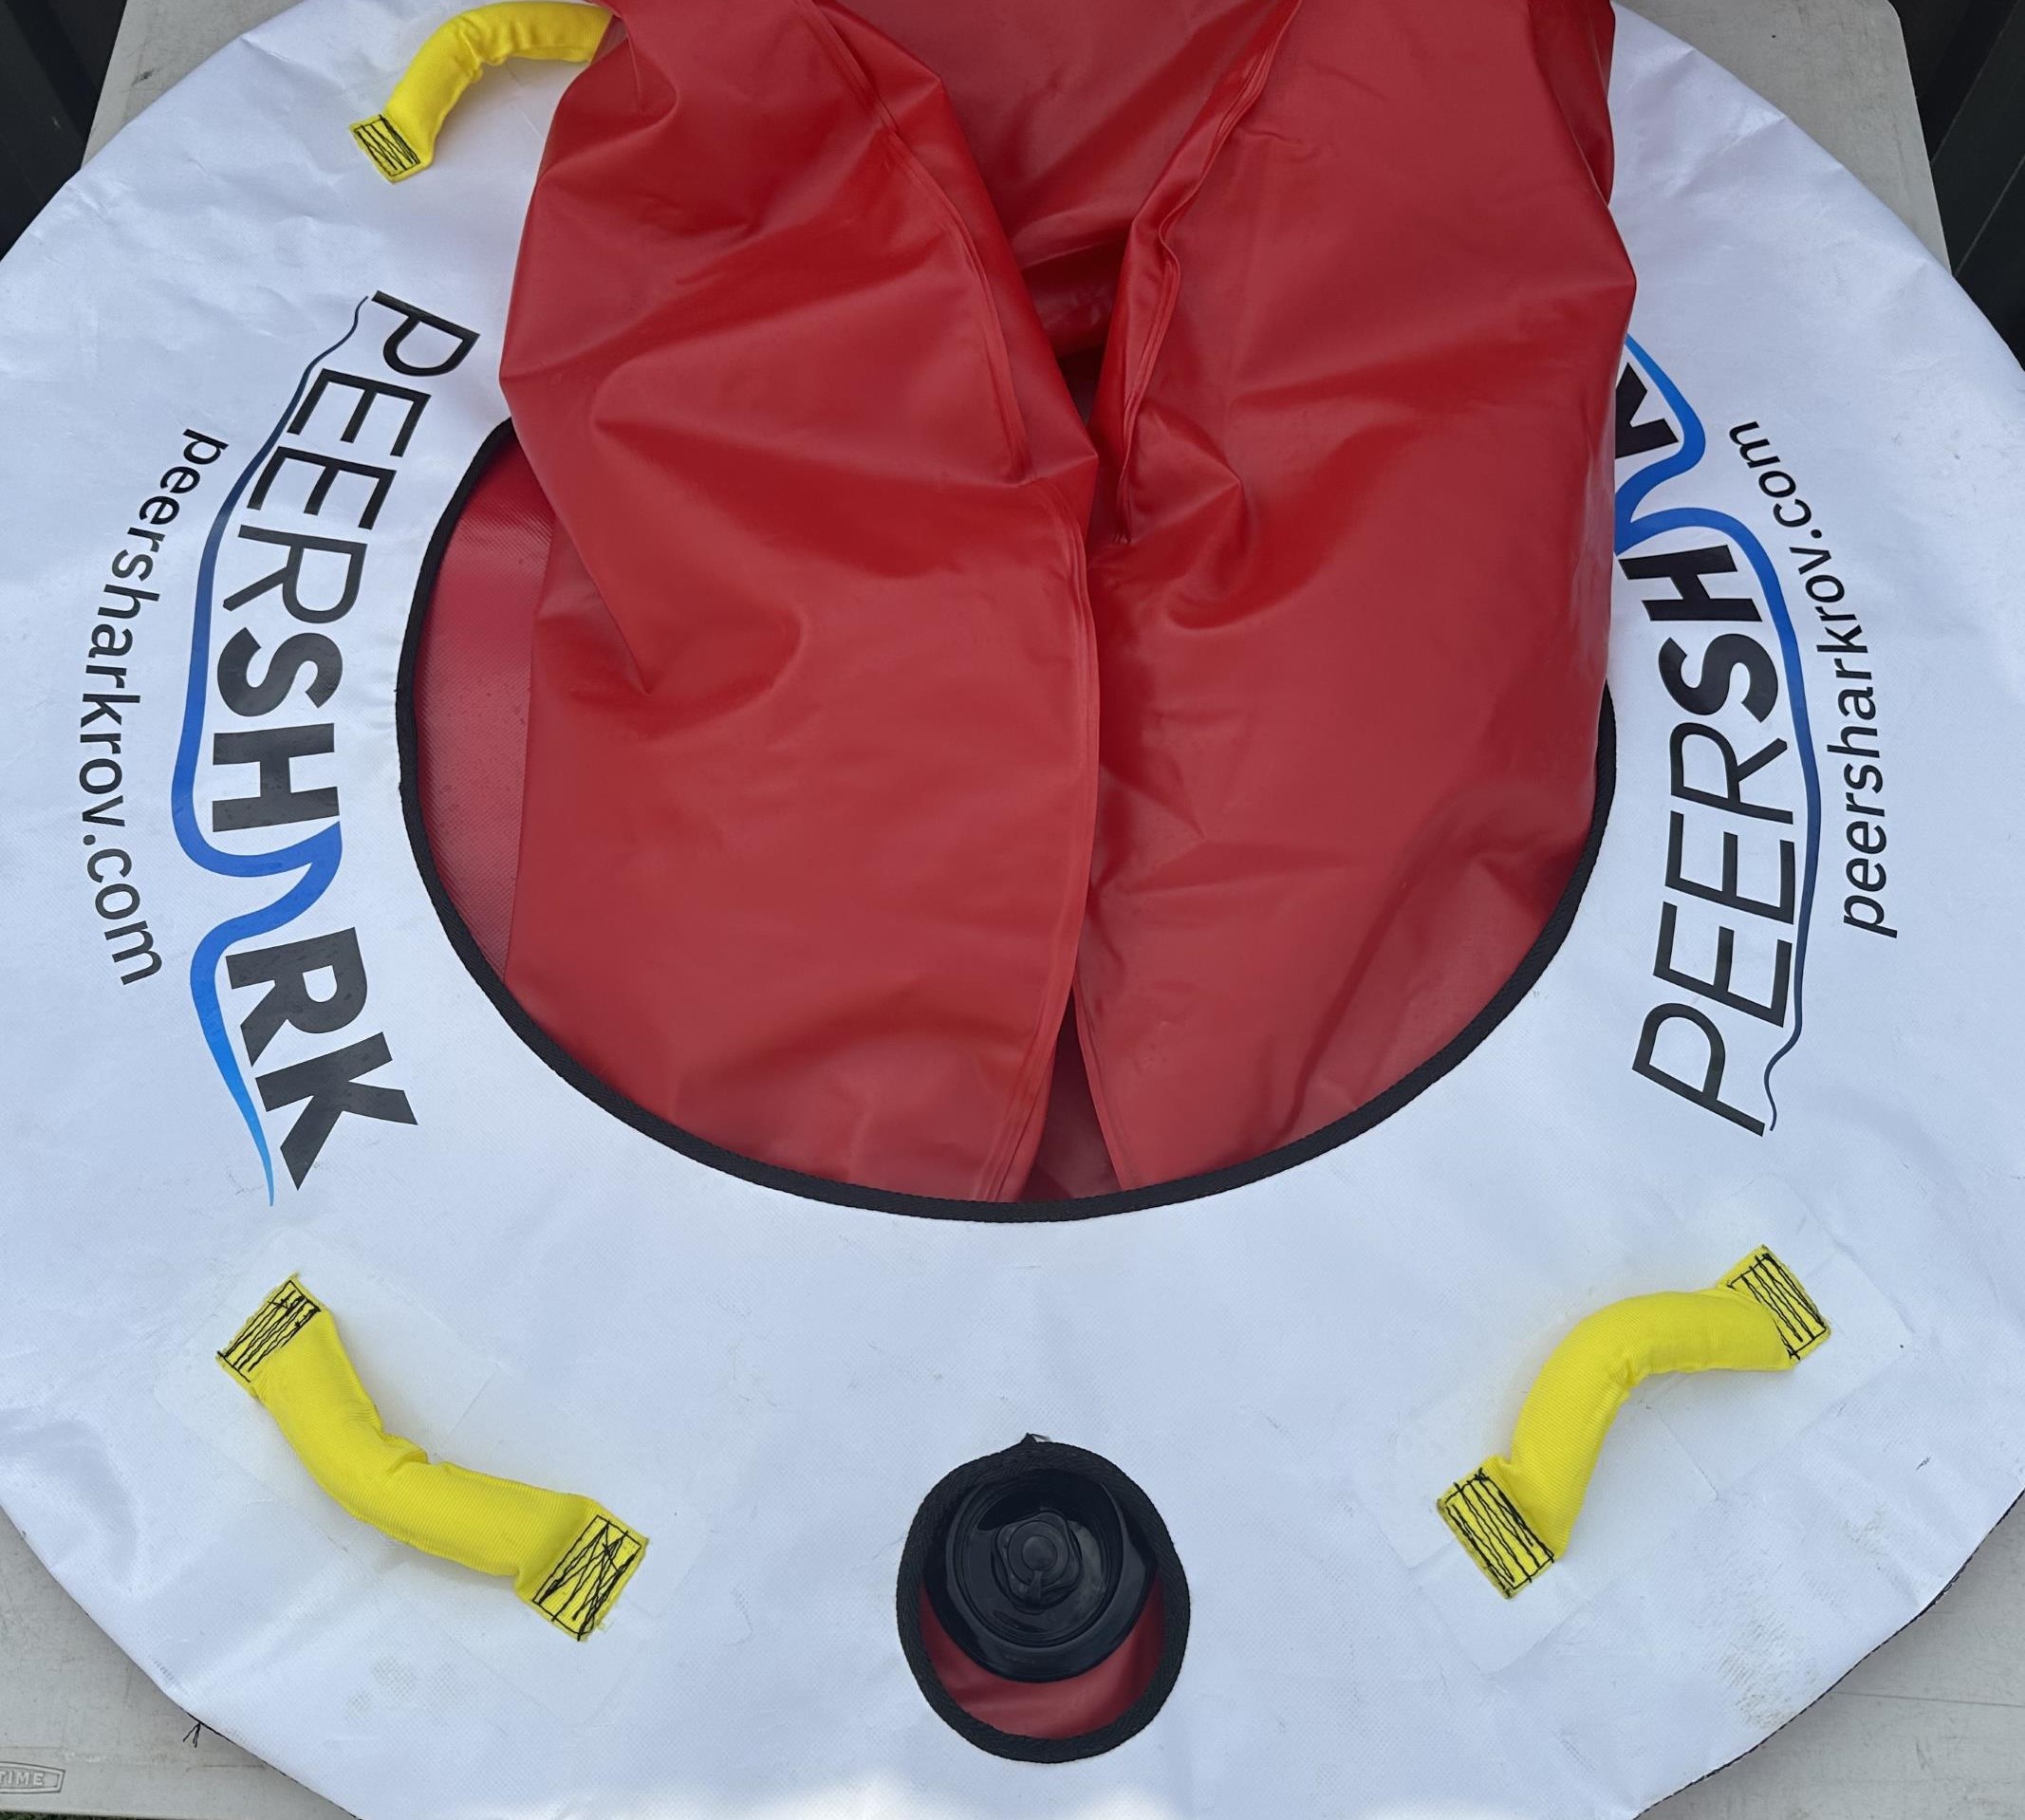
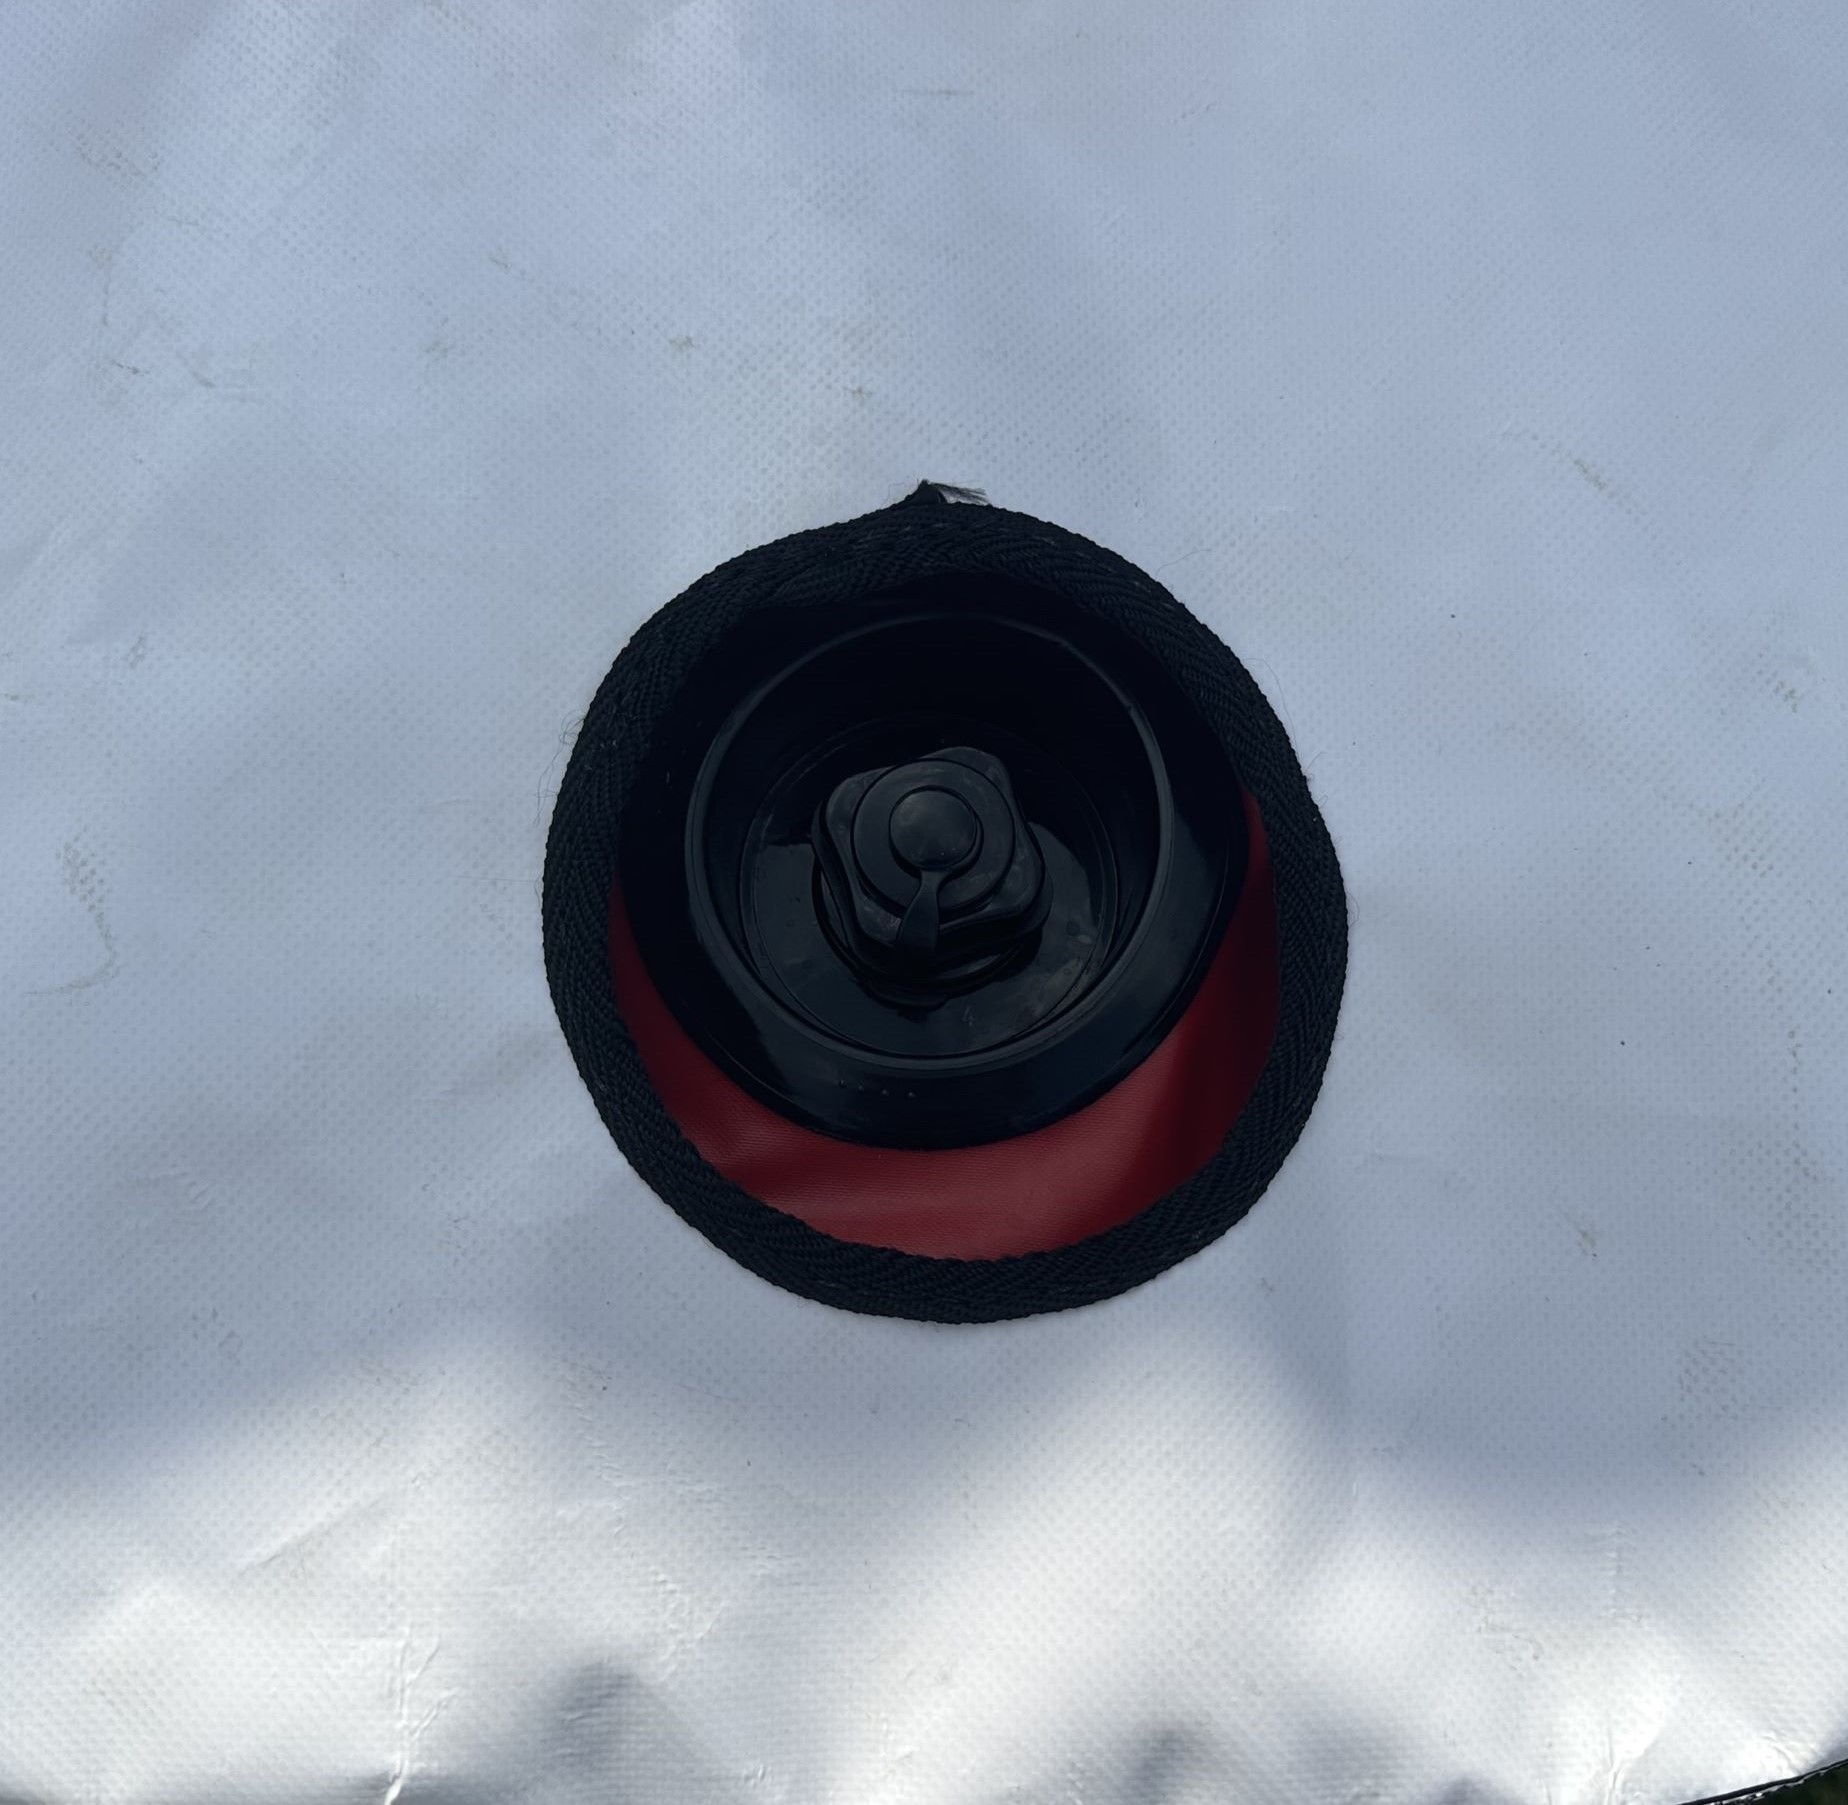
Tuck the front (remainder) of the tube under the cover.
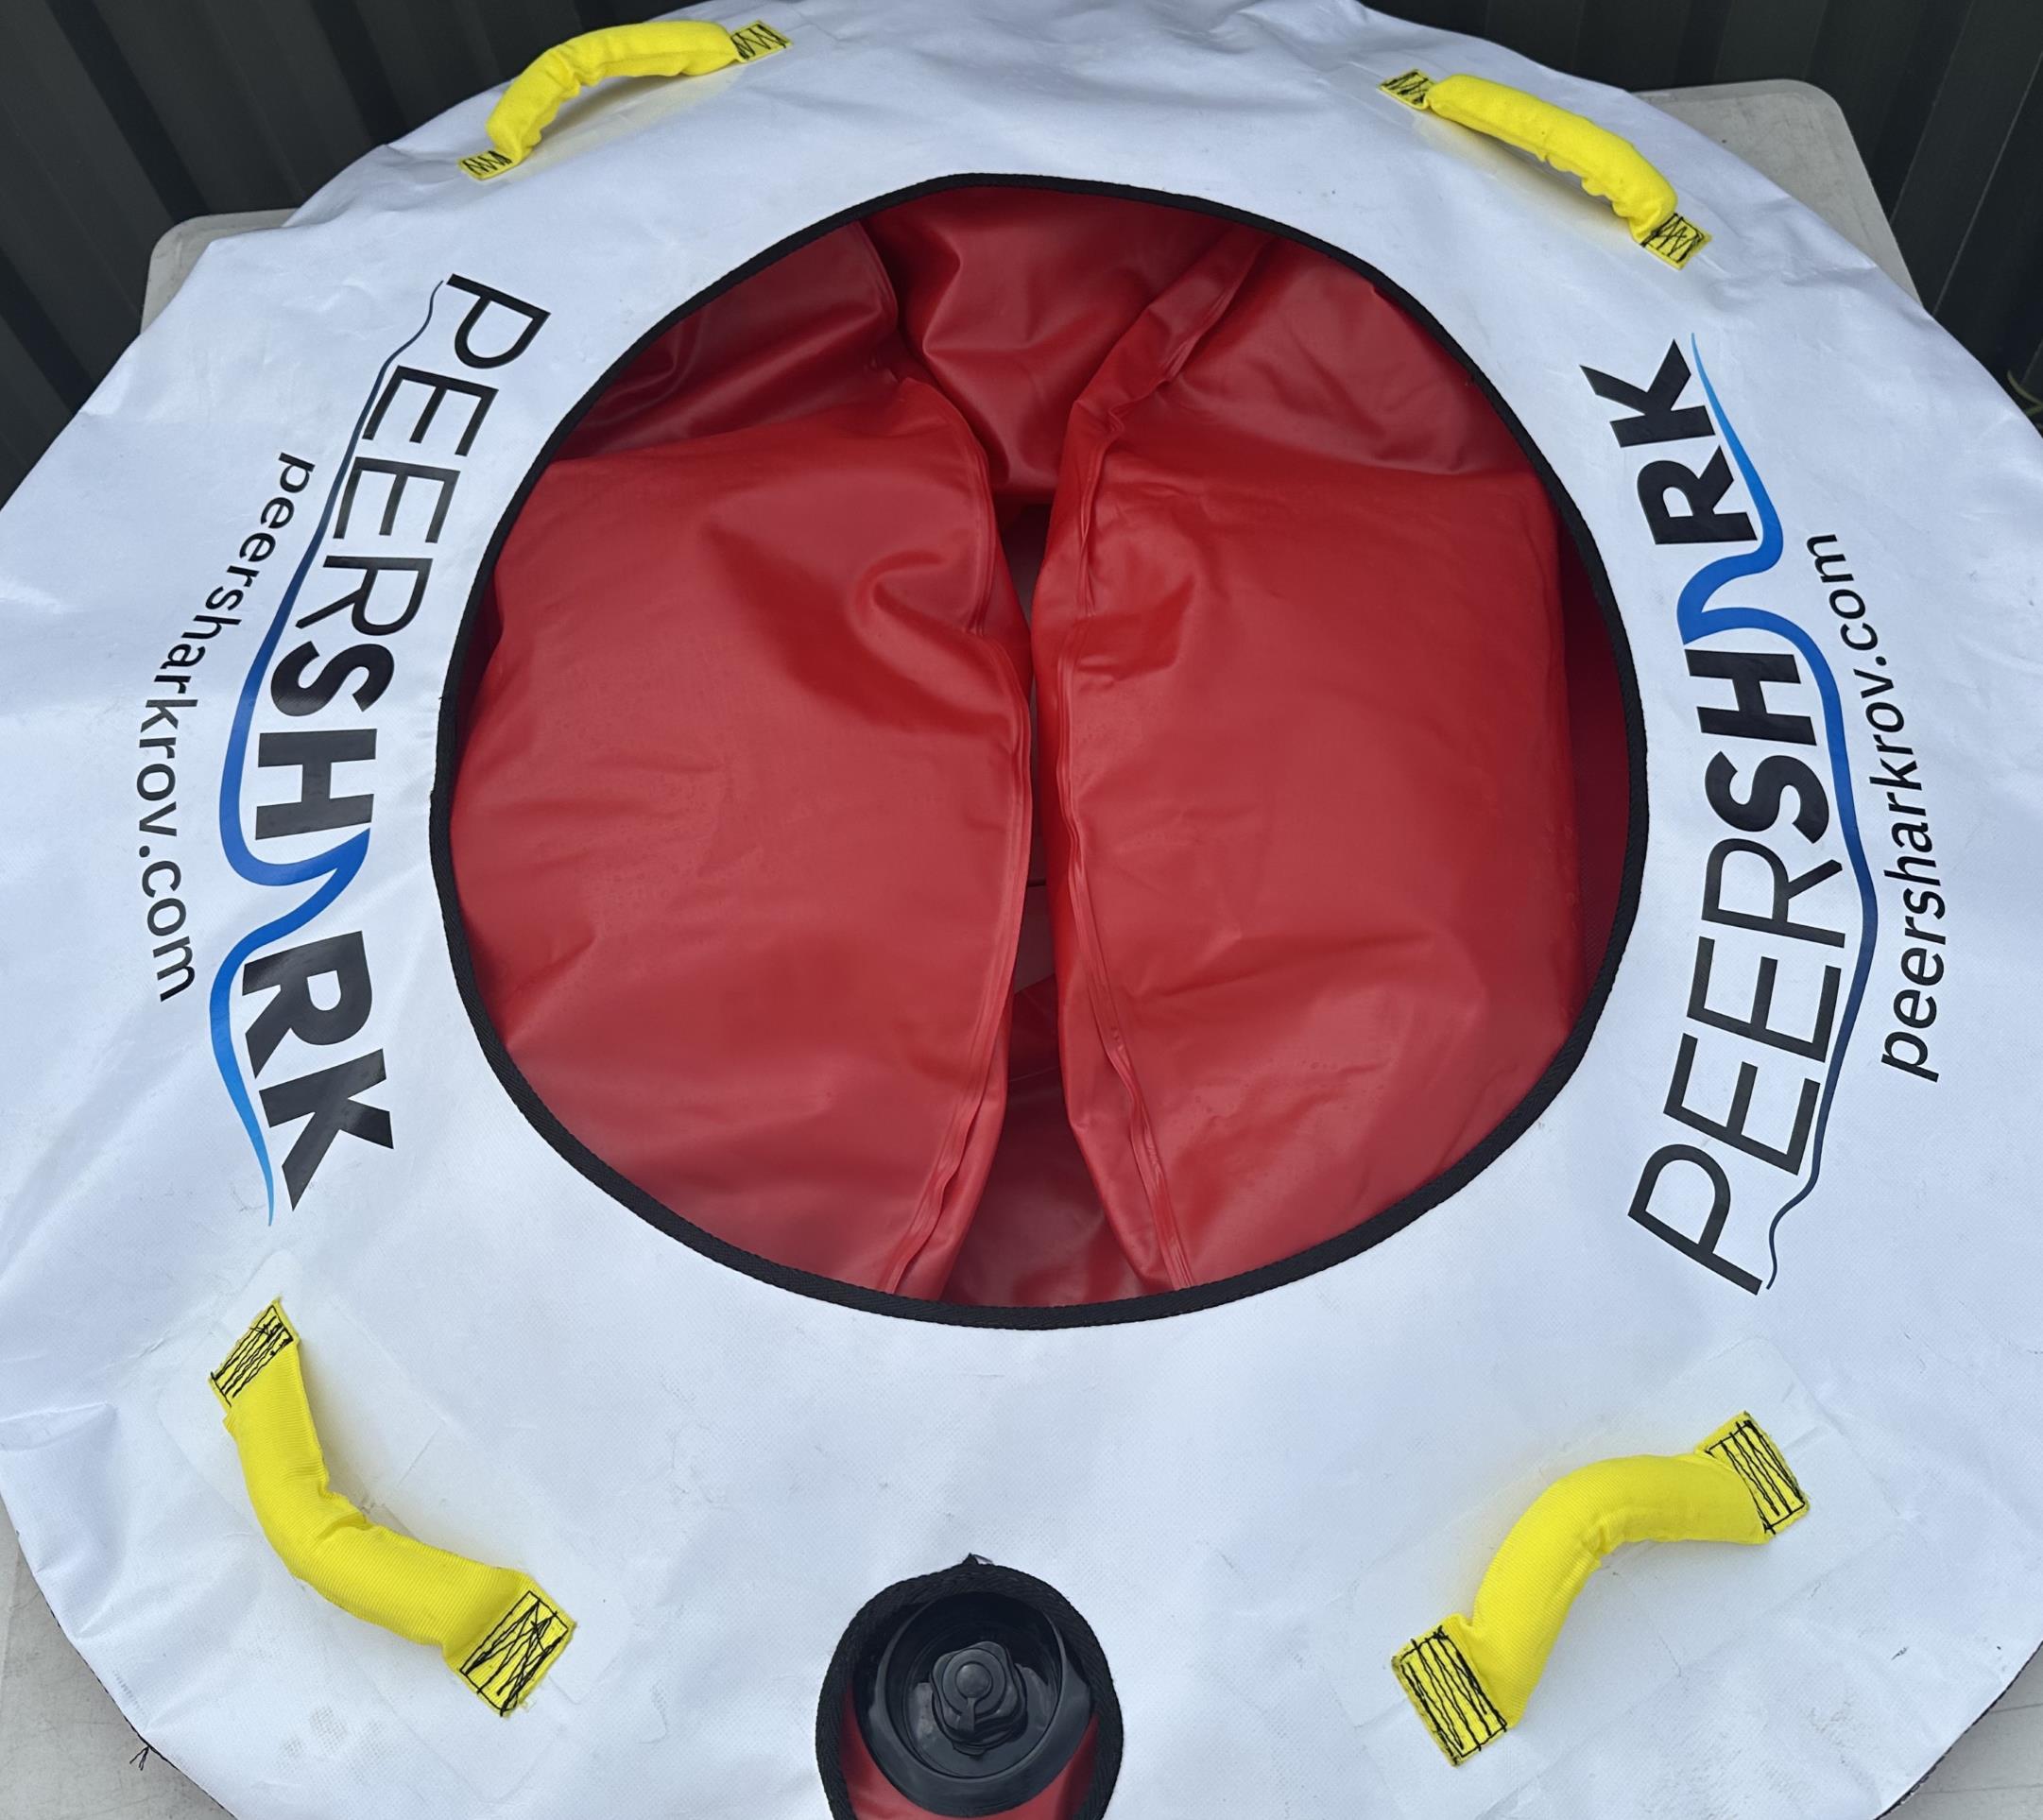
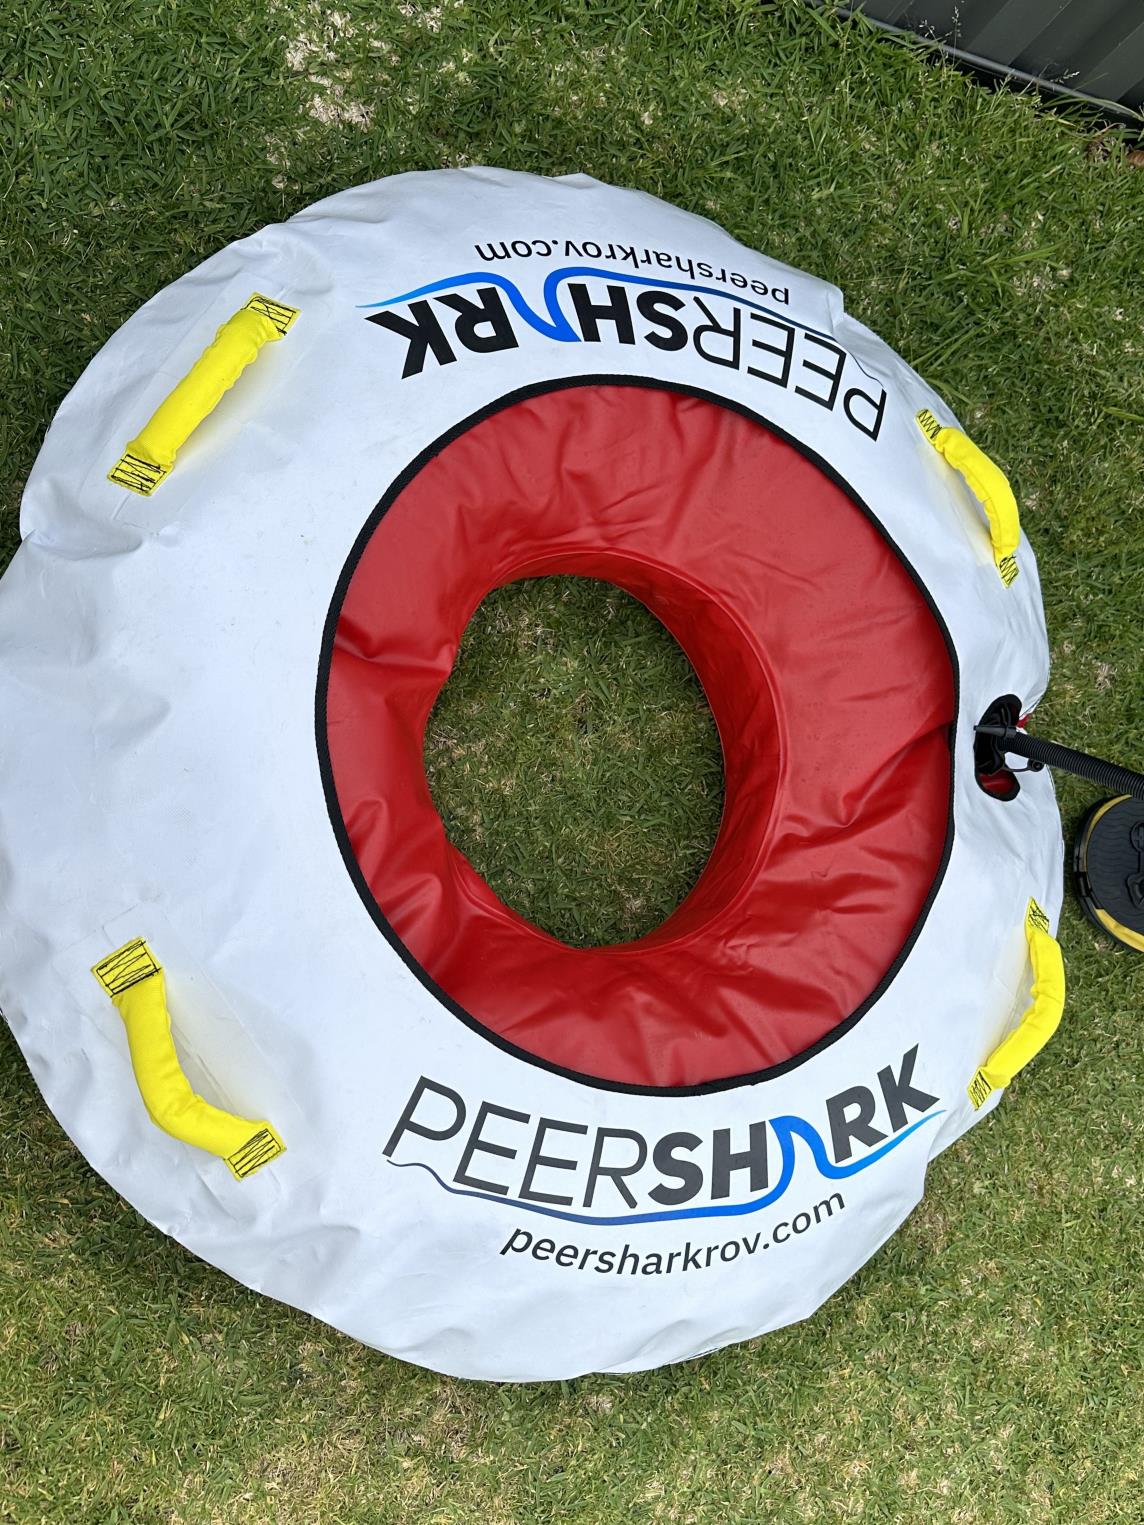
Unfold and inspect the tube to ensure it isn't damaged or creased and then proceed to only partially inflate it.
Carefully inspect the inner diameter of the tube.
Please look for any abrasion/chafing/wear on the inner diameter of the tube as this could lead to a puncture. It is best to cover any abrasions before continuing otherwise a slow leak could develop while the boat is in use.
3. Place base in tube
Take the partially inflated tube and cover, flip it over onto a flat surface and drop in the base plate with the spokes. Ensure that the spokes do not fall out and that 3 lines up with the filler port.
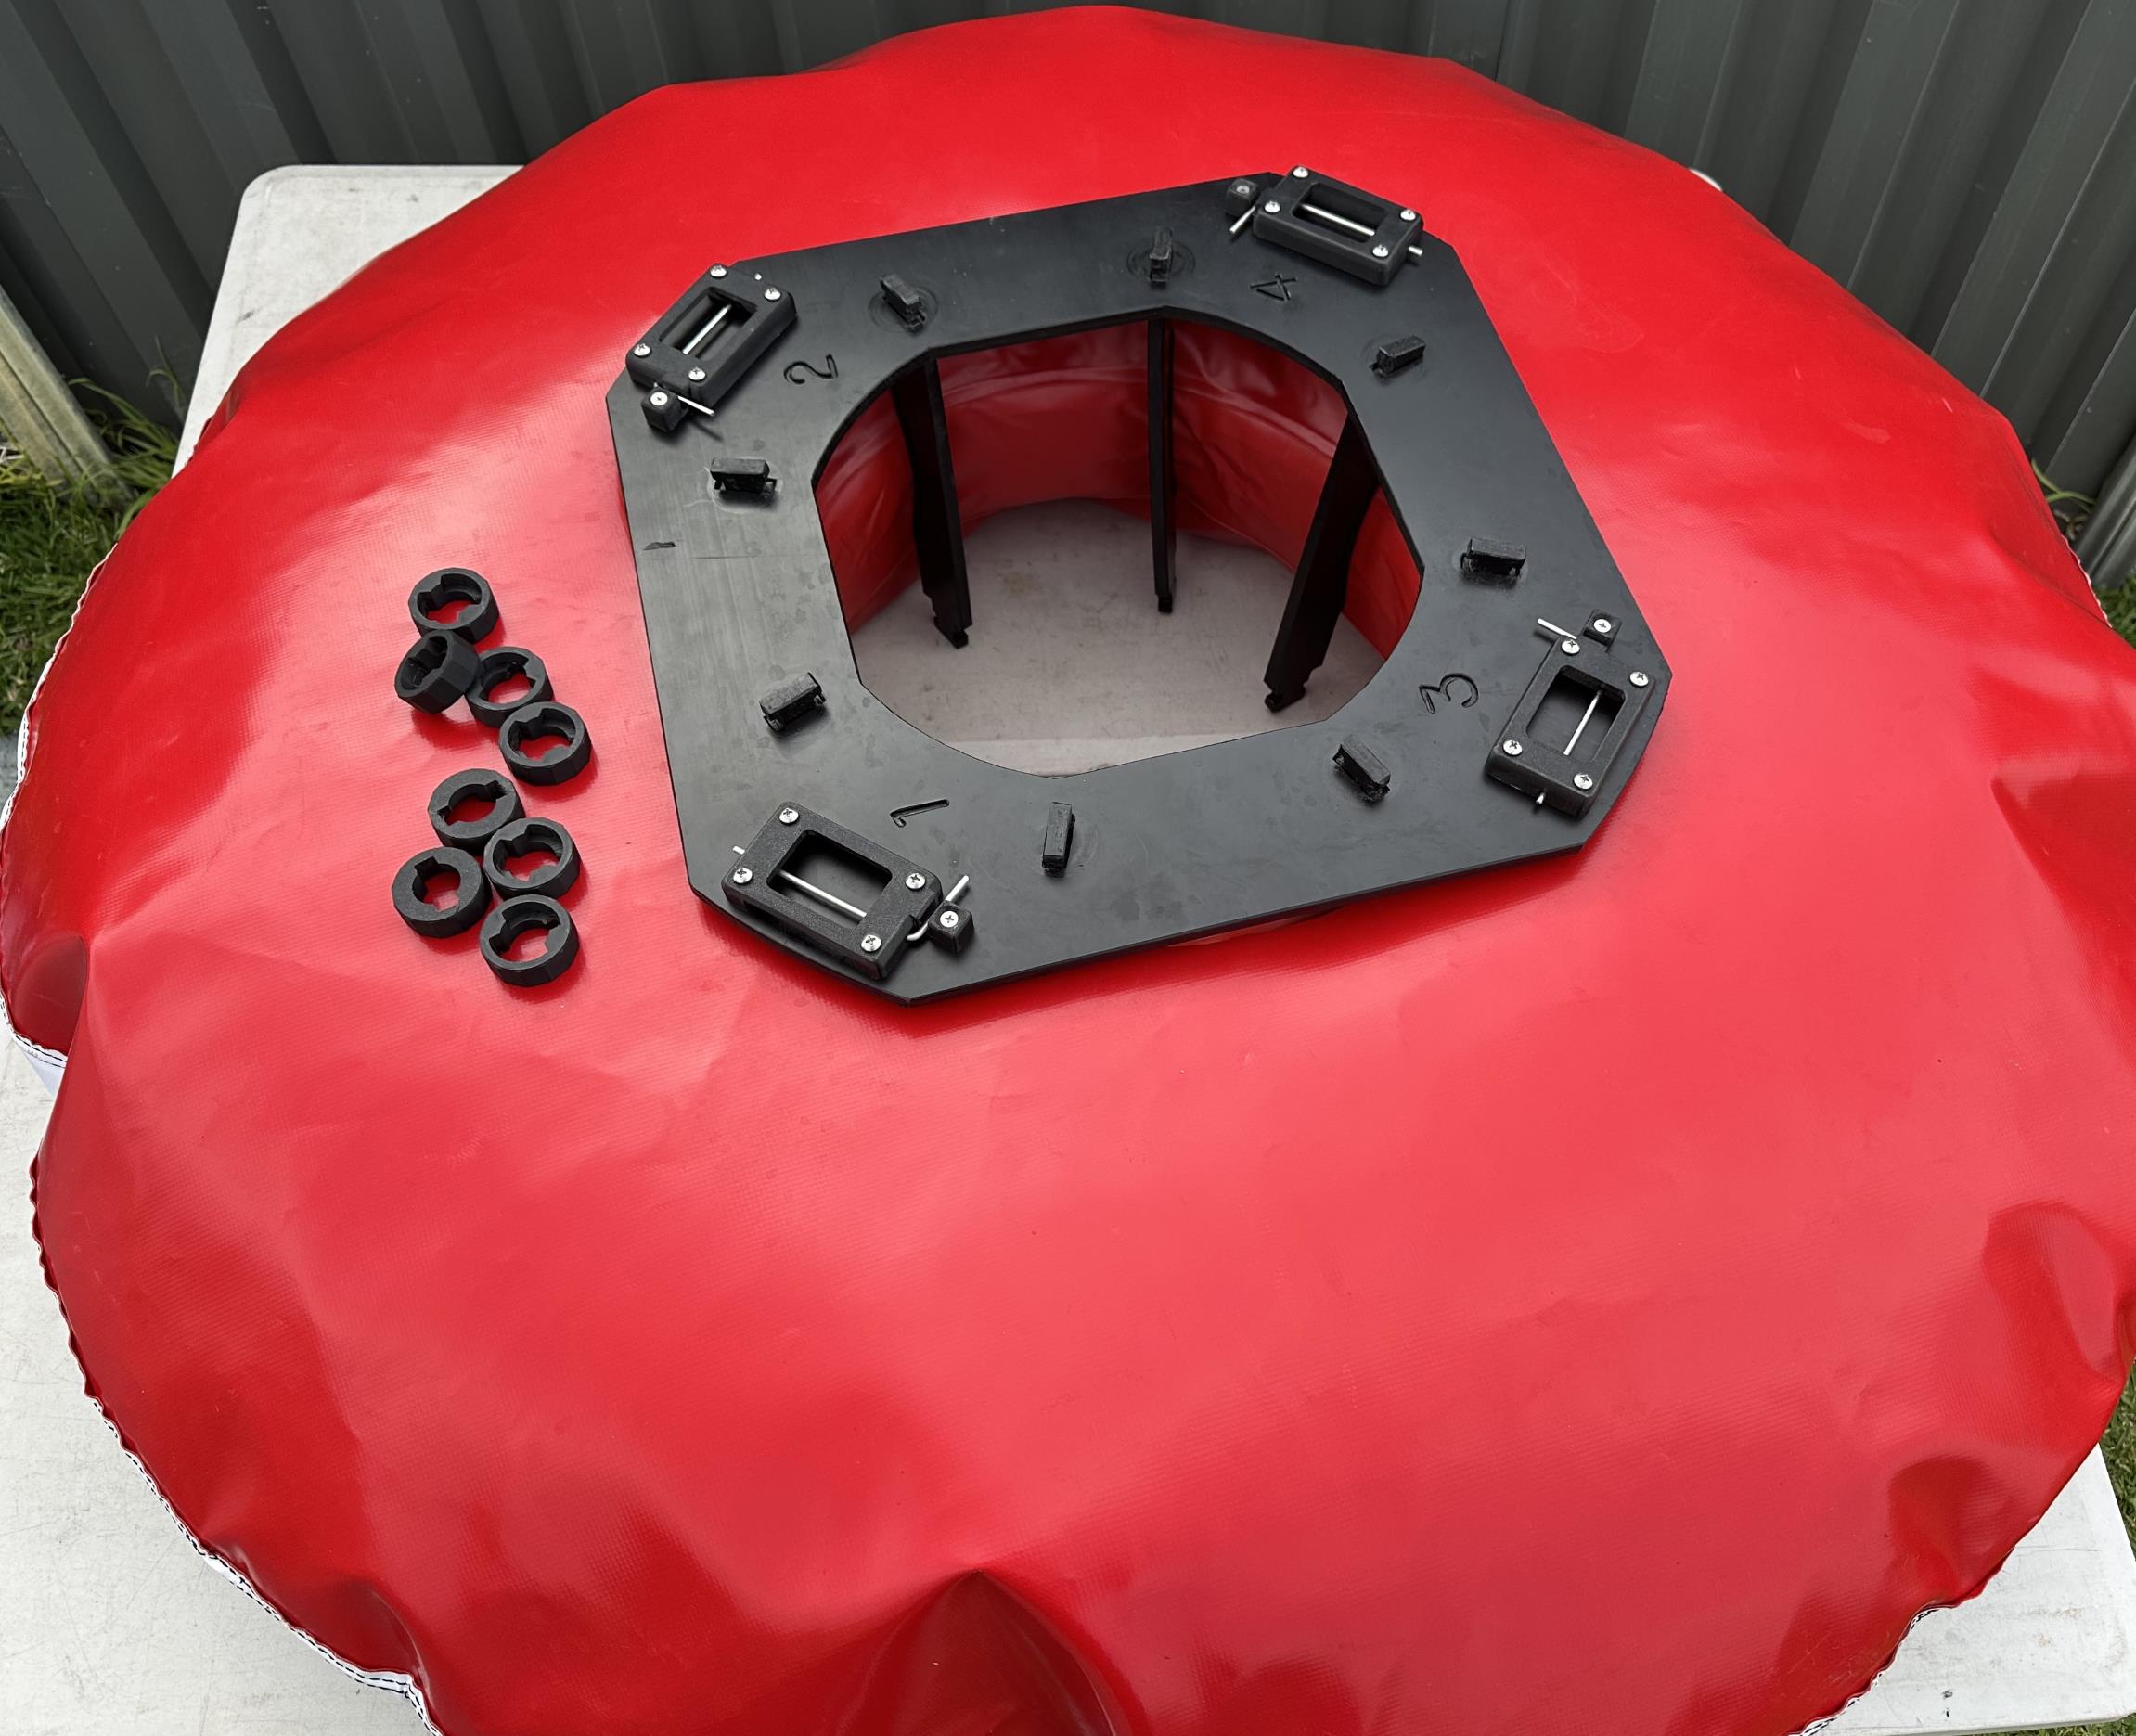
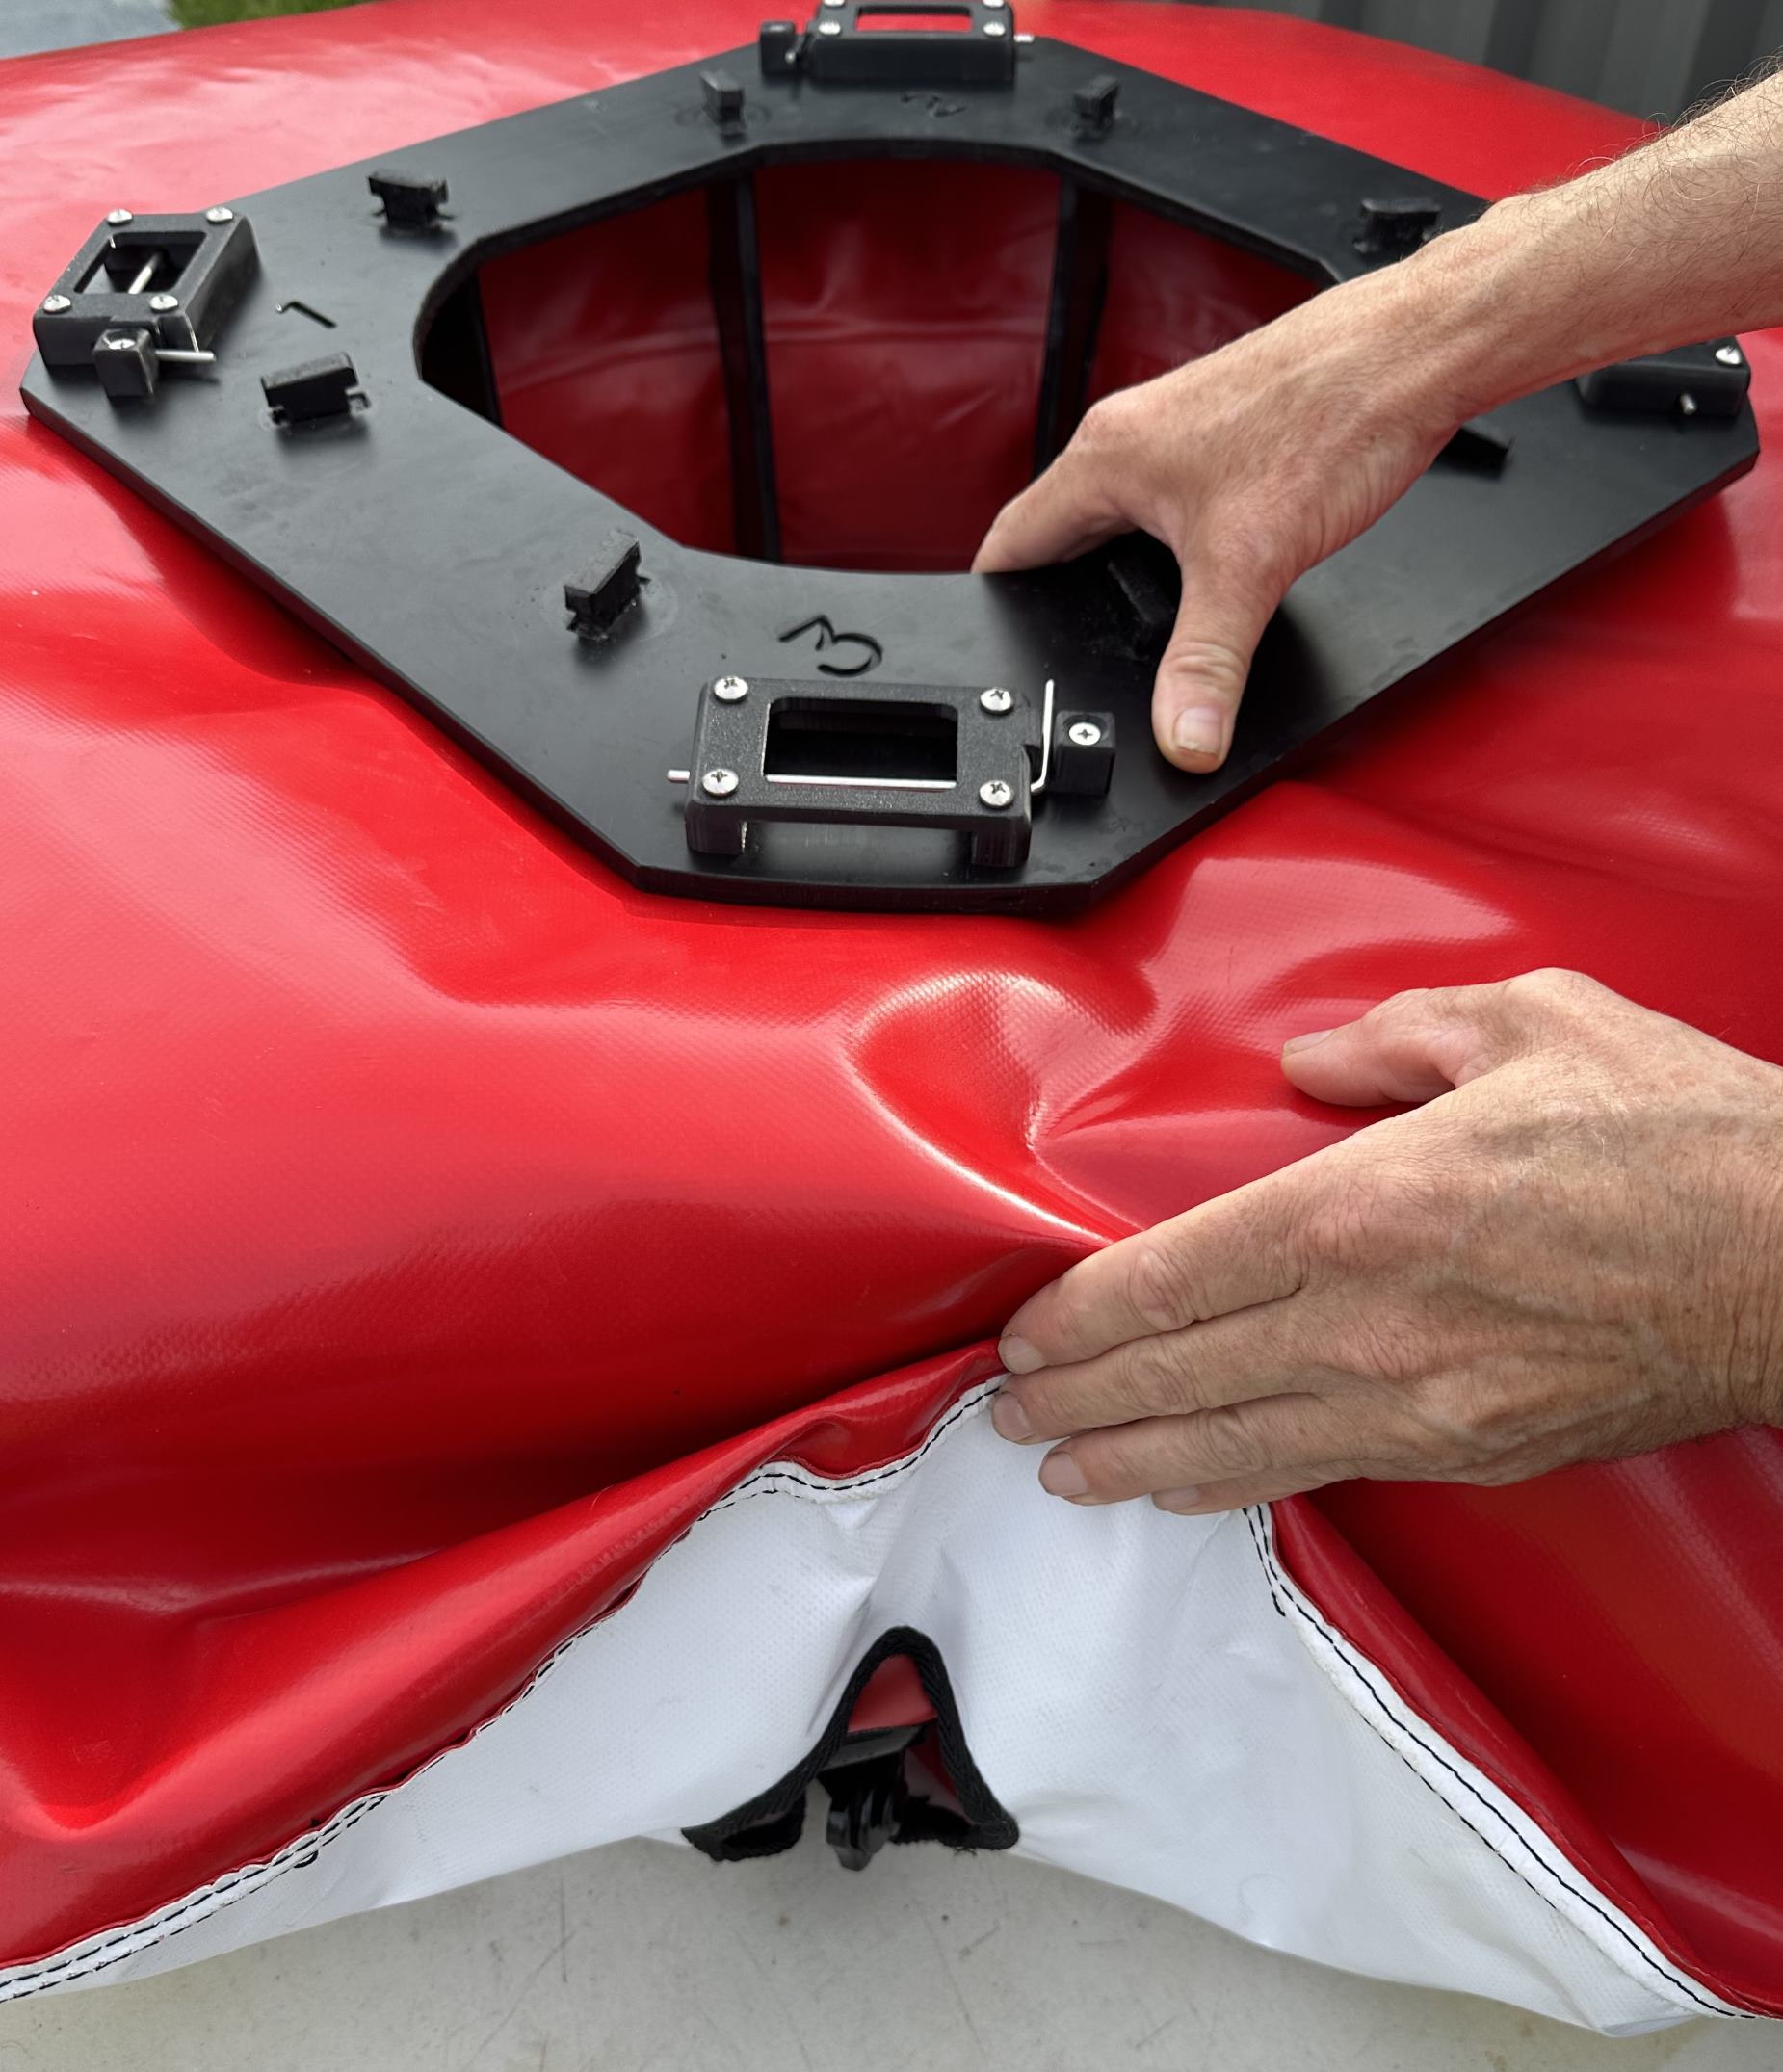
Now, place the camlocks over each spoke cutout ensuring they slide over the end of each spoke.
Camlocks getting stuck?
Please try switching opposing camlocks if you are having difficulty sliding them on. Do not force them as they can break.
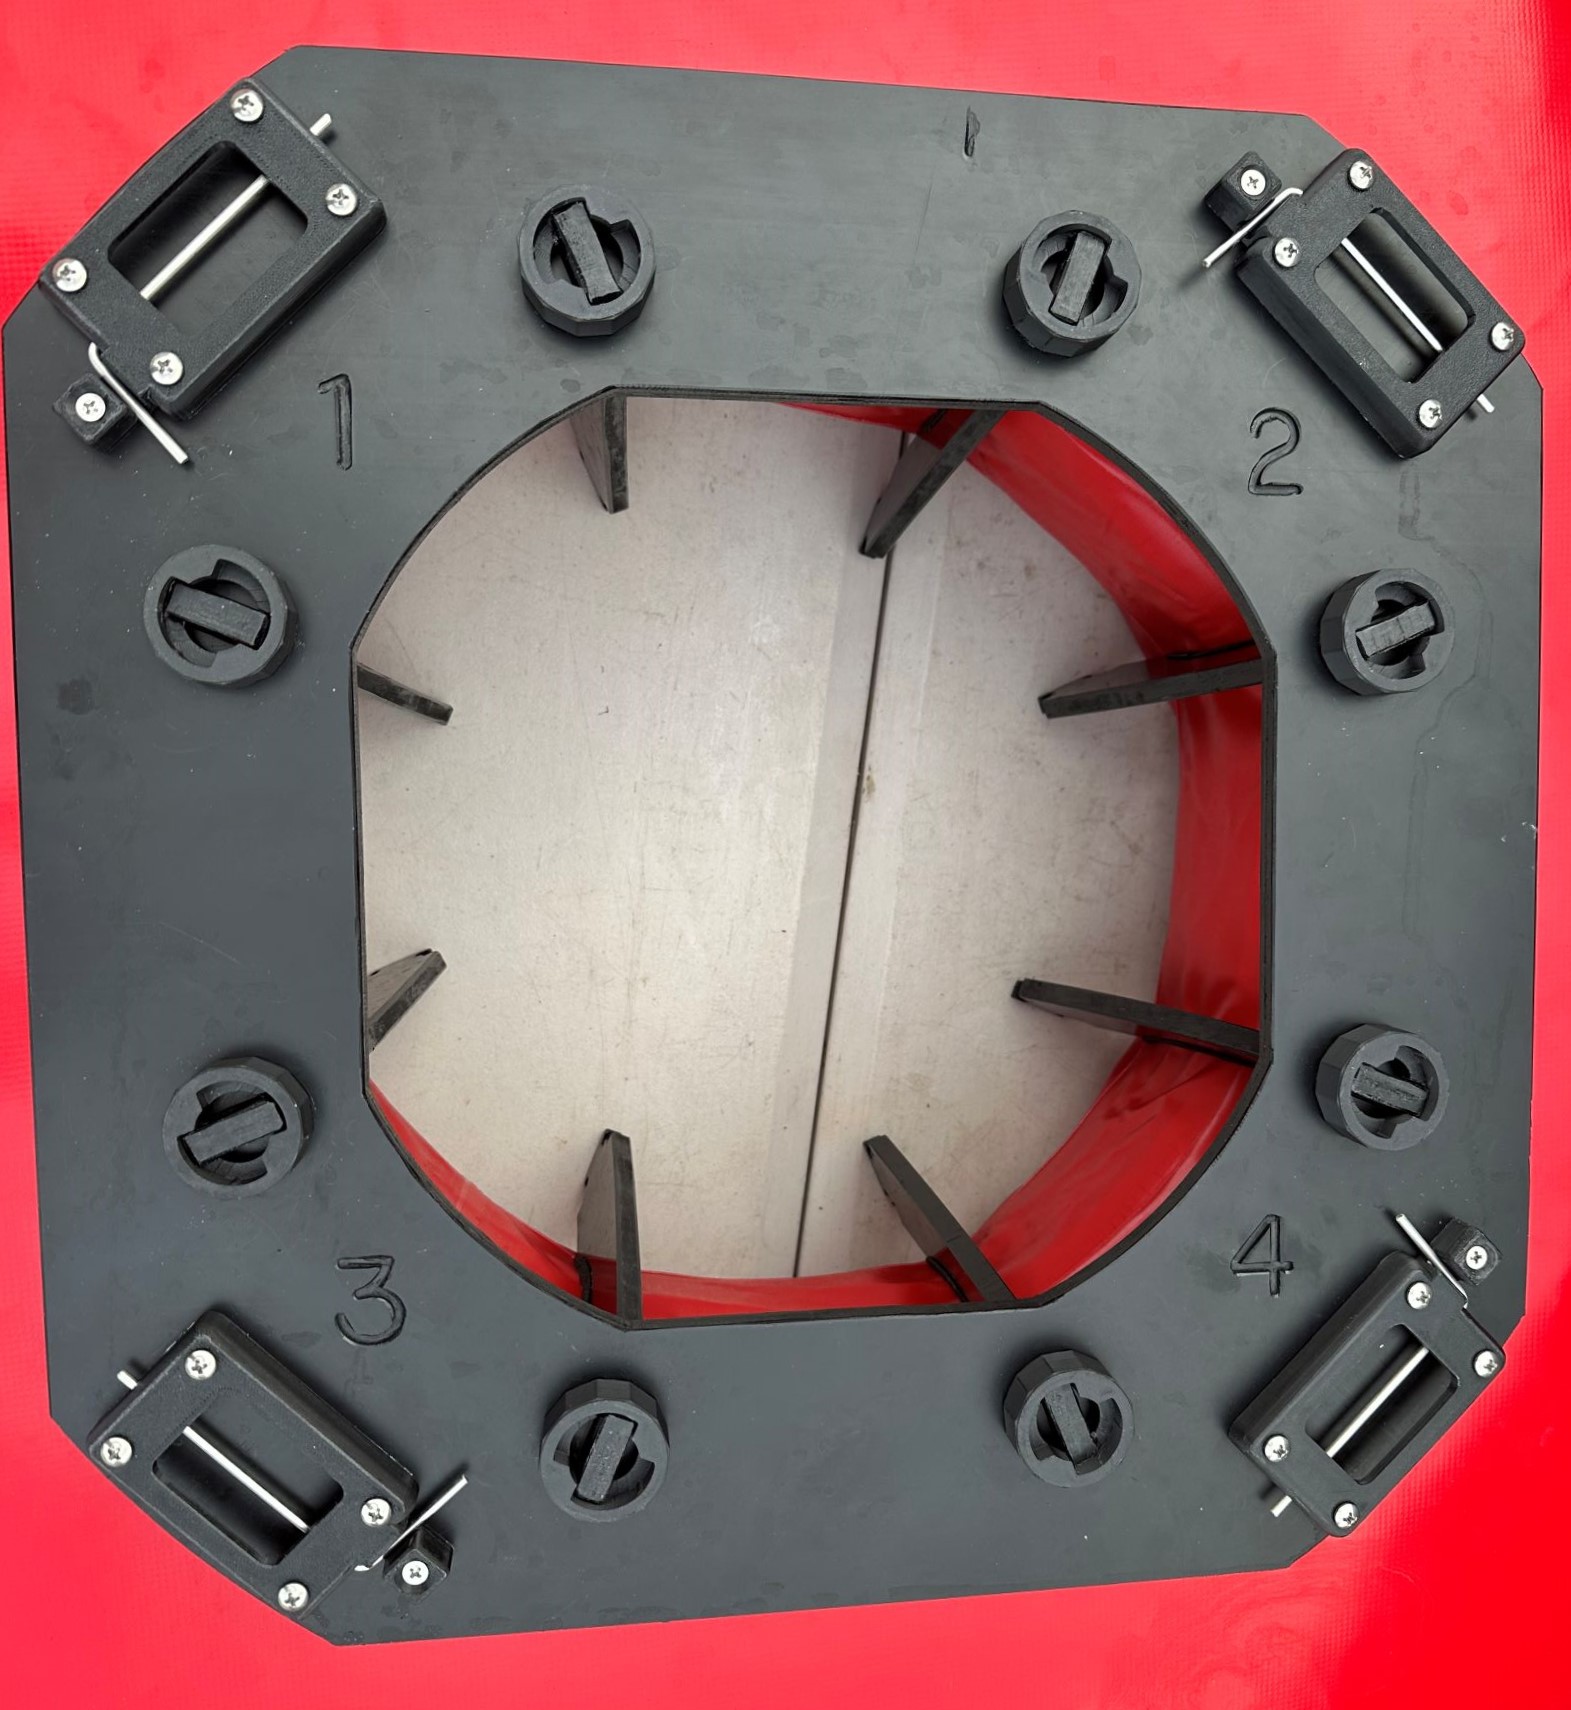
For each camlock, push the spanner over the top of the camlock and ensure there is only around 1/4 of the camlock visible.
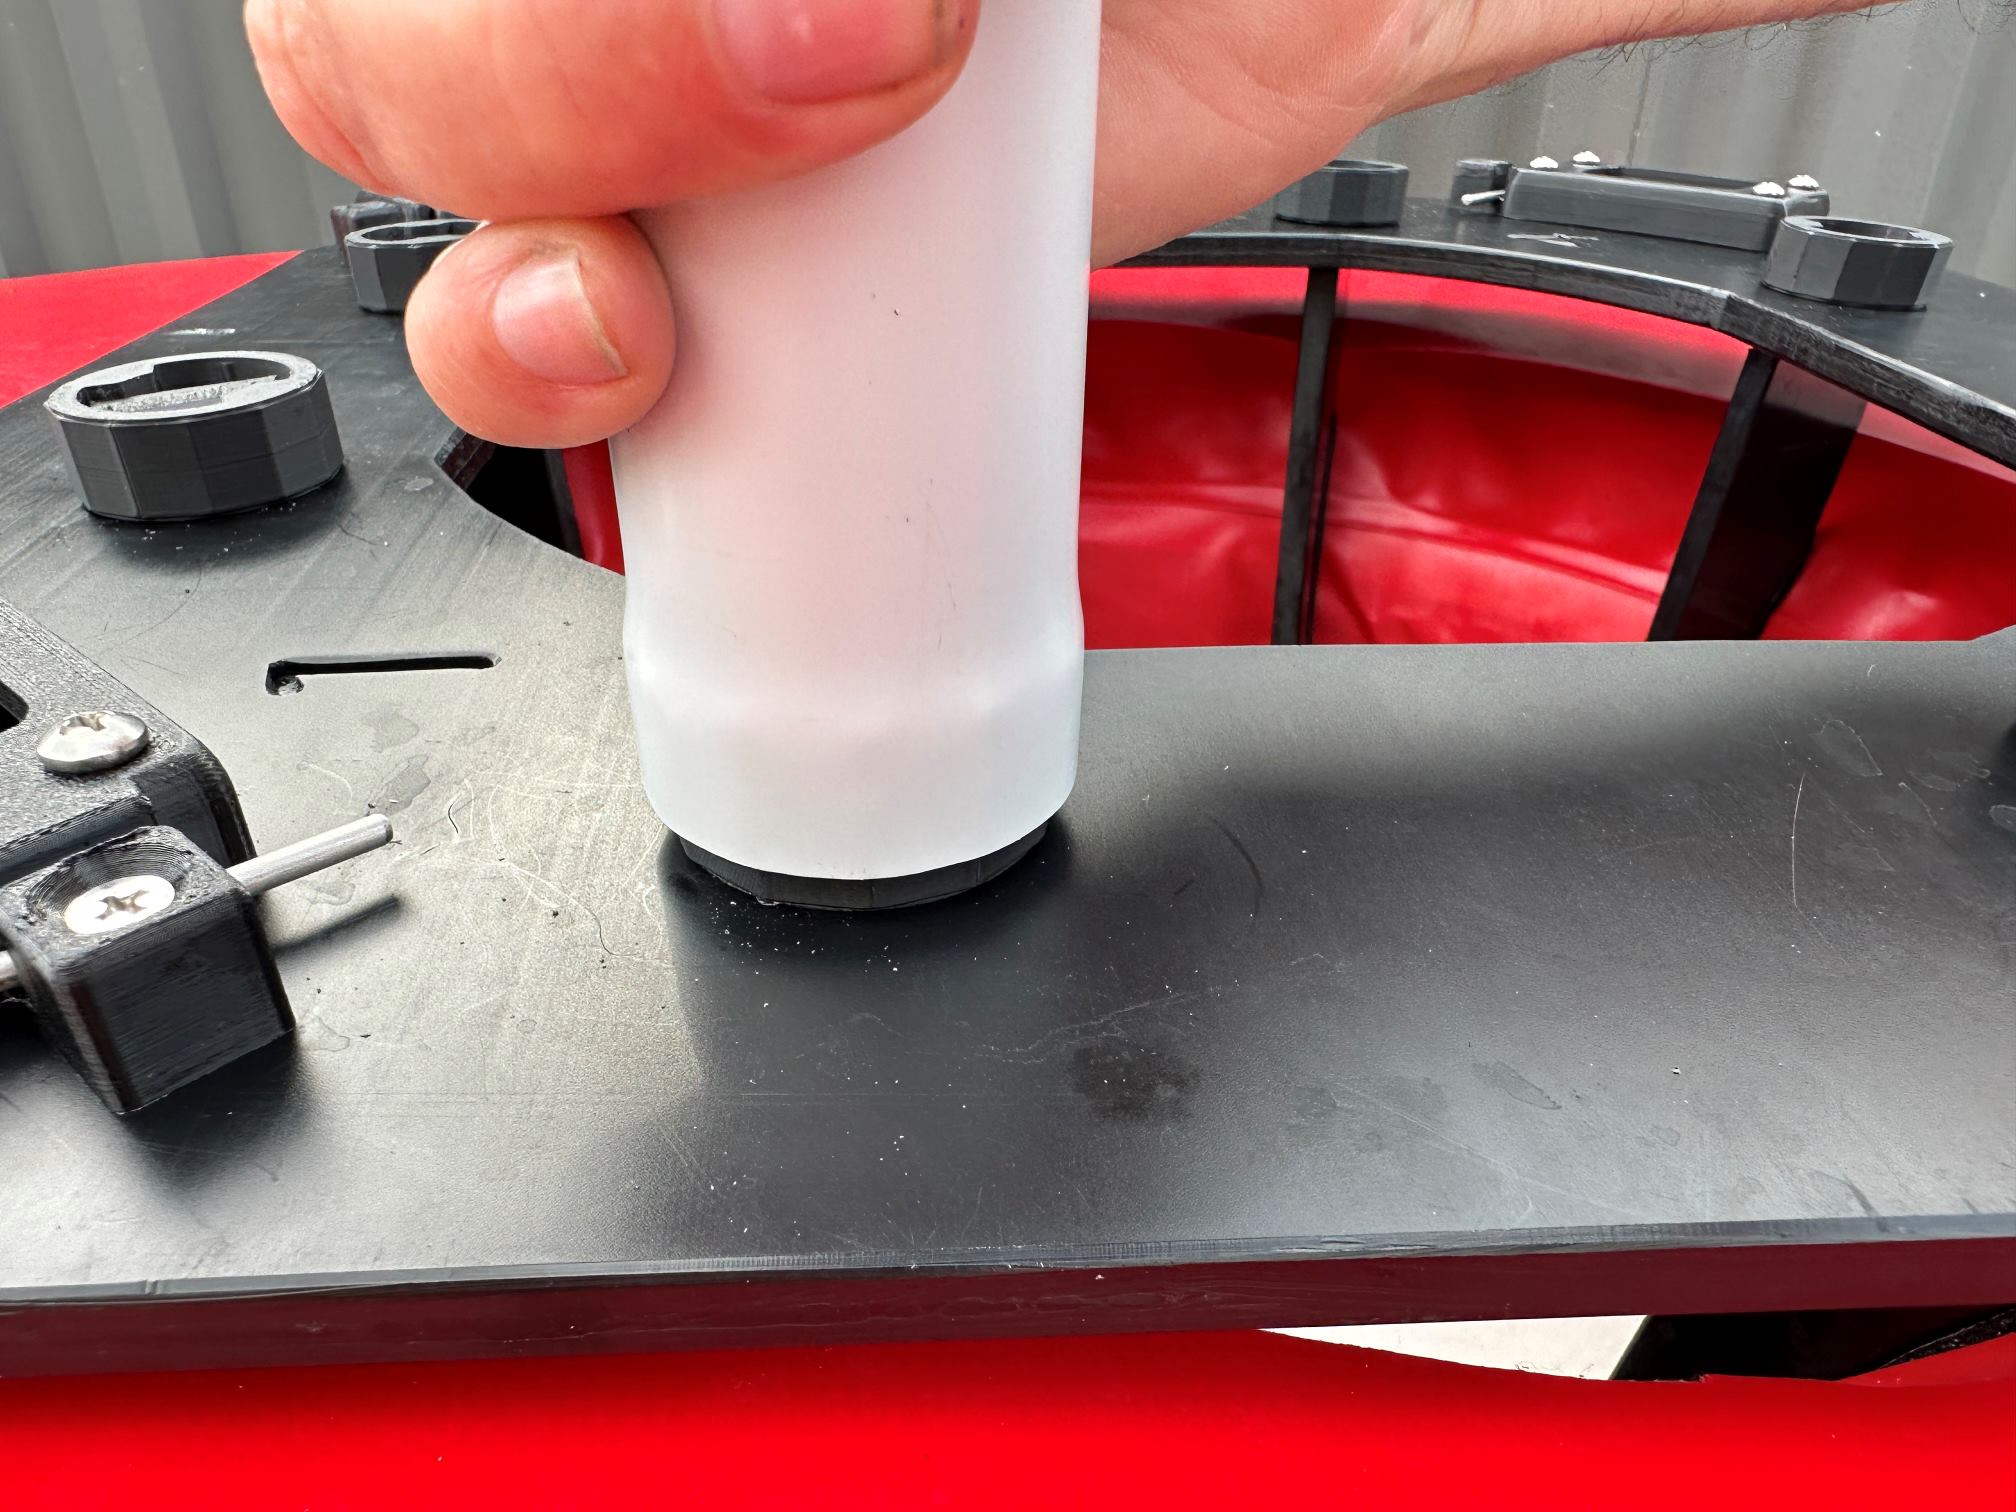
Then proceed to twist the spanner clockwise until you feel the camlock engage. Visually inspect all camlocks prior to this step to ensure they are engaged.
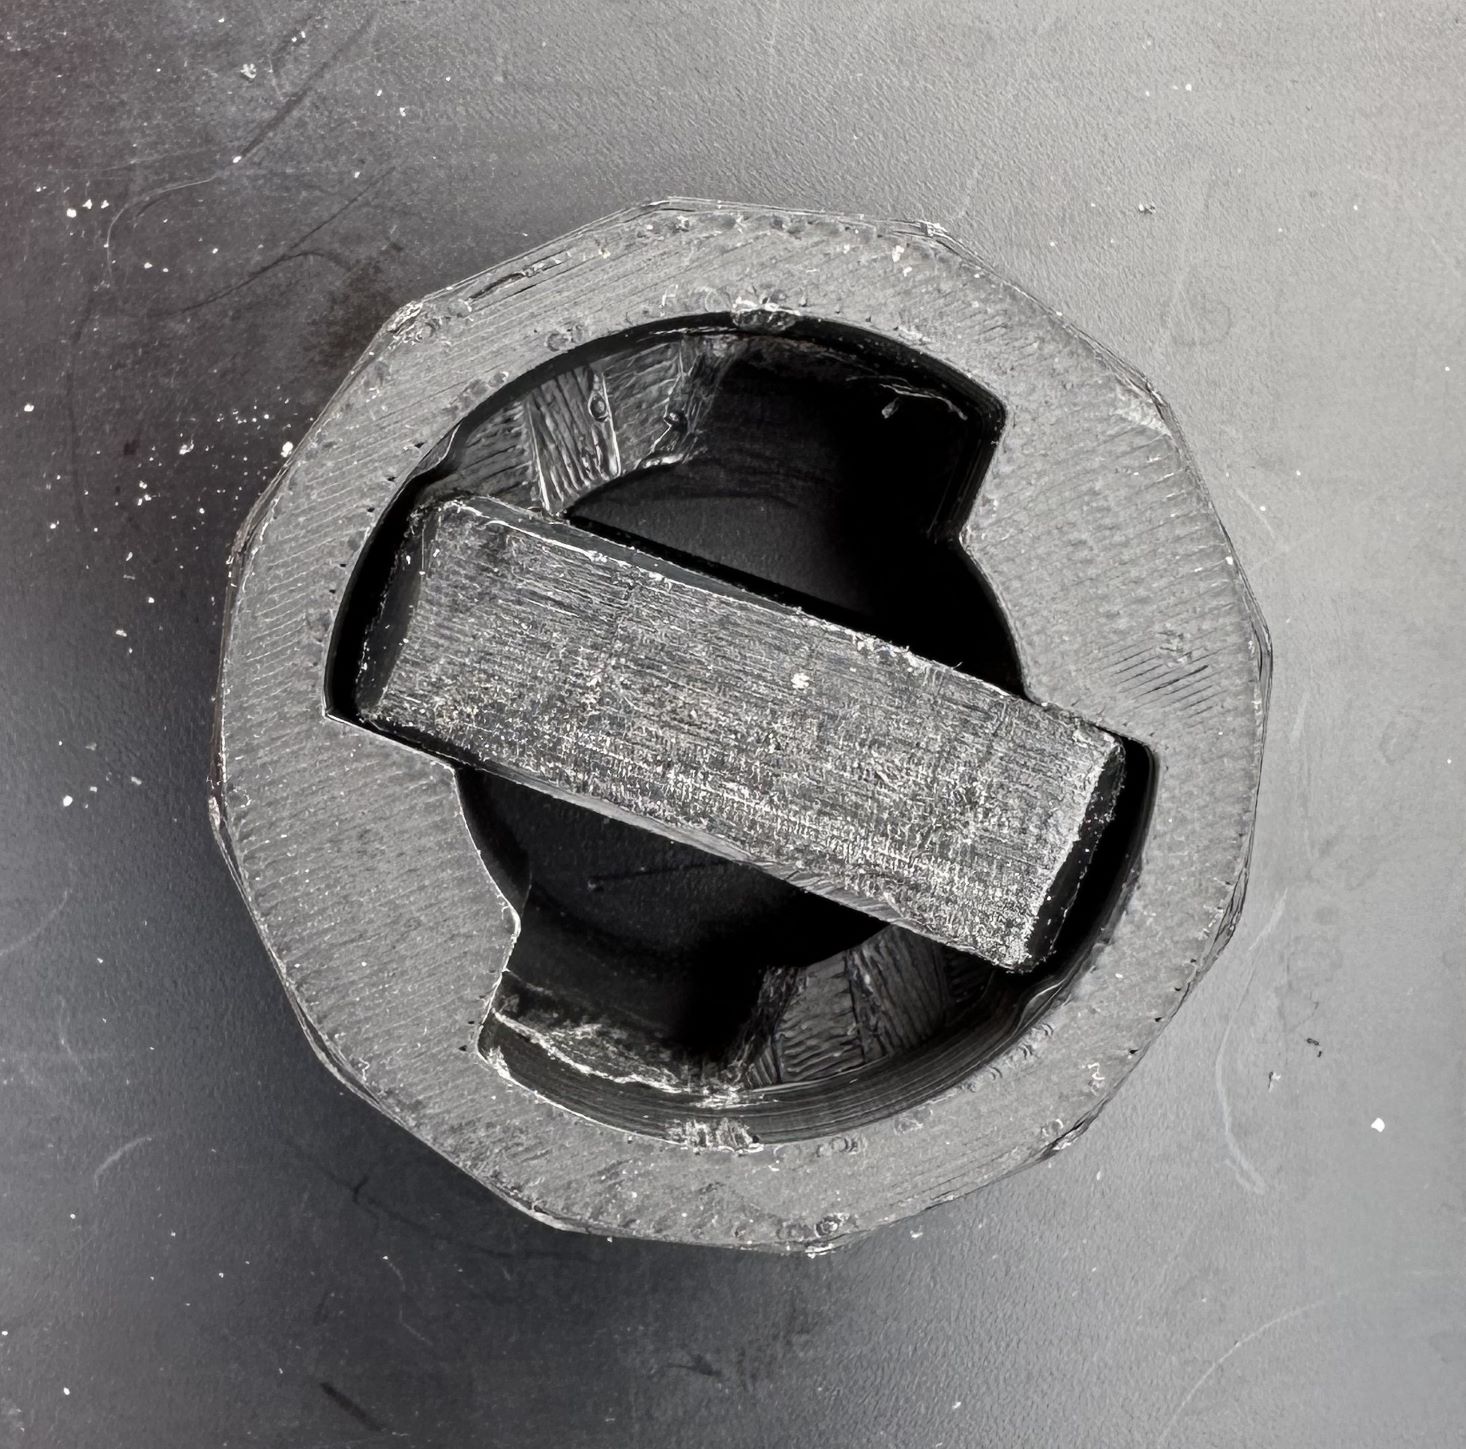
4. Motors & pins
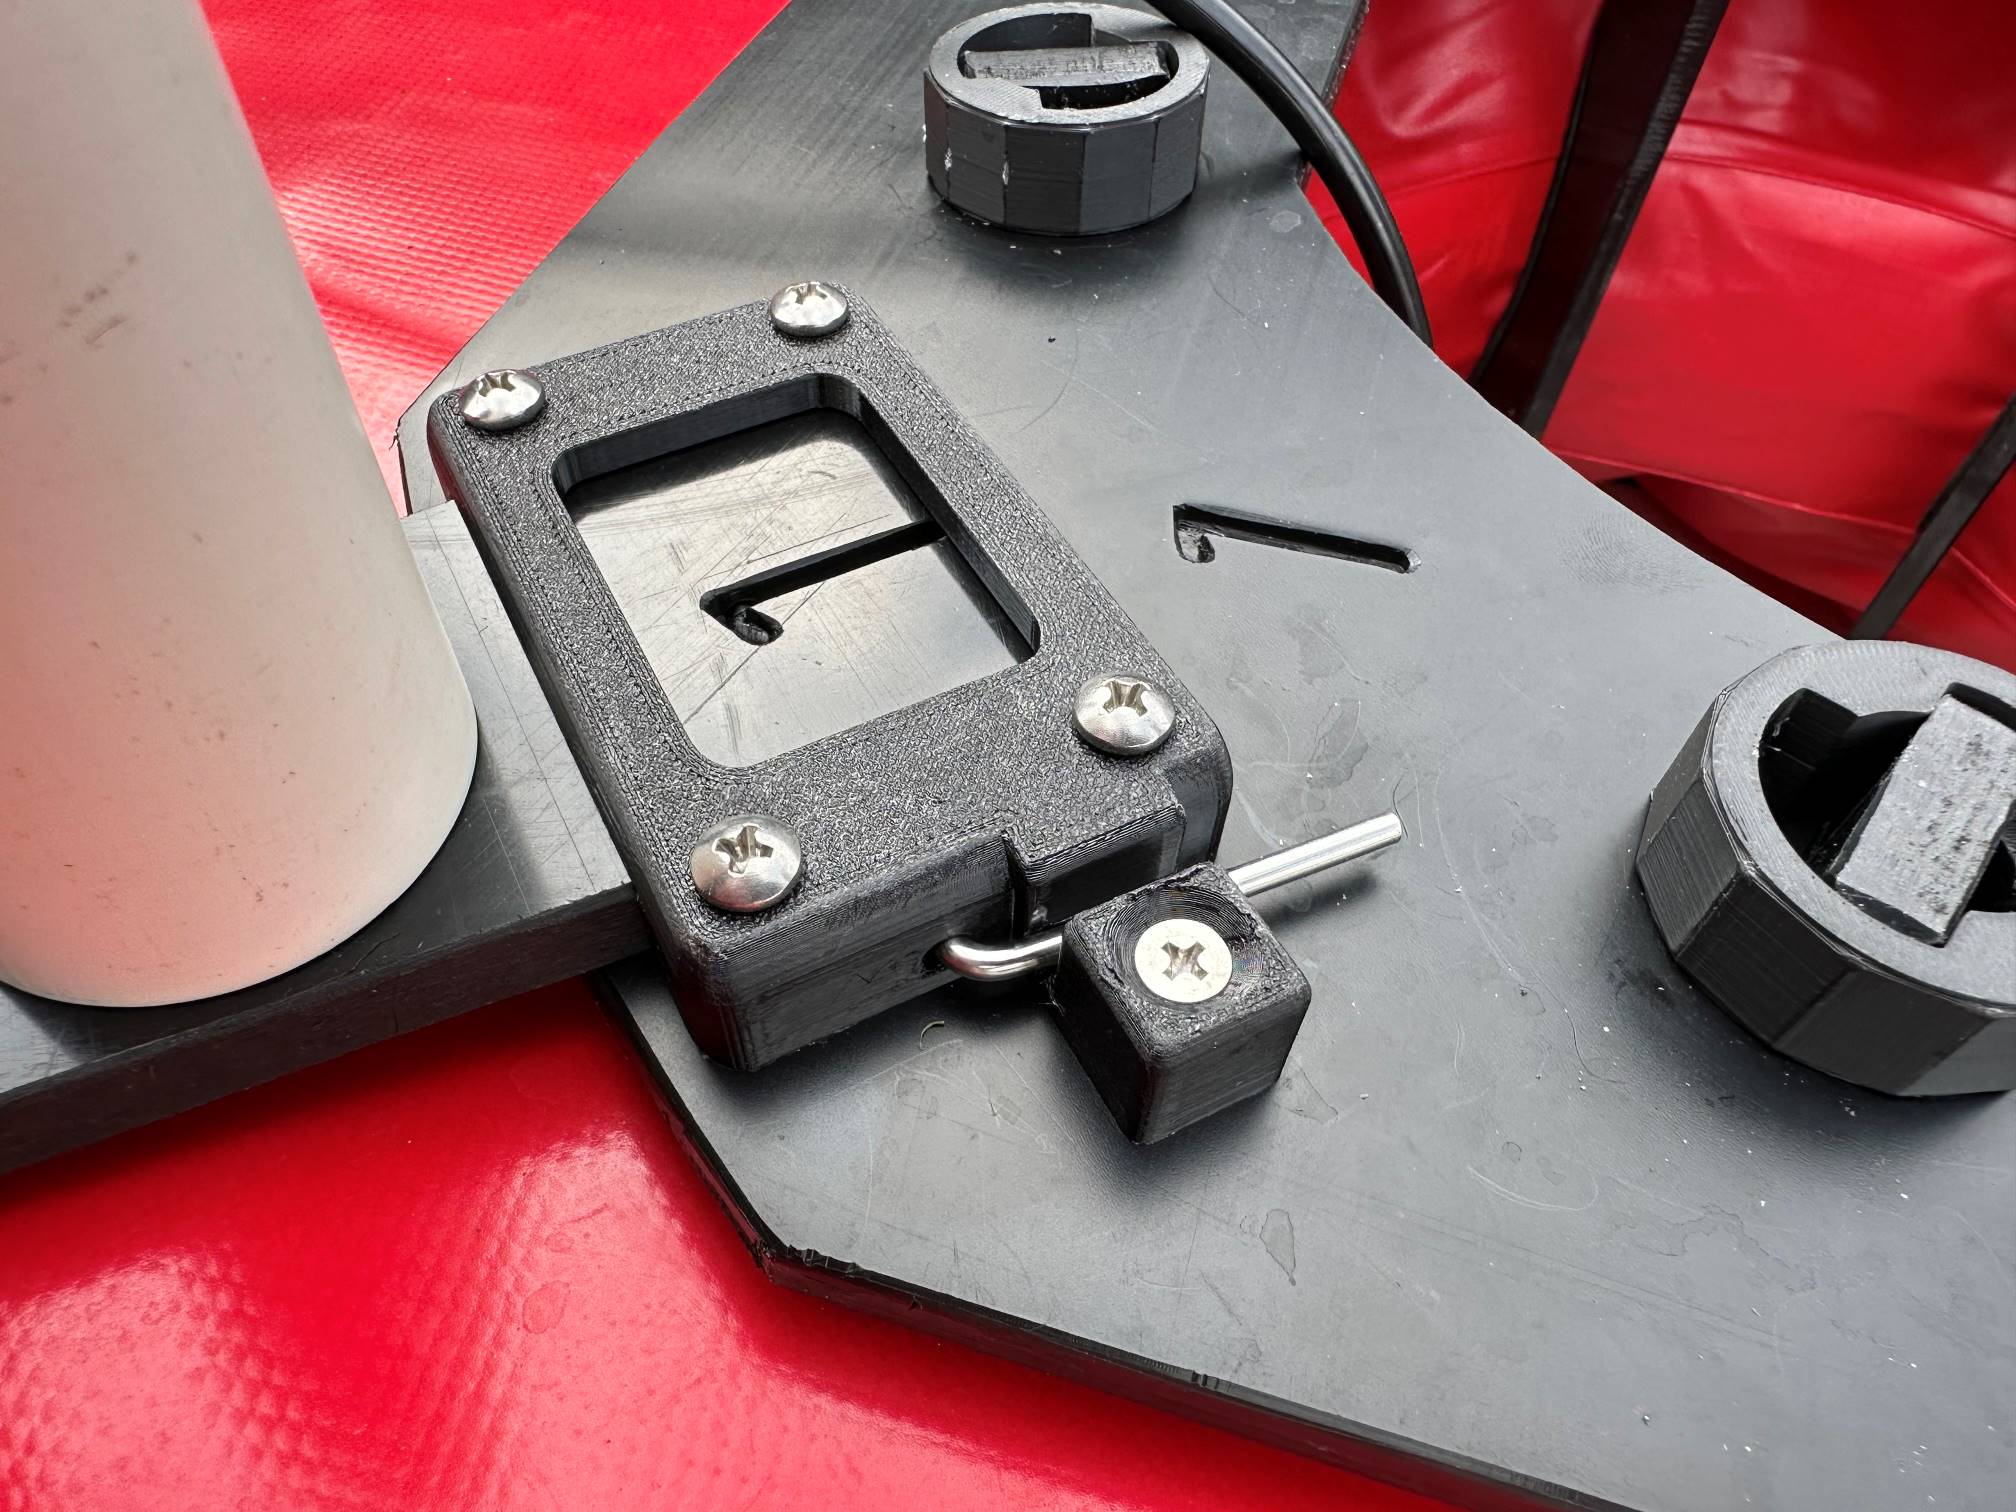
Next remove the retention pins from each of the motor clips and put aside for now. Match each motor number up with the clip number (found engraved on the base plate) and insert the motor.
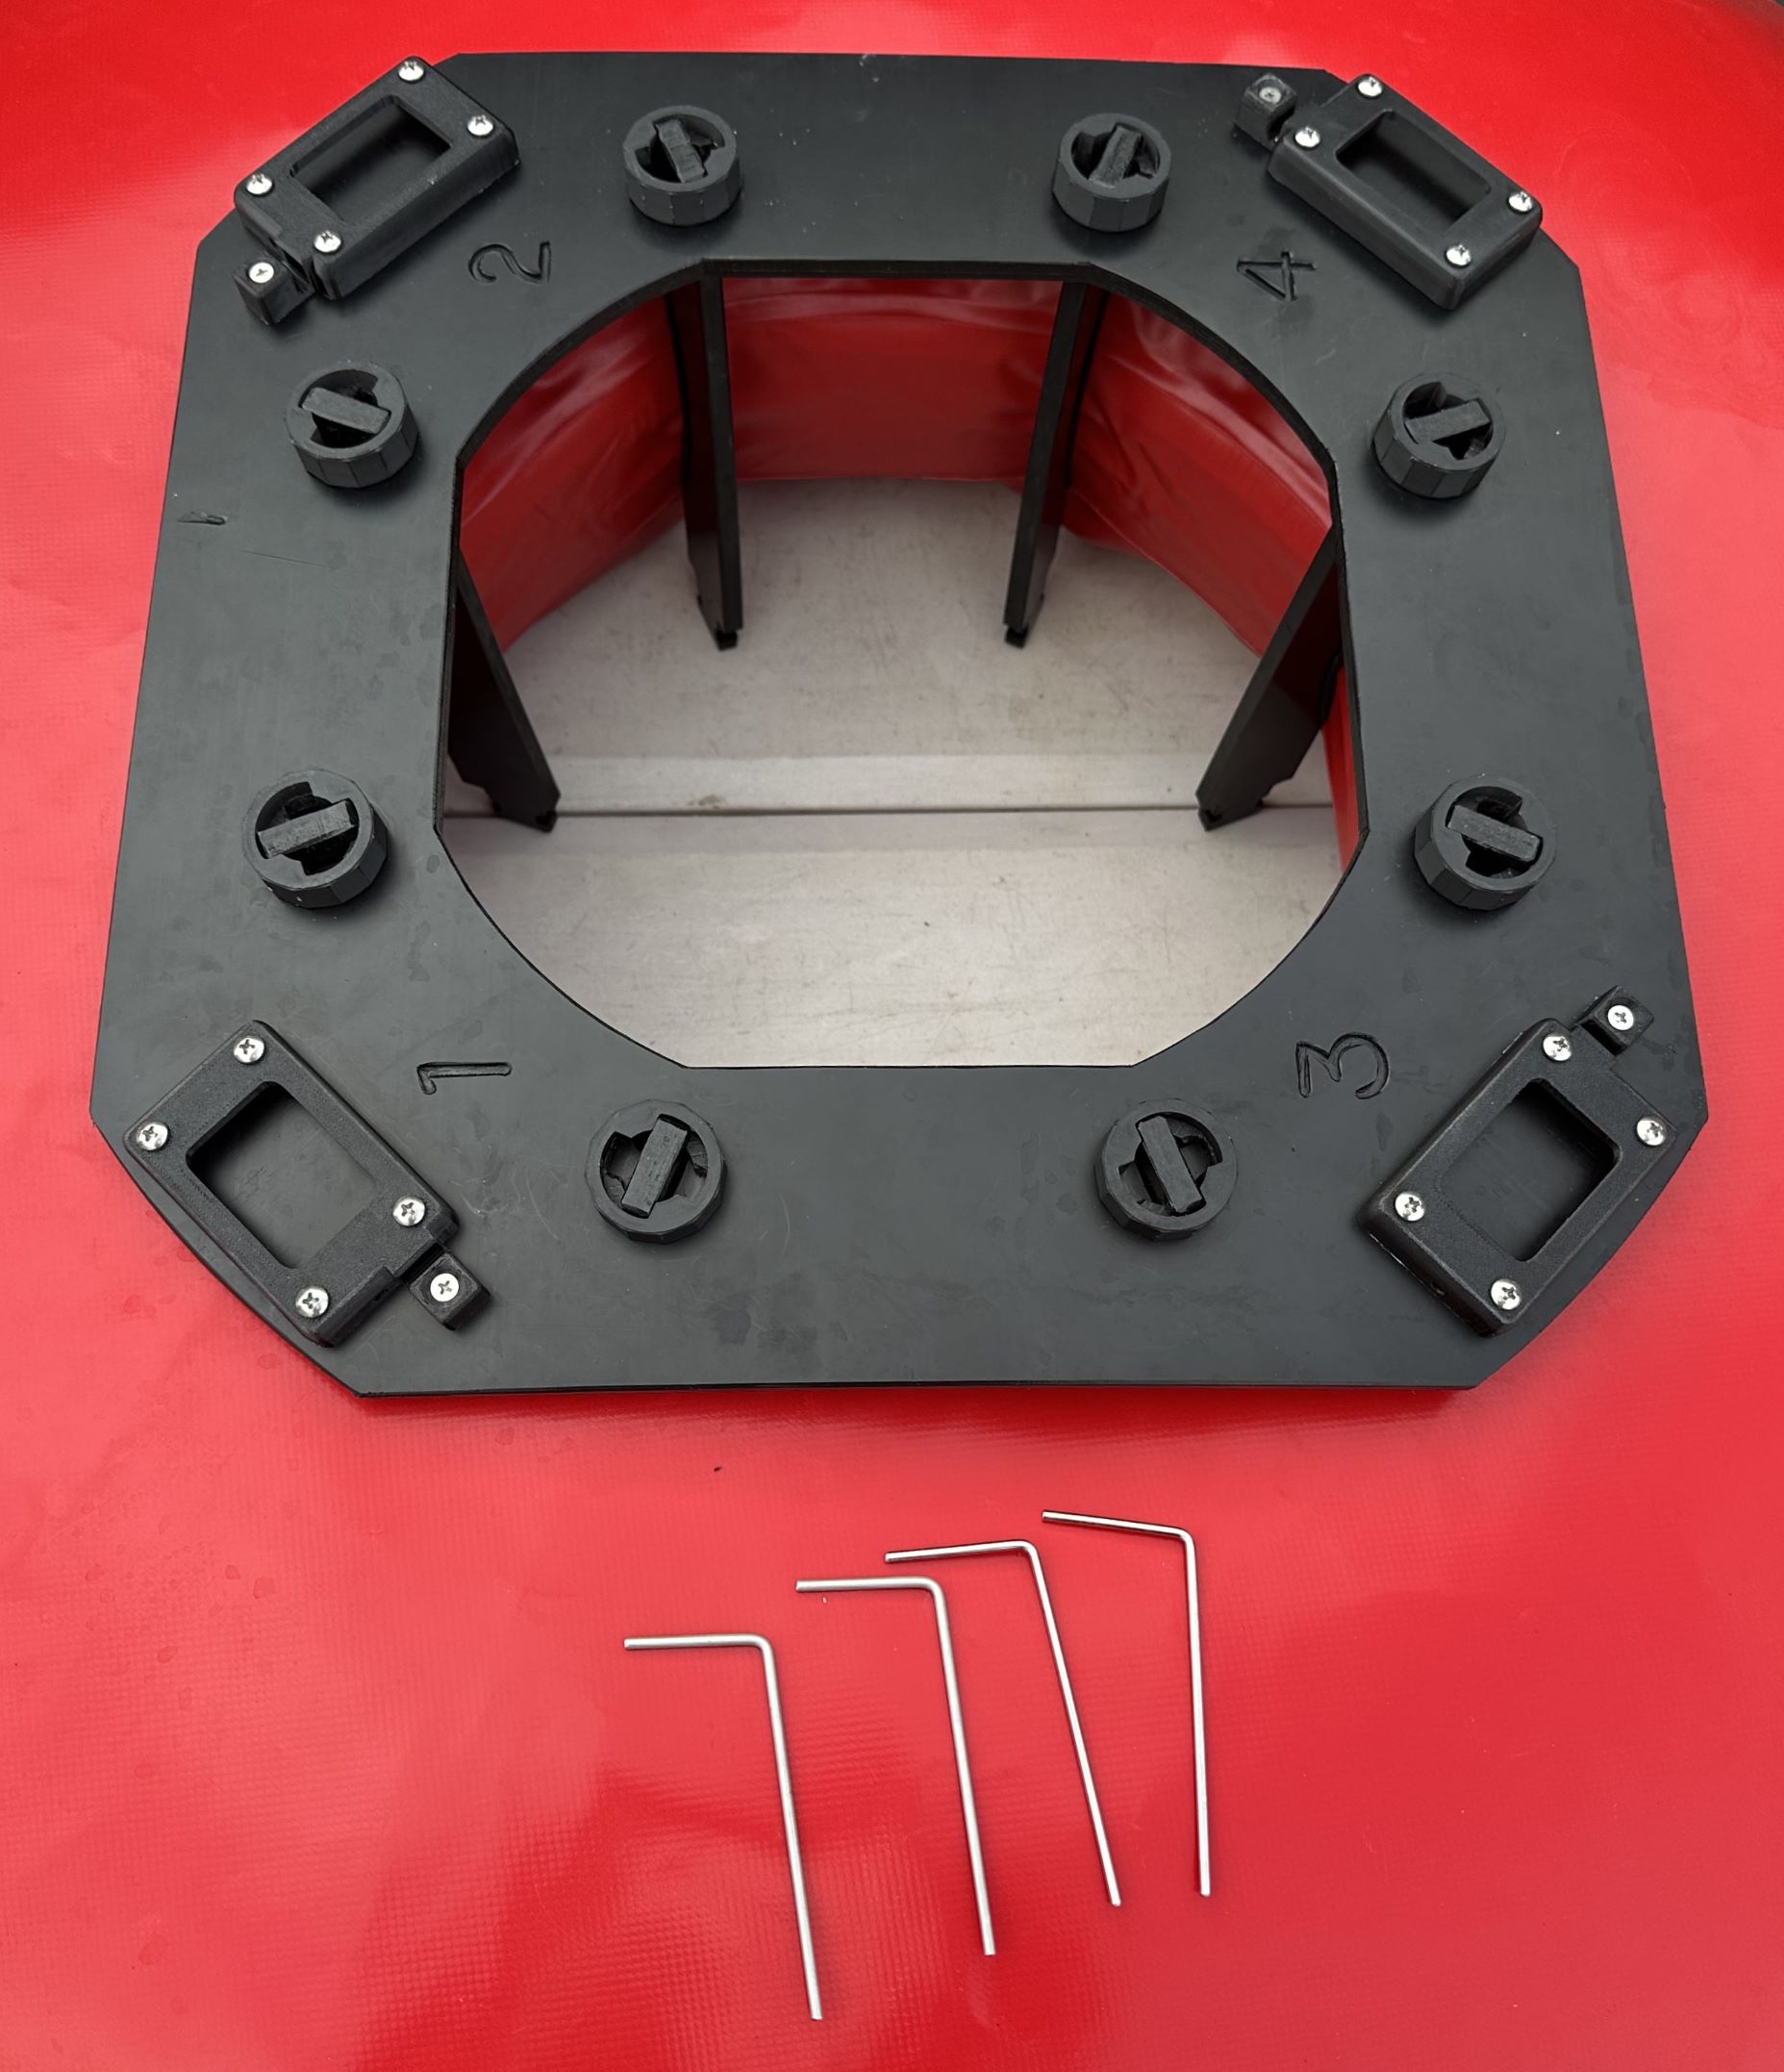
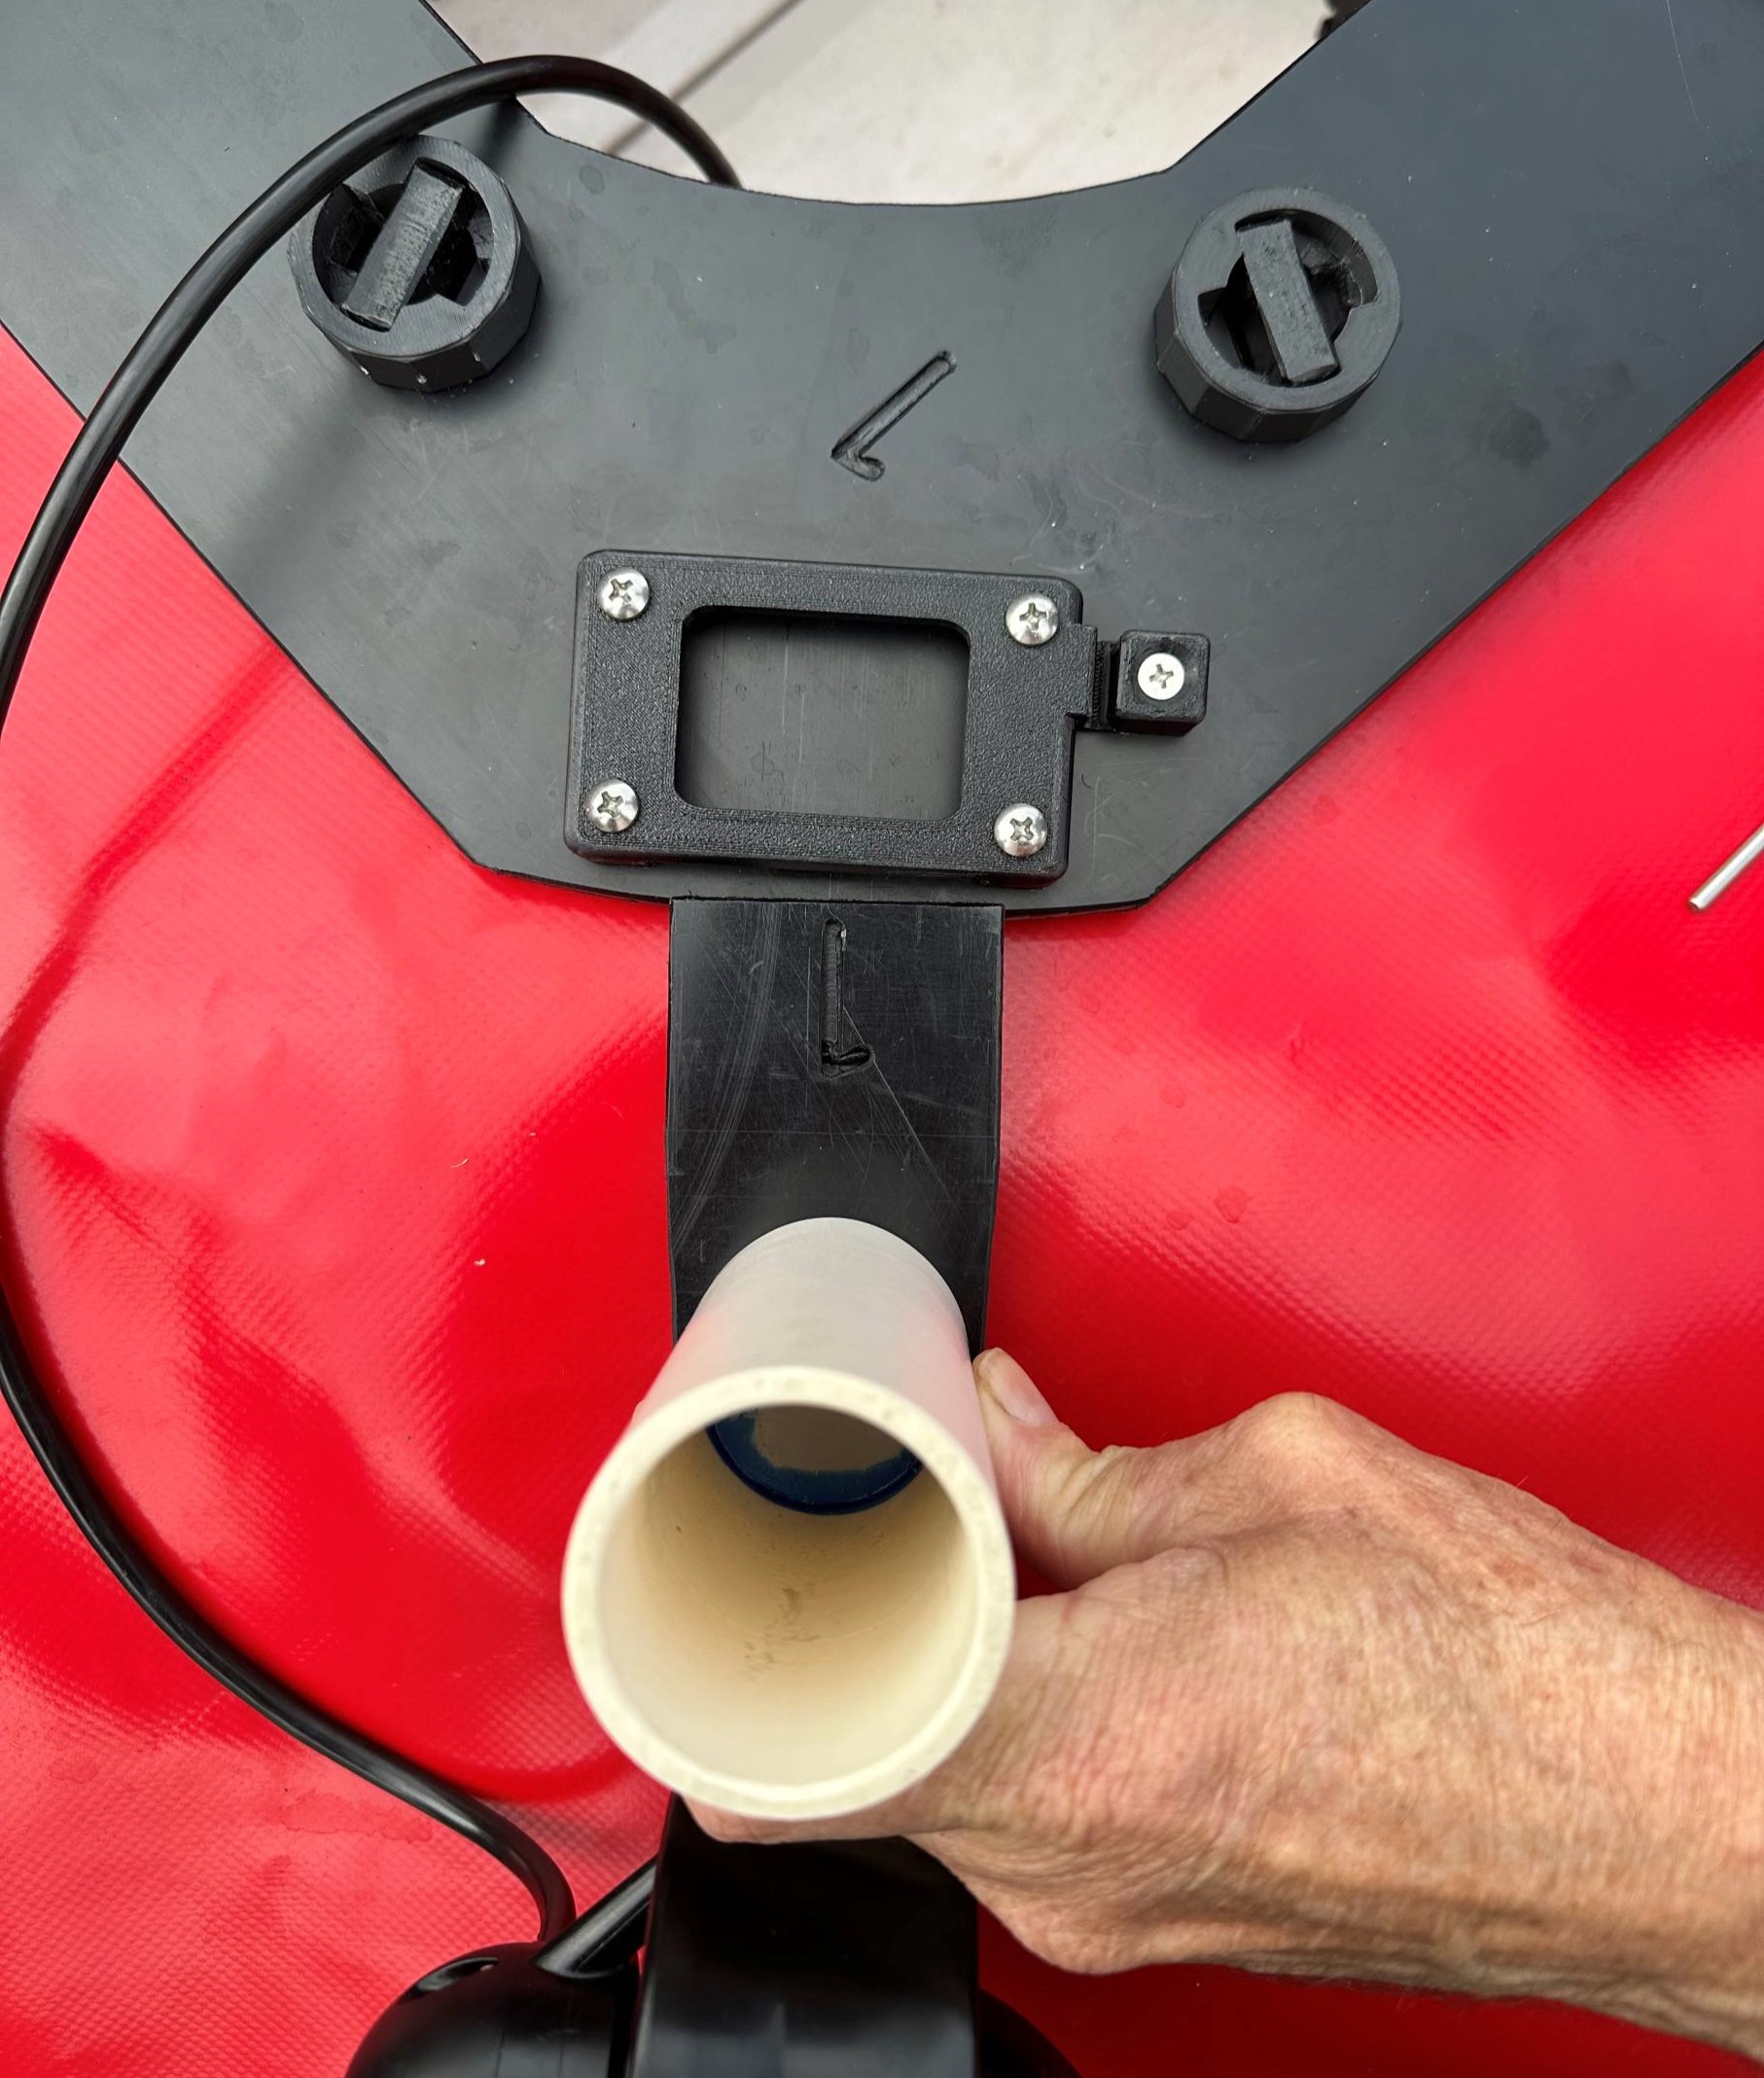
Insert the pins through the motor arms and clip them into place.
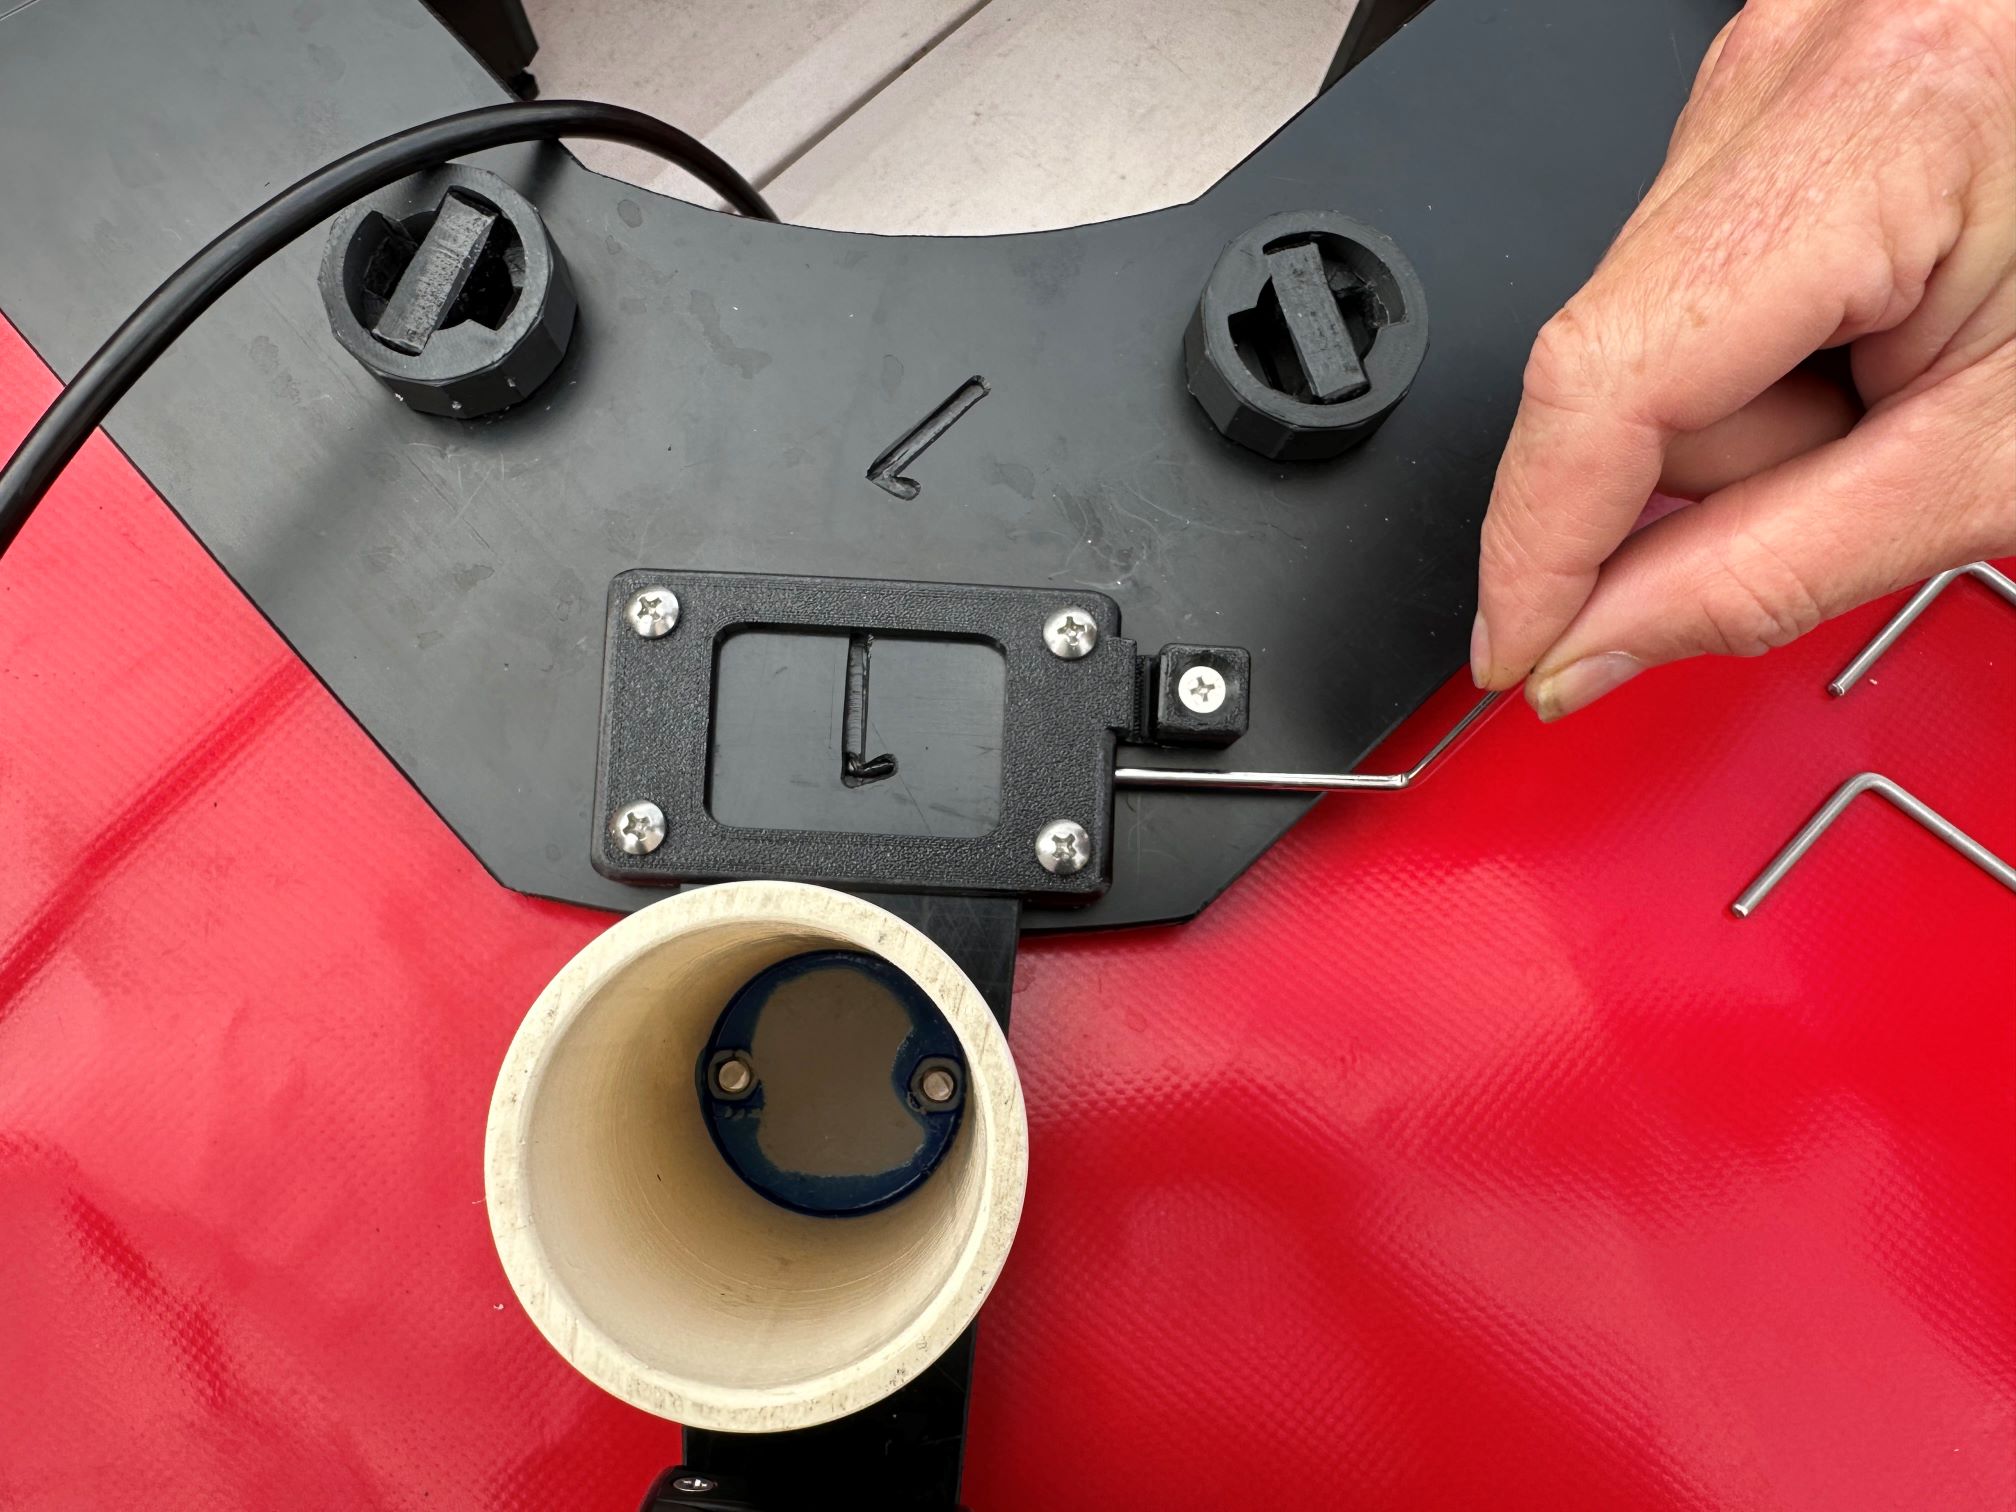
Optional: Seaweed guards
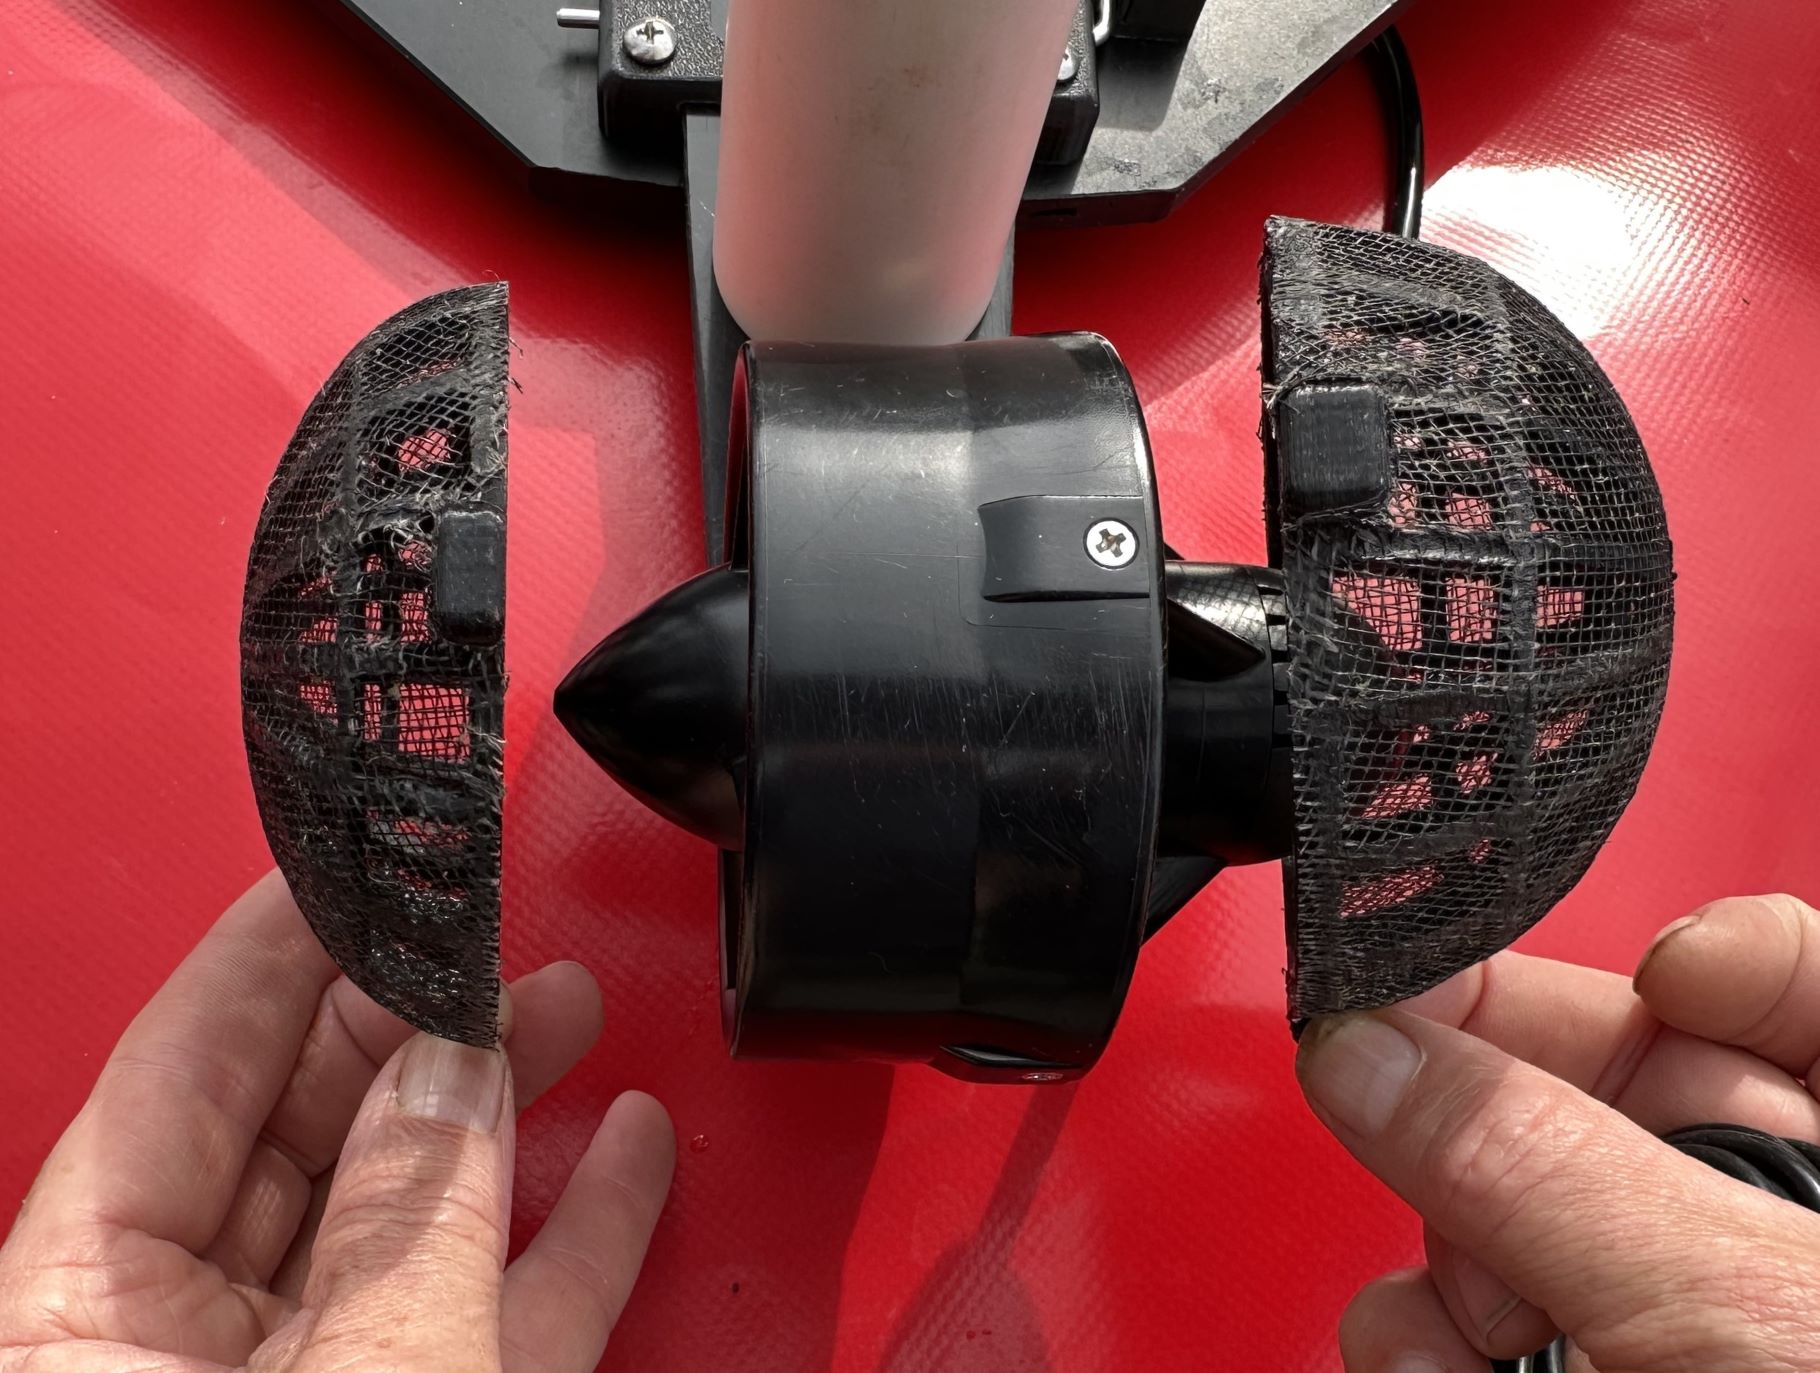
If seaweed is present in the area that you are planning to operate the boat, we recommend putting on the seaweed guards.
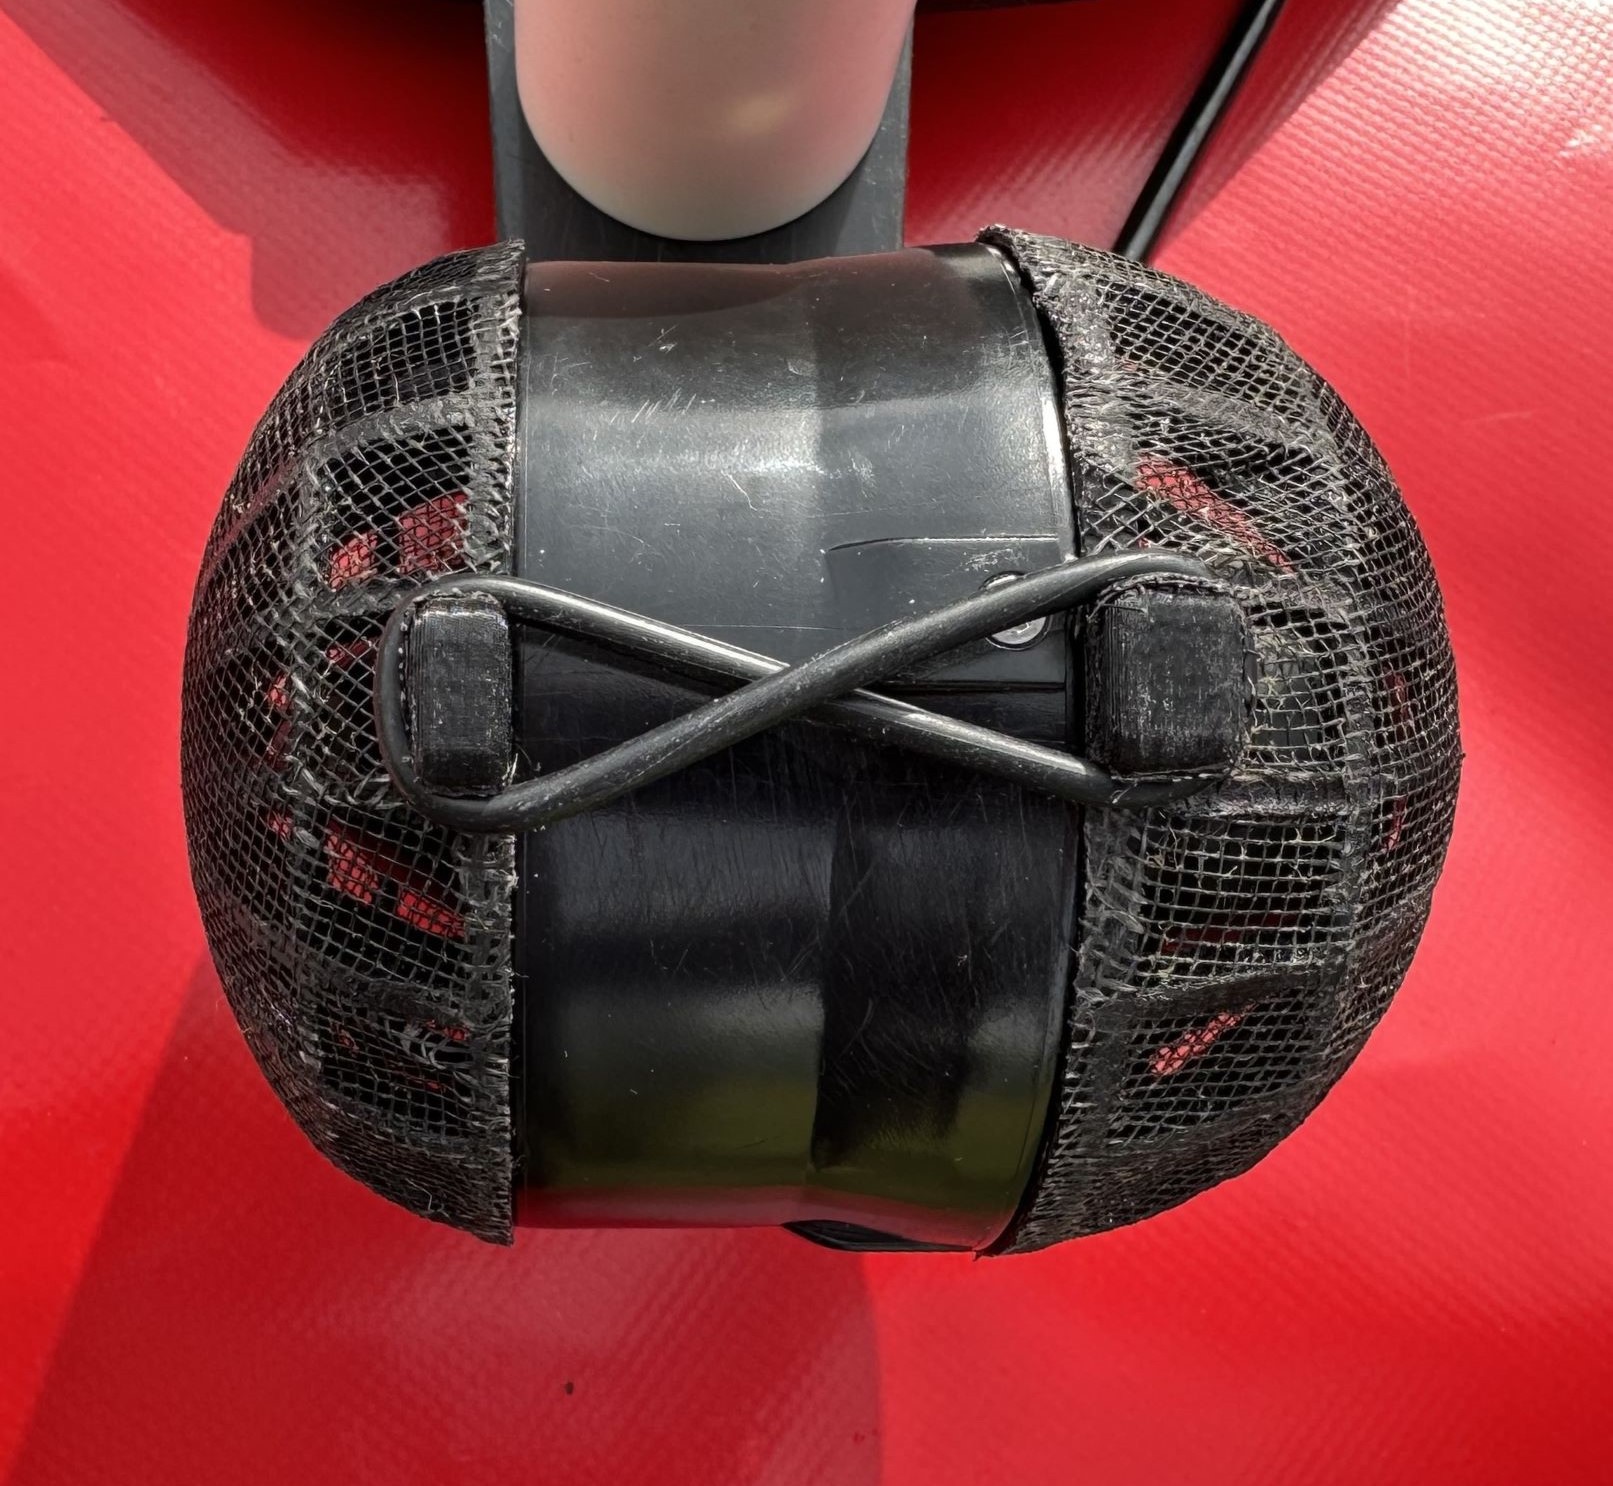
Take them out of the box and orient them according to the following image:
Check the cable groove
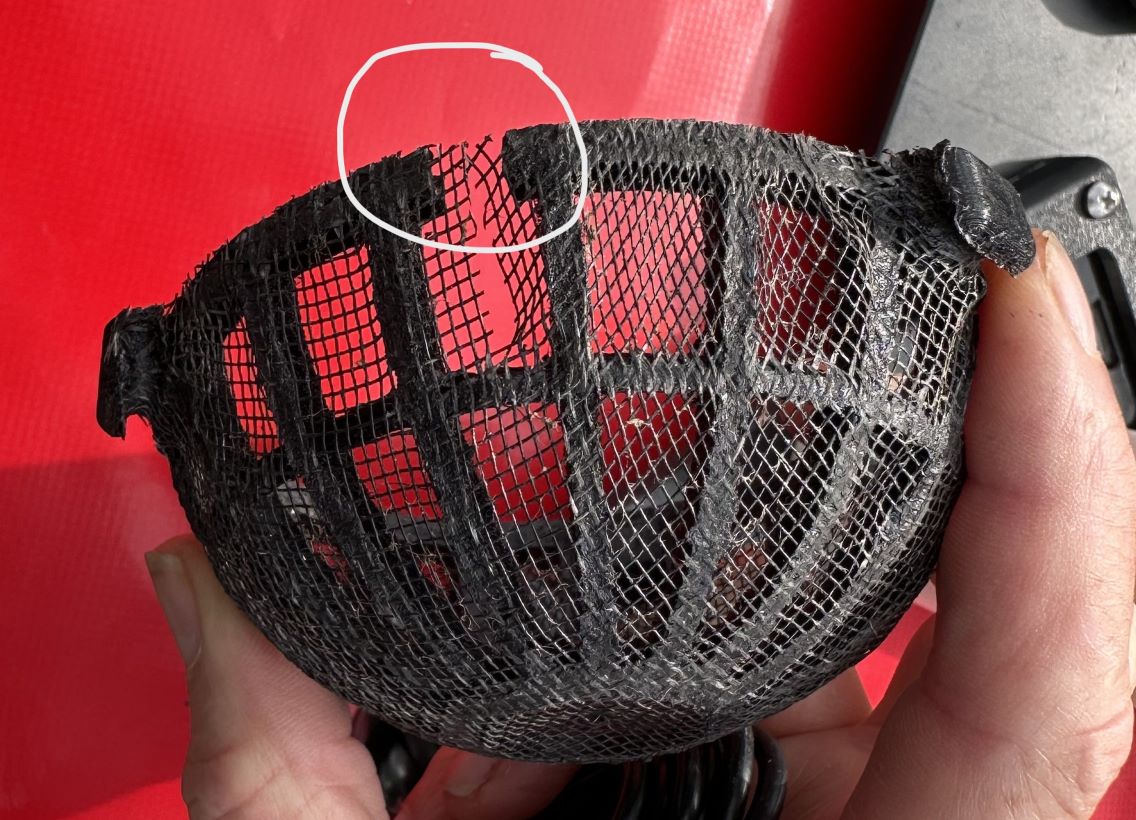
The large weedguard dome has a cable groove that must be lined up with the cable before you use the elastic bands to mount the weedguards.
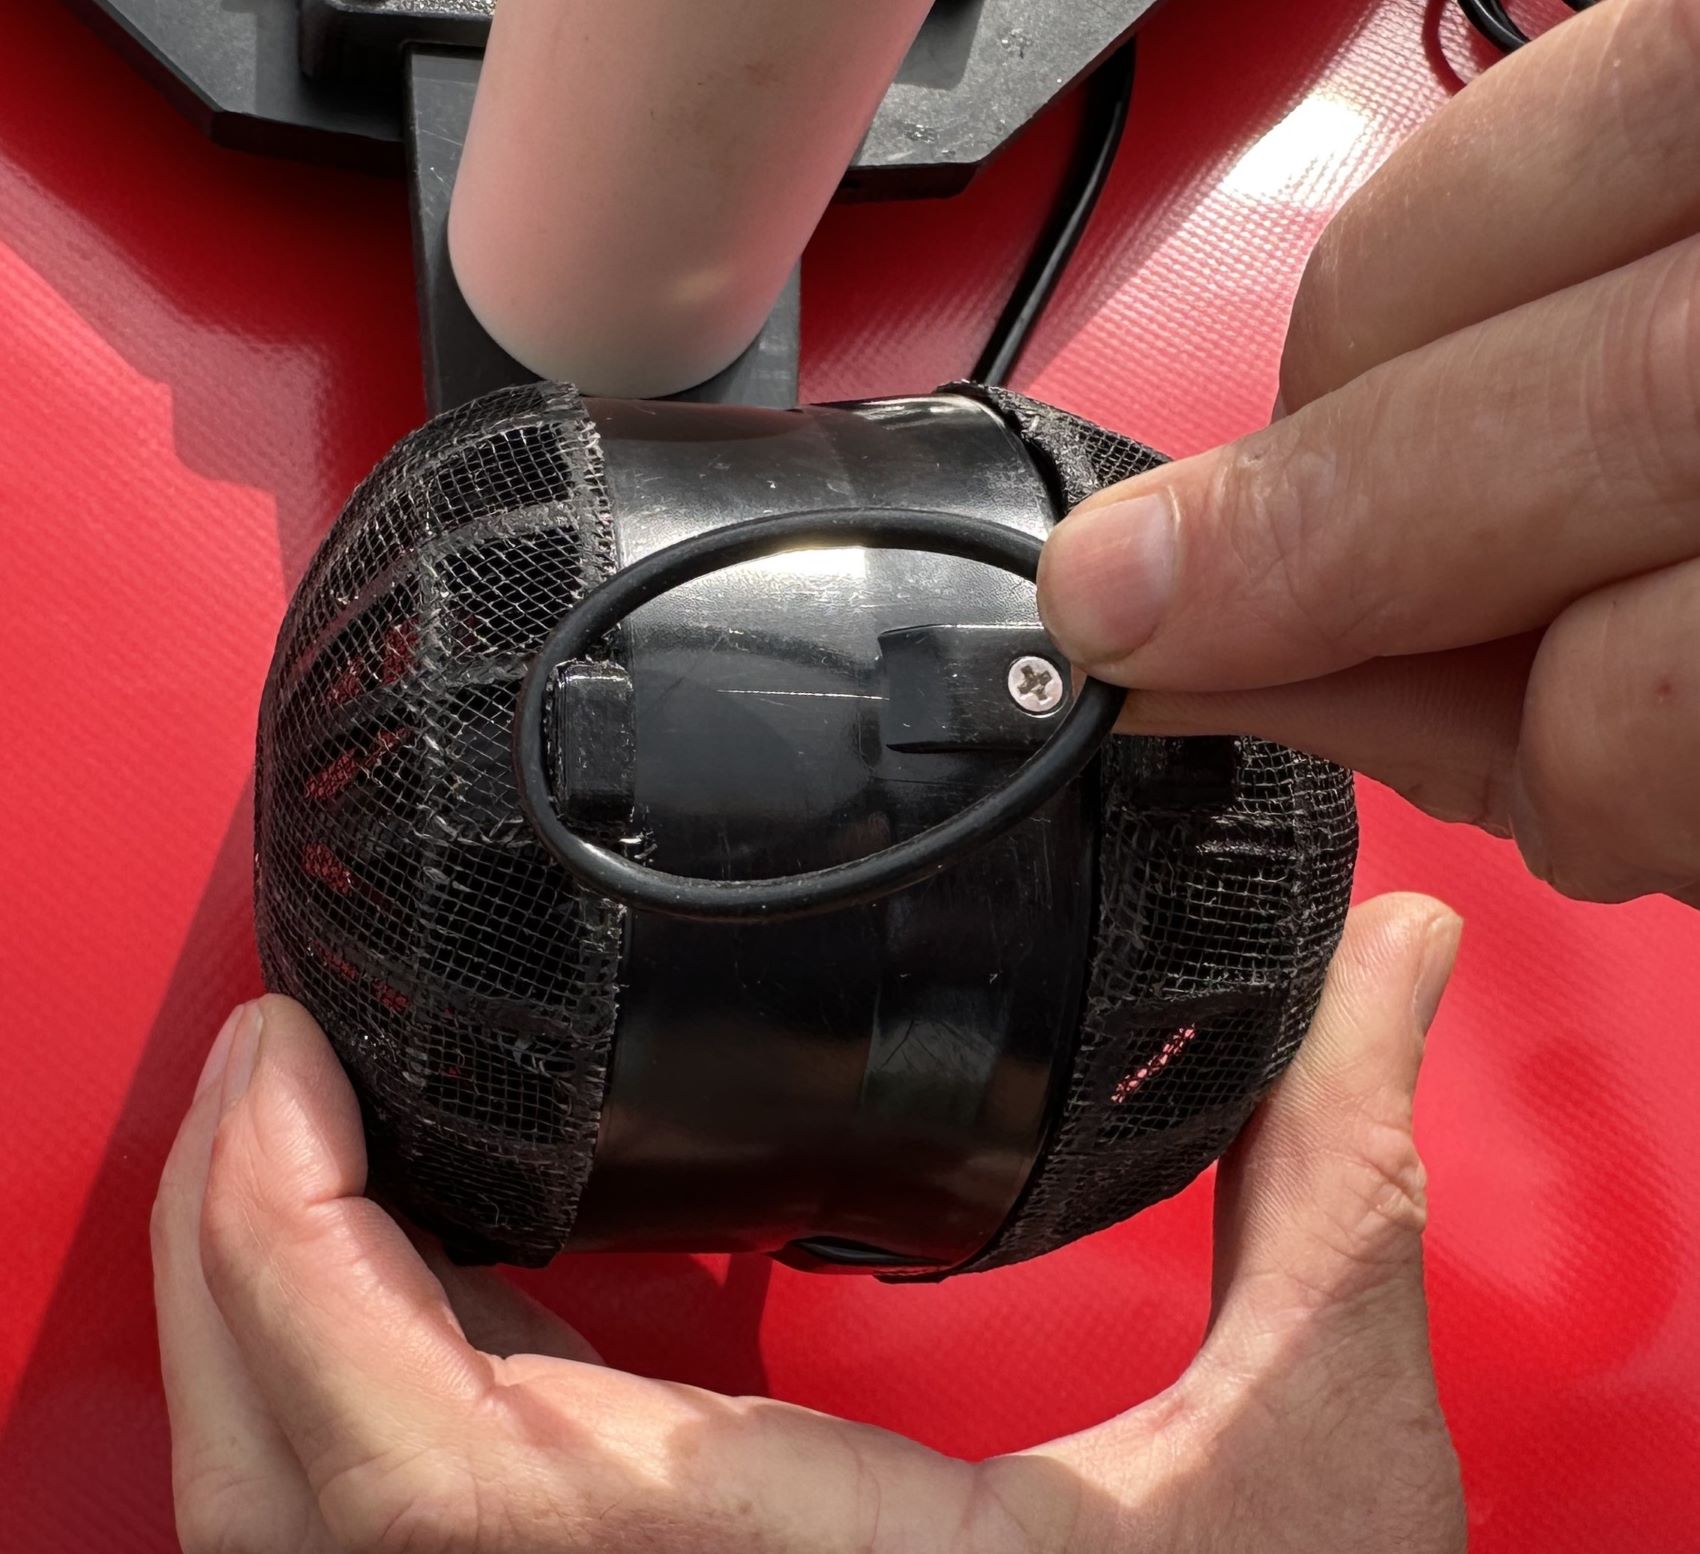
Now hook the elastic band onto the first clip and twist before hooking on the second clip as per the image. Repeat this for all 3 elastic bands on each thruster weed guard.
5. Top plate
Before flipping the vessel over, check for any creases between the spokes and tube
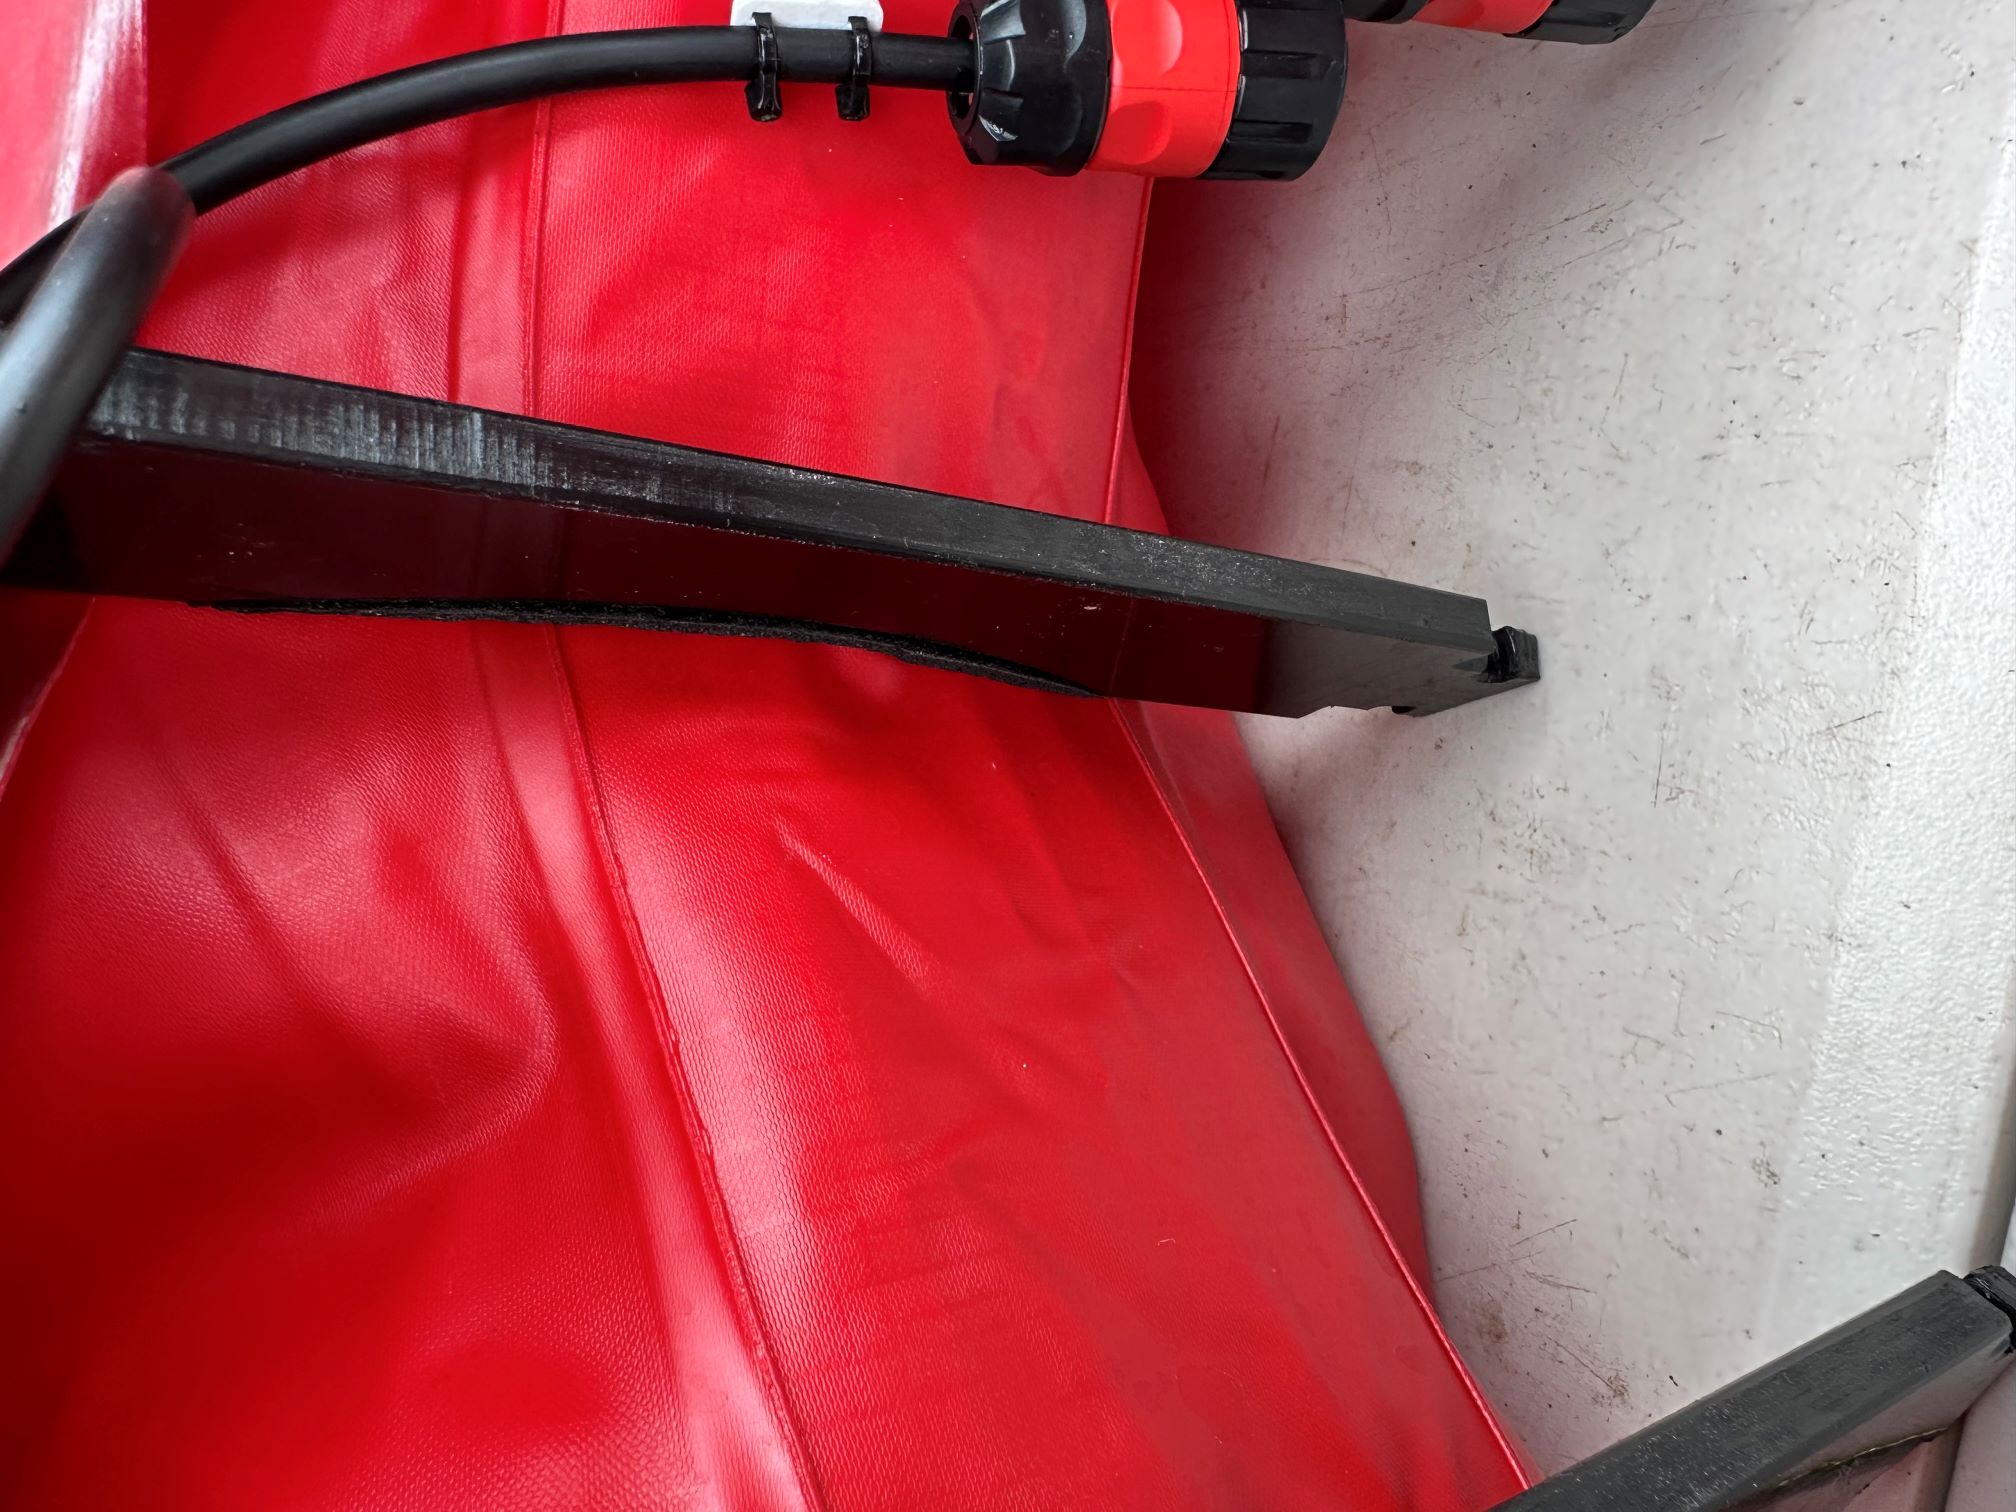
Make sure the gimbal and camera/payload is detached from the top plate during this step.
Once any creases have been removed, flip the vessel over gently onto a flat surface and proceed to balance the top plate on it. The FRONT engraving on the top plate should be lined up with the FRONT engraving on the bottom plate. While in this position connect each of the motor leads to the corresponding numbered port.
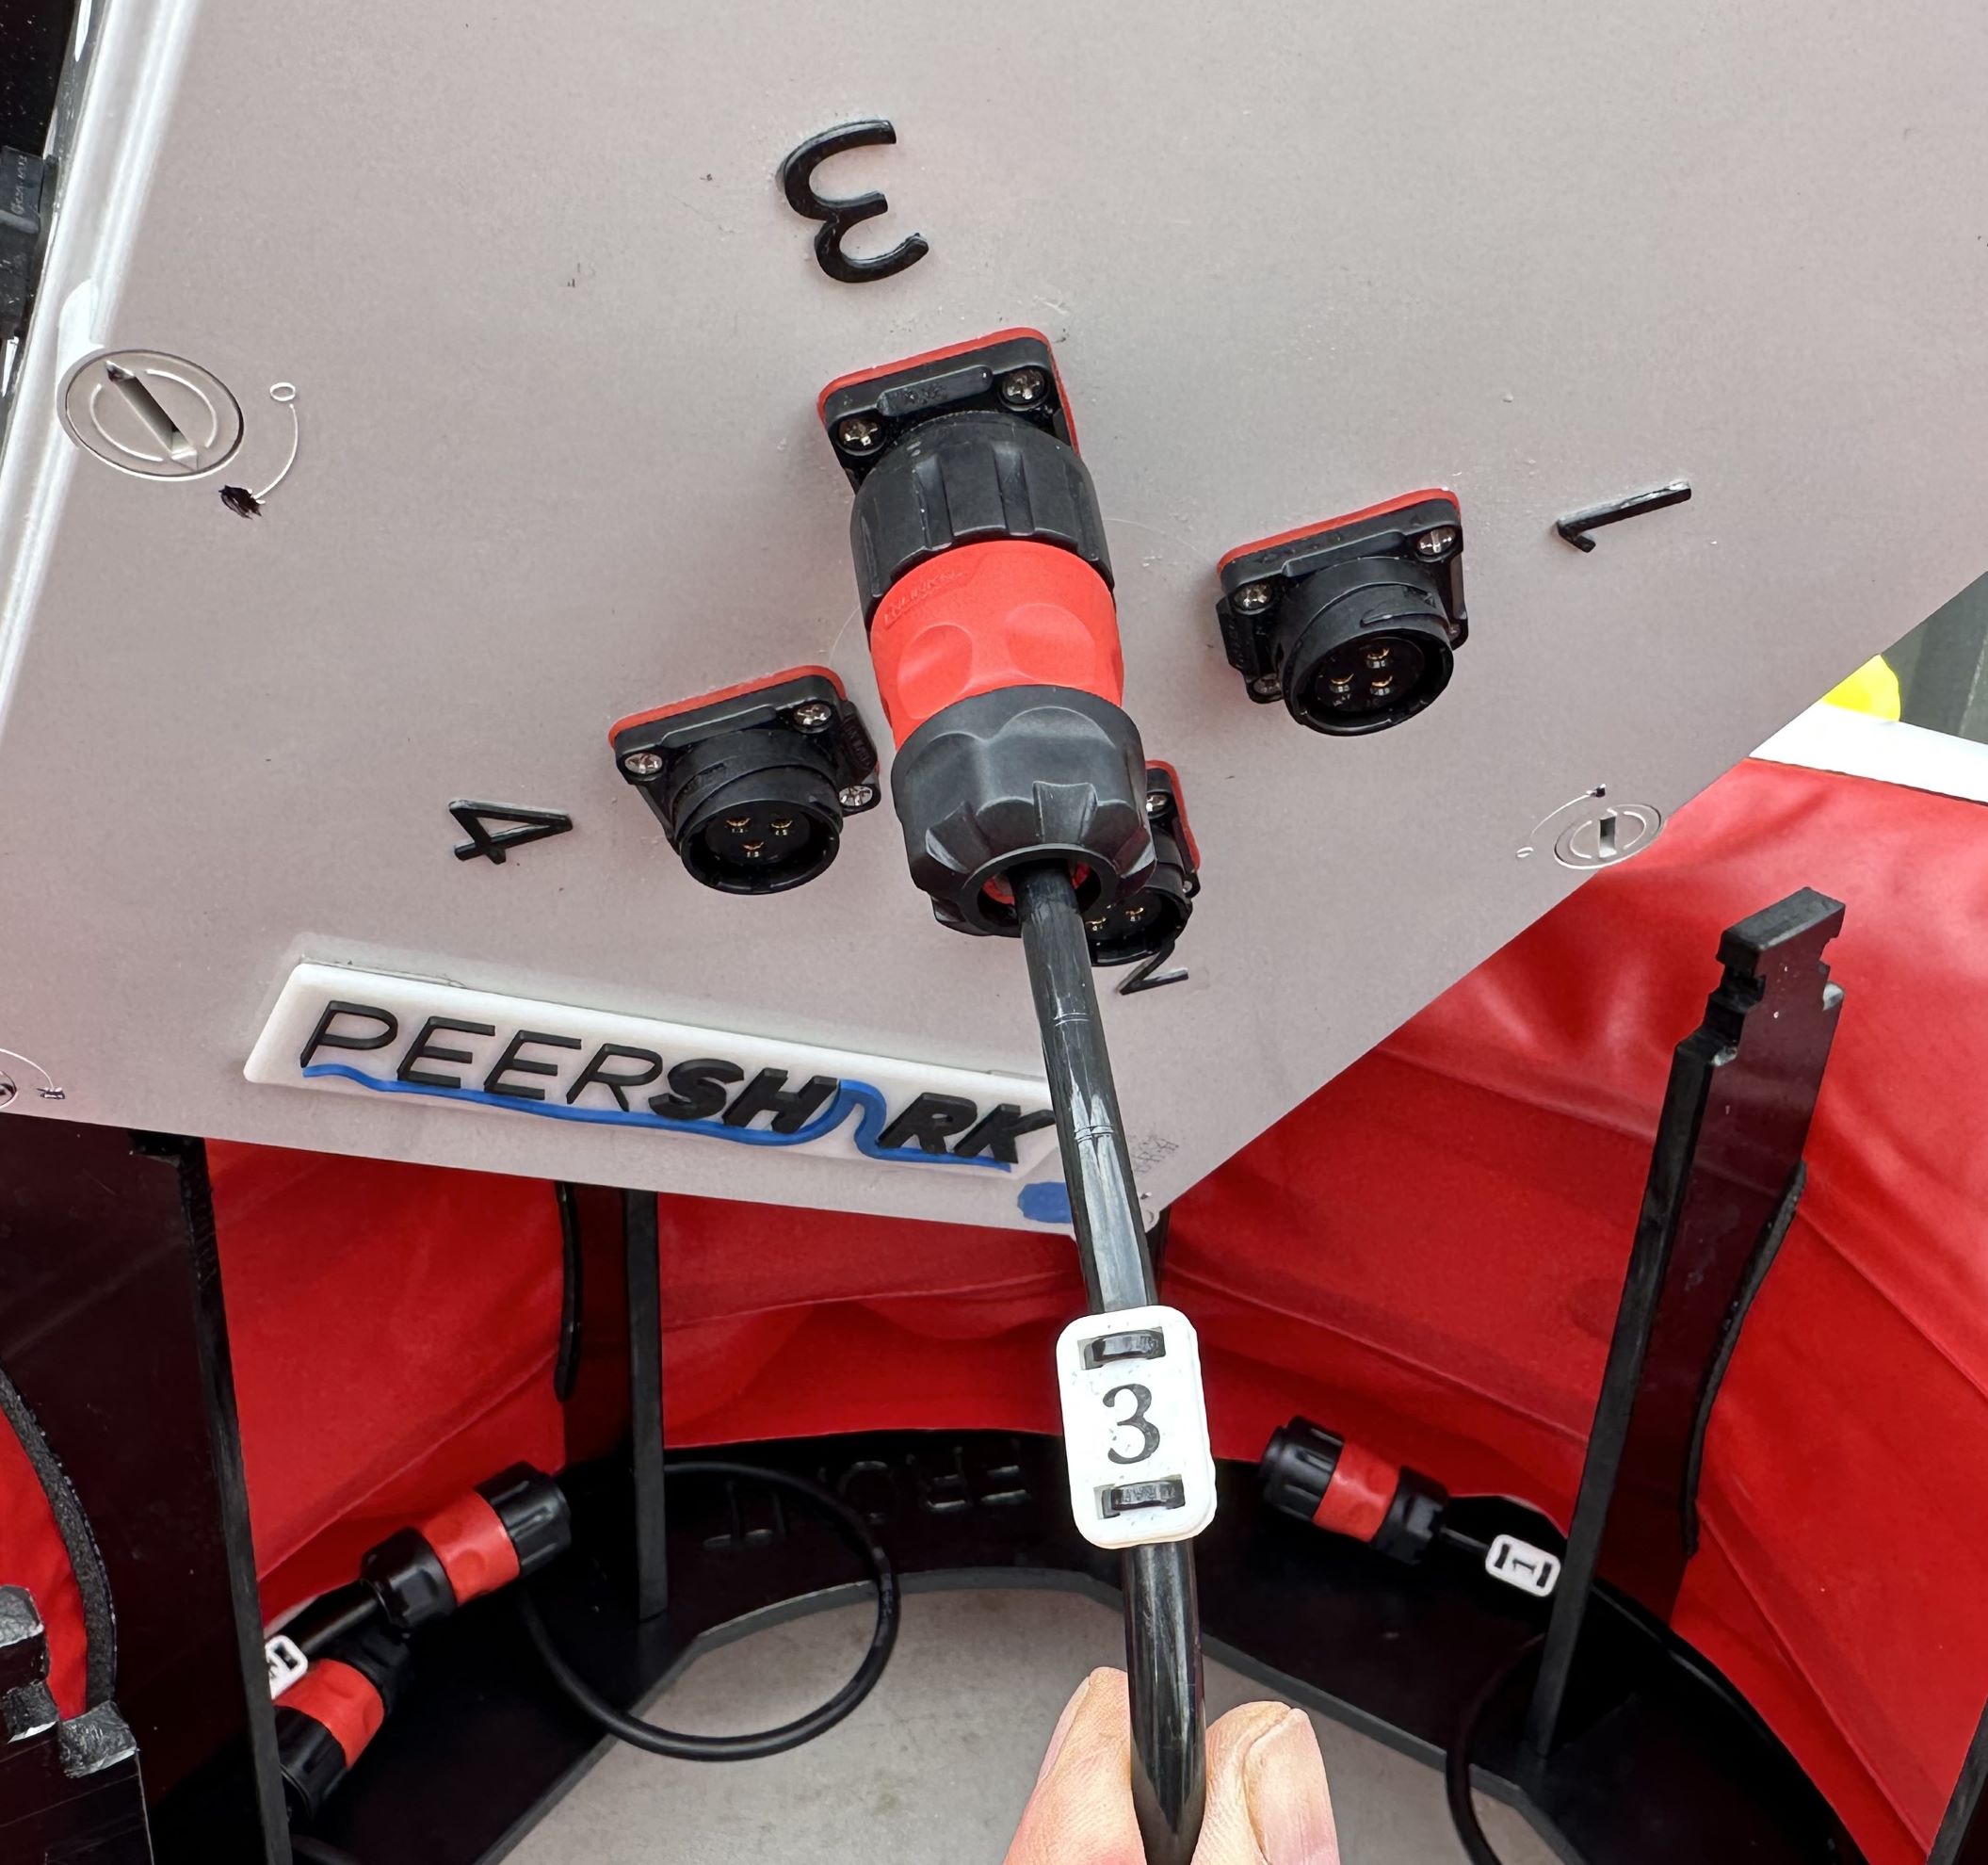
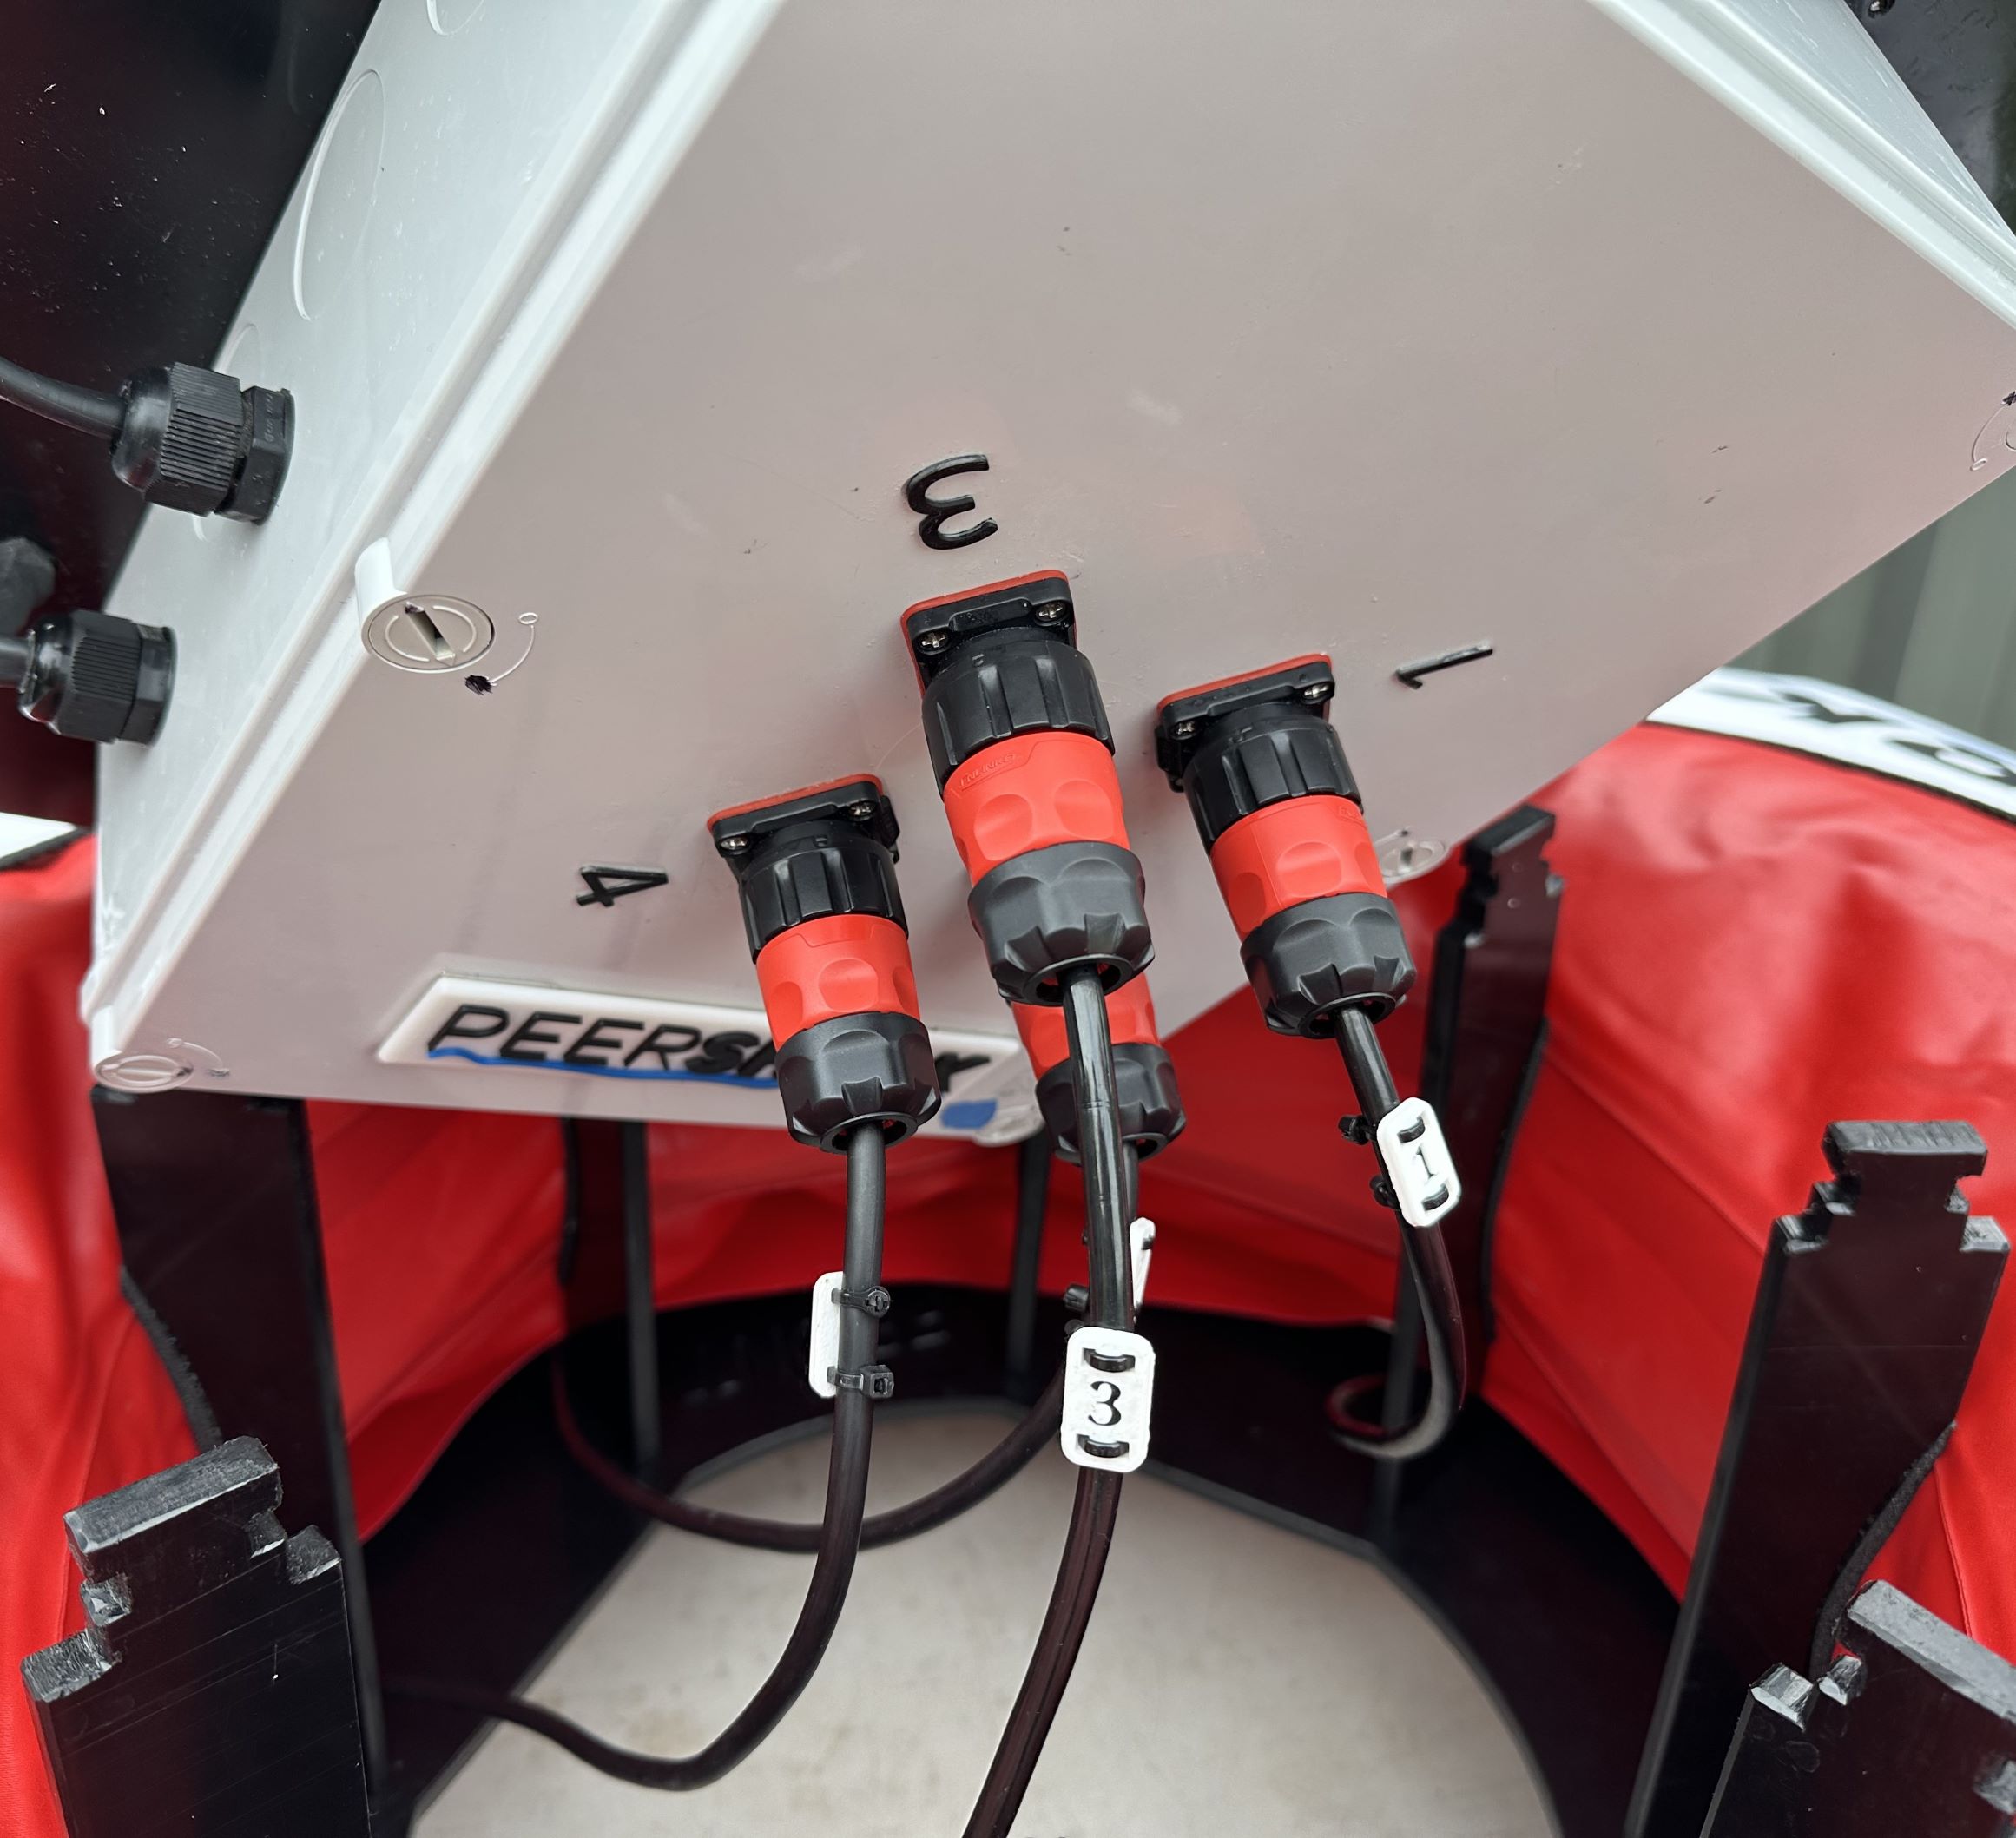
Once the leads have been connected you can place the top plate down, using your hands to move the spokes into the correct positions.
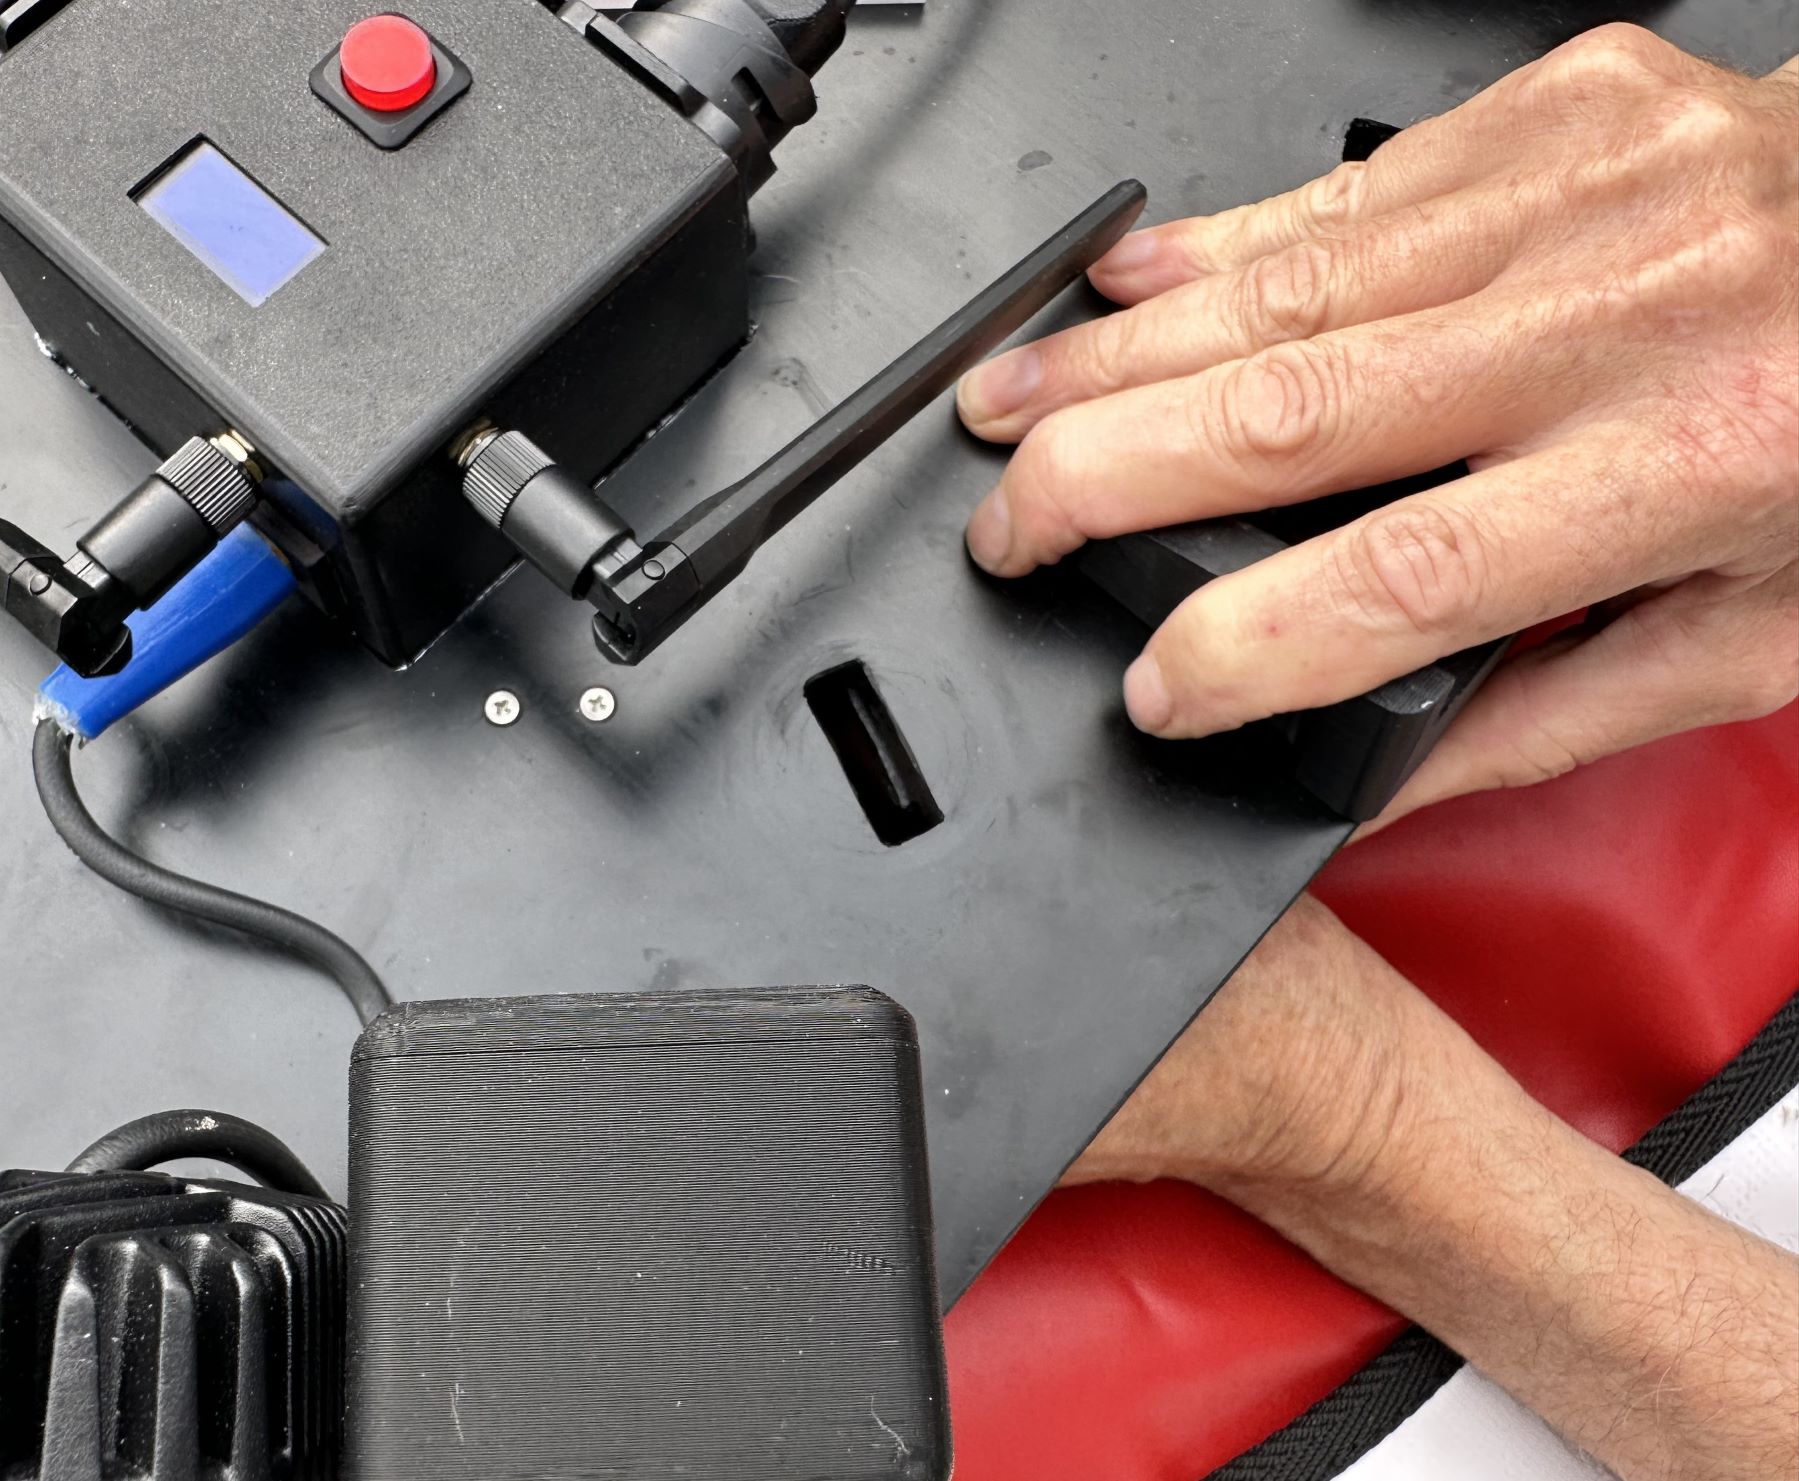
When all spokes are in the correct position push on each corner of the plate until the end of the spokes pop out of the top of the slots.
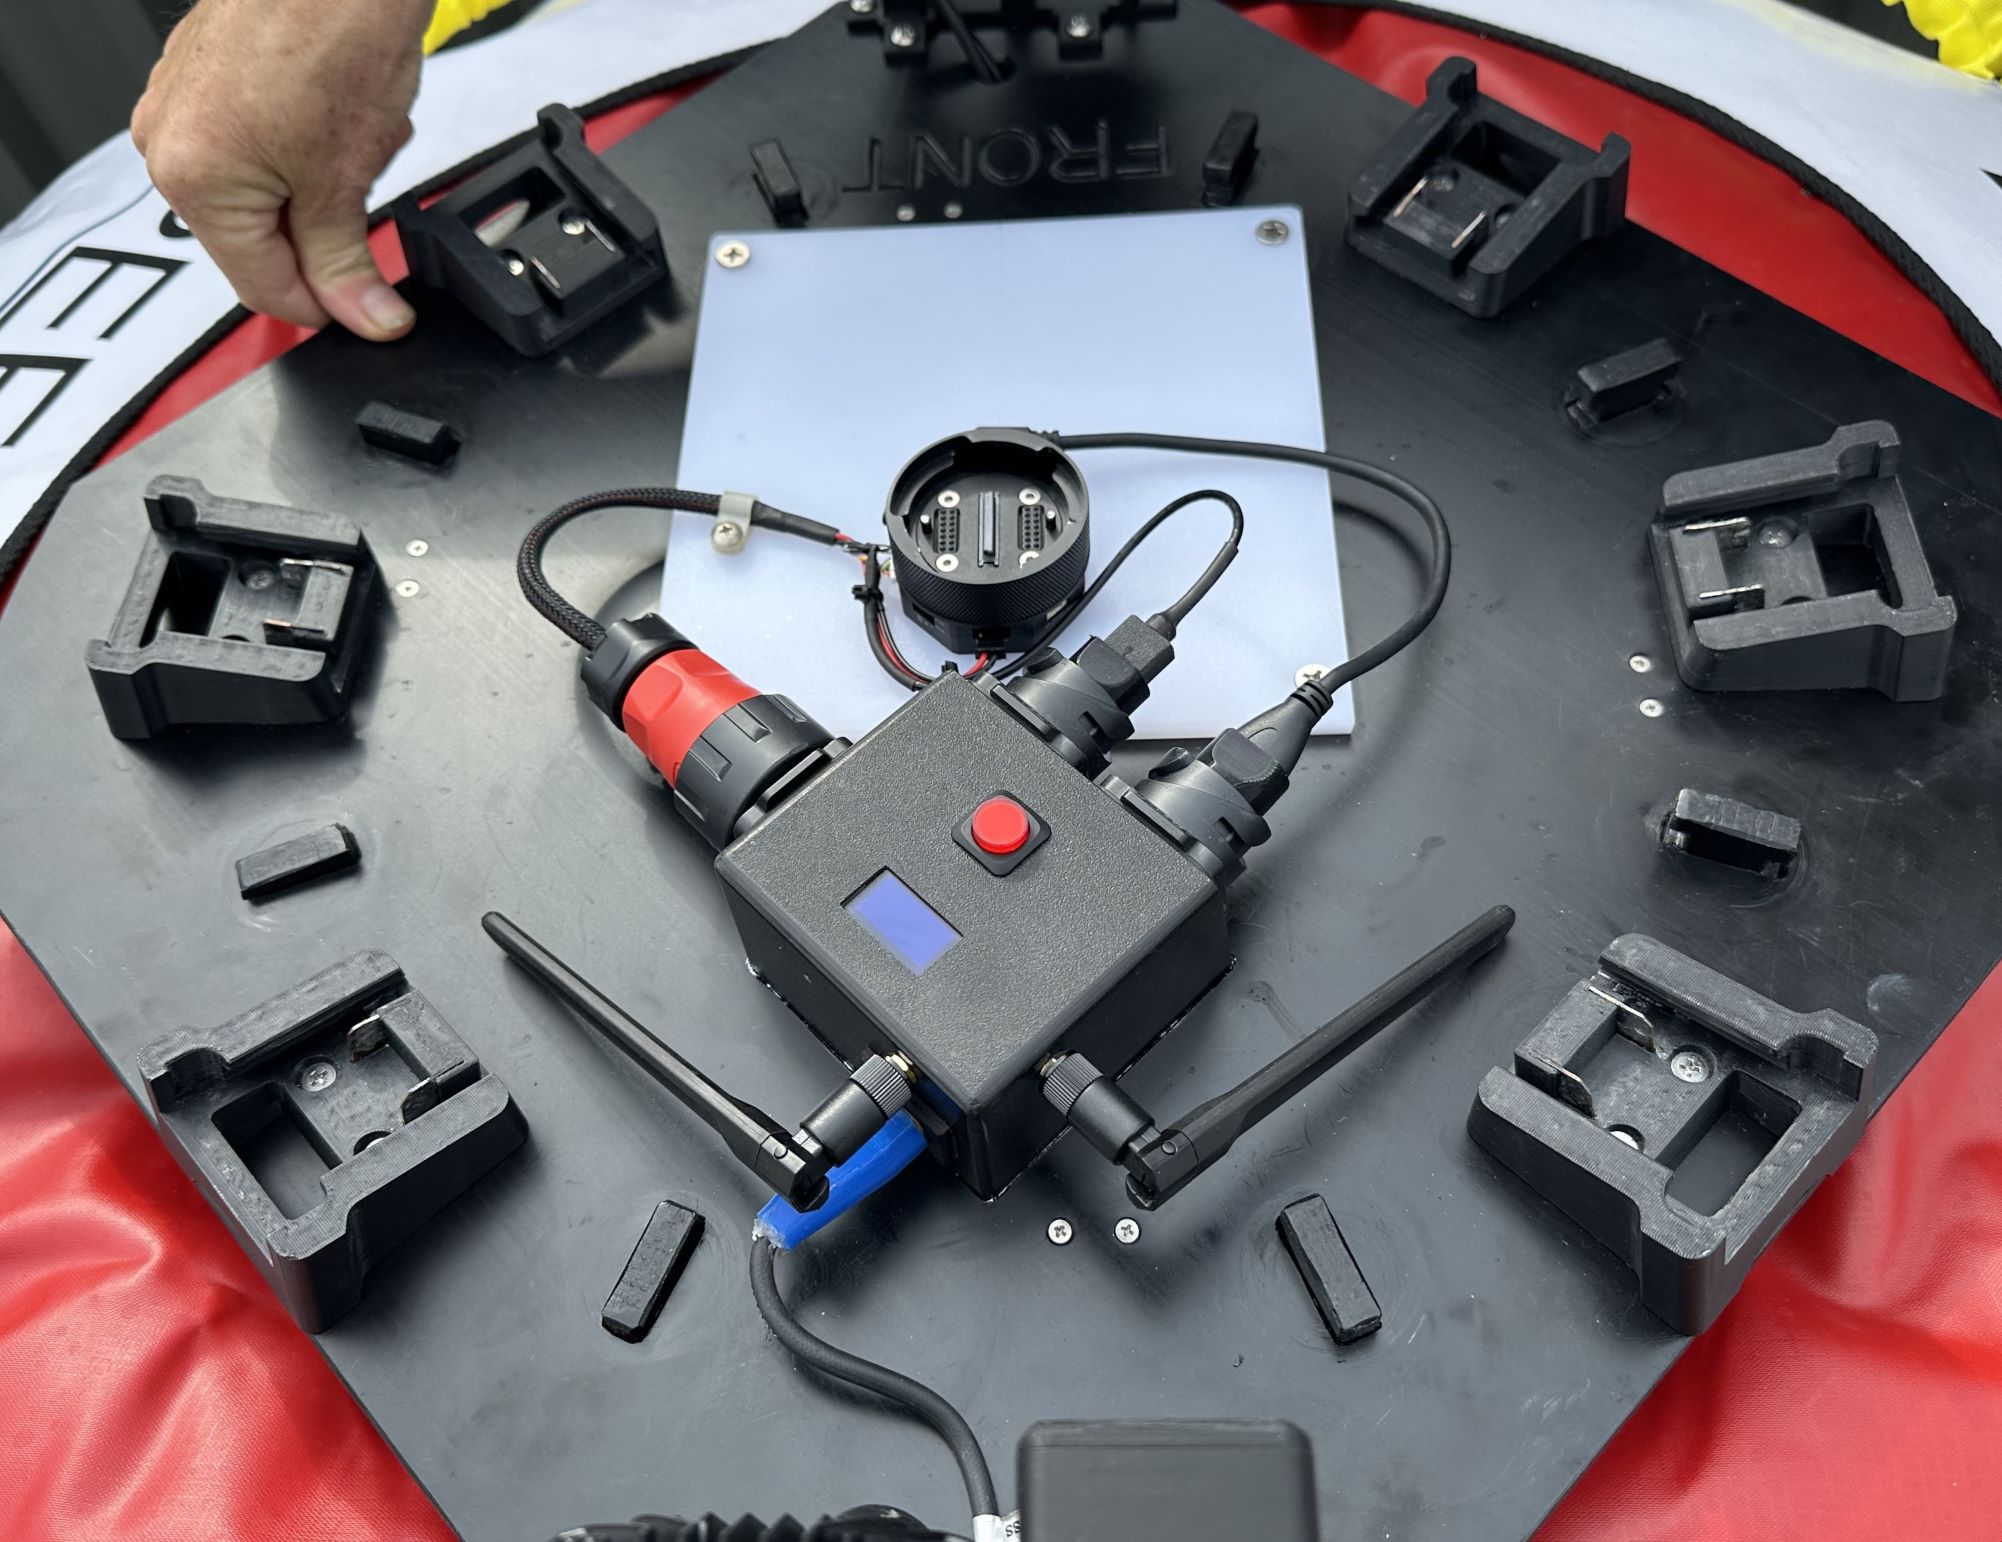
Repeat the same process as before for engaging the camlocks (link).
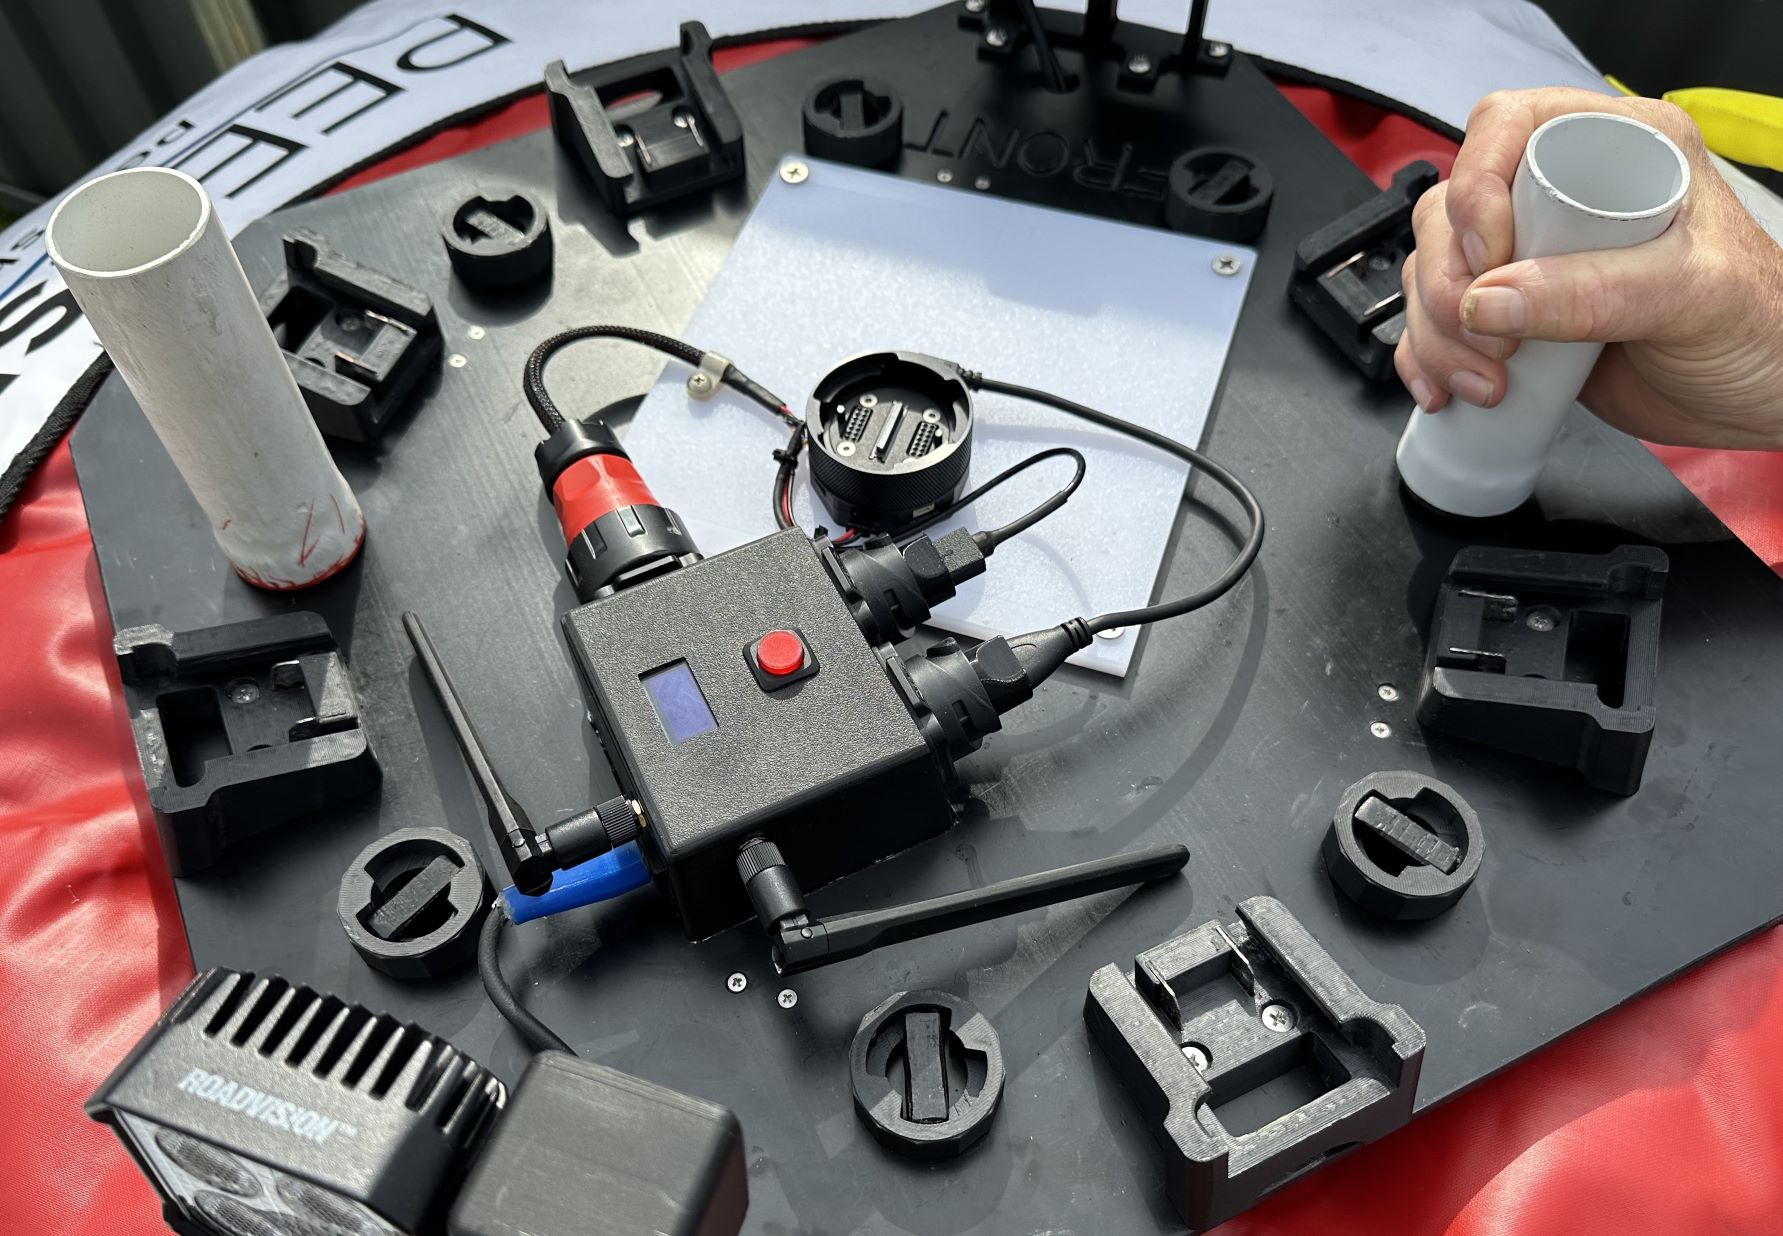
6. Inflate and power
Next steps are to inflate the vessel, install the payload and add batteries.
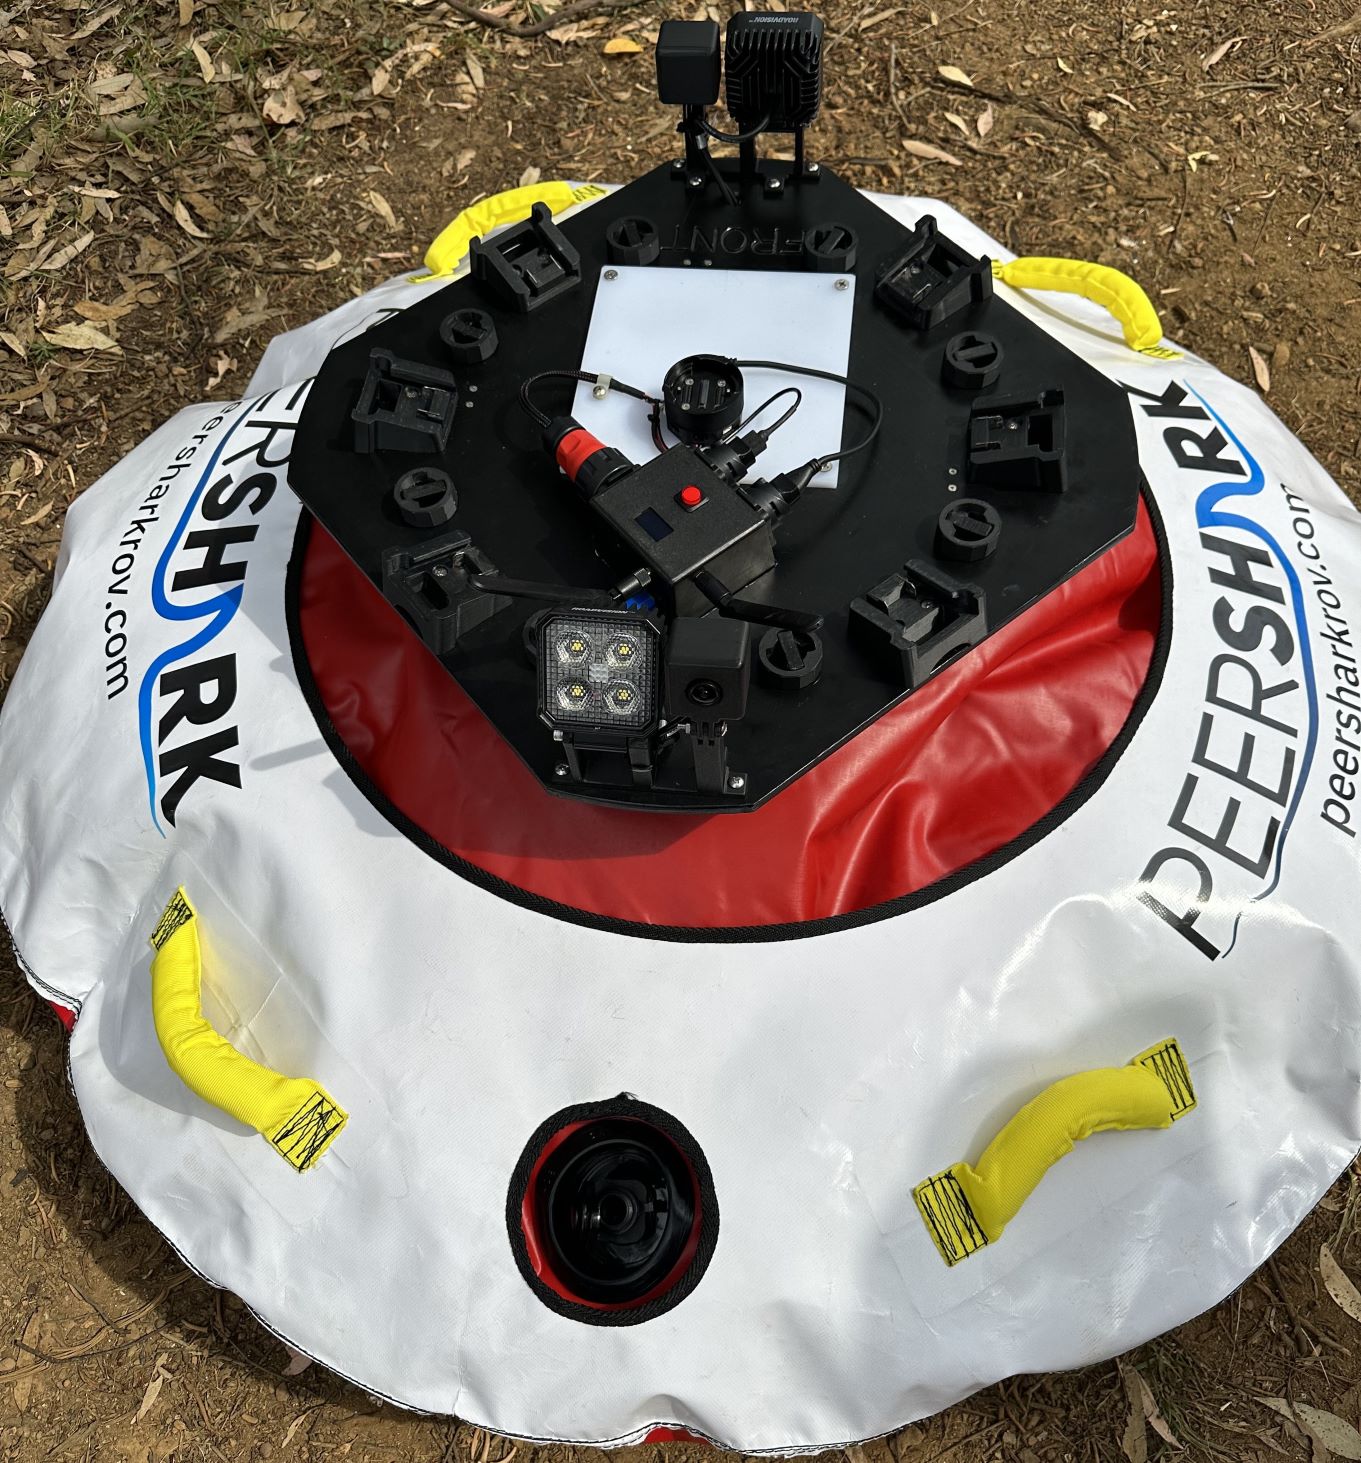
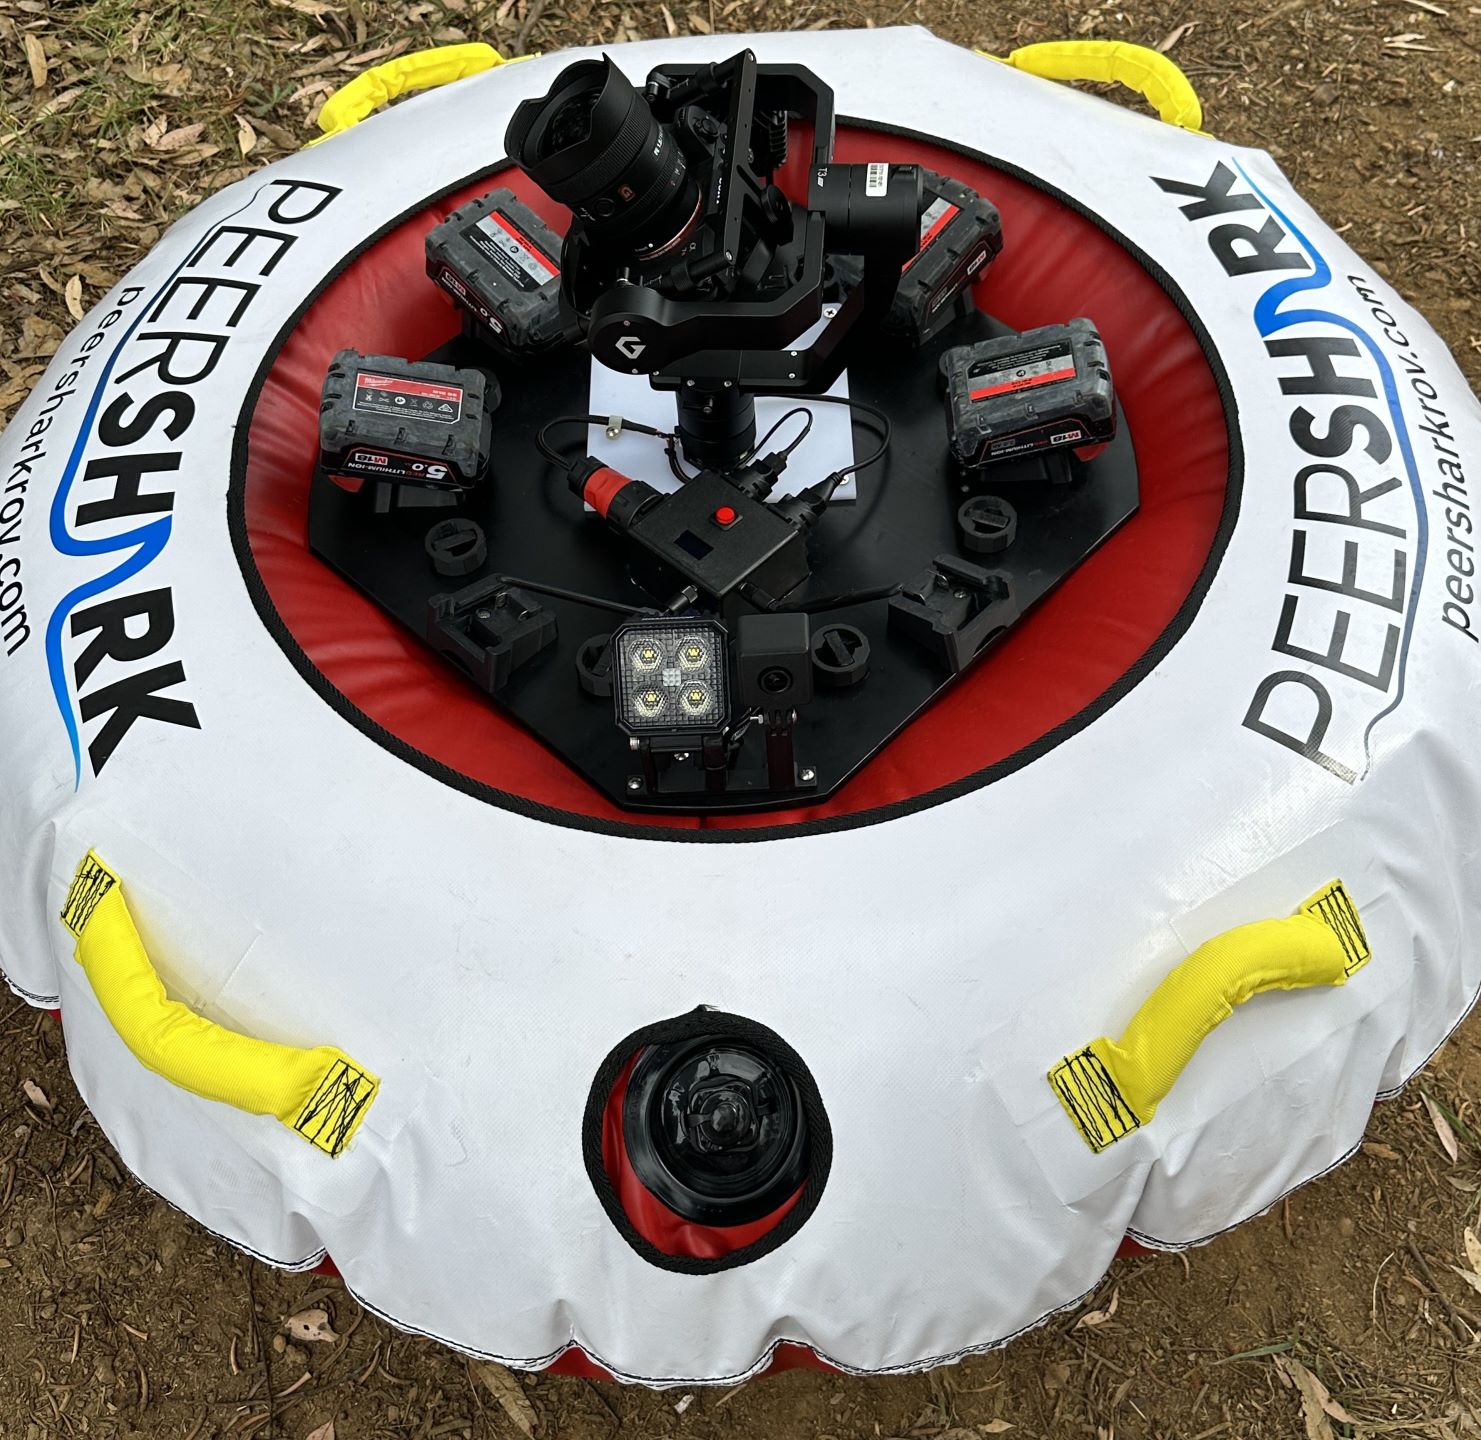
Once that has been completed, press the power button to turn the vessel on.
Software setup
Head over to the software setup section to get the remote control and payload control device set up.